In this tutorial, we look at top 11 things to do after installing Ubuntu 24.04.
Ubuntu 24.04 LTS is finally here after years of hard work and dedication from the open-source community. It’s the latest LTS release and brings to the table numerous improvements, security updates, and features that seek to enhance user experience. Check out our guide on how to install Ubuntu 24.04.
1. Update the System
Right off the bat, consider updating the local package index. This ensures the repository definitions in the /etc/apt/sources.list file are up to date. To do so, run the command:
$ sudo apt update
Once the local package lists are updated, also consider upgrading the software packages to their latest versions.
$ sudo apt upgrade -y
Once done, proceed with the next steps.
2. Choose an Accent Color
Like its predecessor, Ubuntu 22.04, the latest LTS release provides a customization feature that lets you pick your preferred accent color. The orange hue is the default accent color, but you get 9 additional hues to select from including red, magenta, blue, dark teal, green and purple.
To access the accent colors, navigate to ‘Settings’ –> ‘Appearance’ –> ‘Style‘
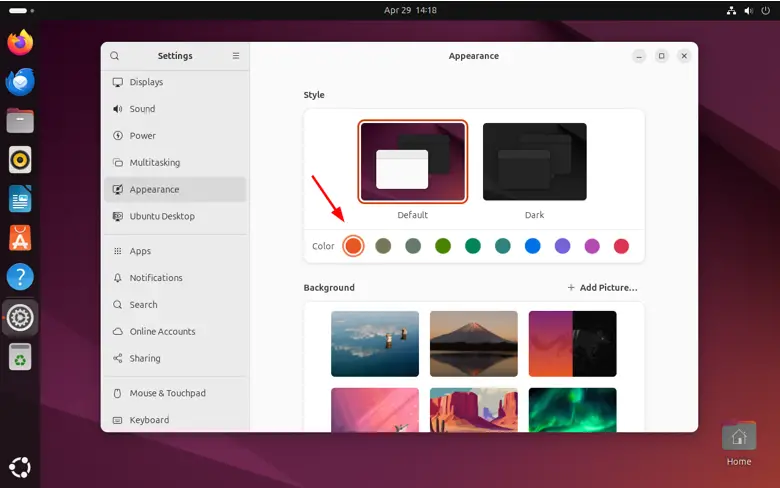
It’s worth pointing out that the color accents get applied through the desktop and GNOME shell theme. Be sure that components such as windows, icons, and widgets will also take up the accent color.
In addition to this, you can also select to use the dark theme as shown.
3. Enable Firewall
II order to secure your ubuntu 24.04 desktop, it is highly recommended to enable ubuntu firewall (ufw).
Run below command from the terminal to enable ufw.
$ sudo ufw enable
$ sudo ufw status
$ sudo ufw default deny incoming    // this will deny all incoming traffic
$ sudo ufw default allow outgoing  // this will allow all outgoing traffic

Now, you can allow only the specific ports like 22, 80 and 443 etc.
$ sudo ufw allow 22
$ sudo ufw allow 443
4. Select Your Preferred Desktop Background
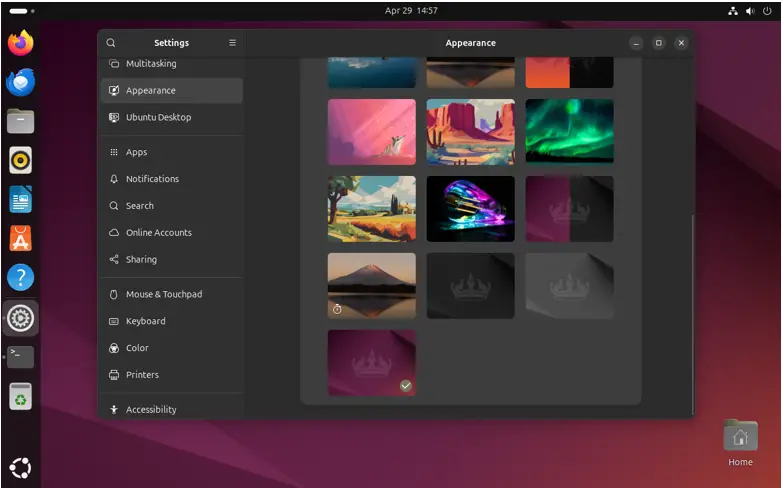
From Ubuntu 18.04, all Ubuntu releases ship with a desktop background showcasing the official mascot against a purplish-orange background. Ubuntu 24.04 is no exception, and it artistically captures the Numbat – a small enigmatic marsupial from Australia – on a King’s crown, hence the code name `Noble Numbat`.
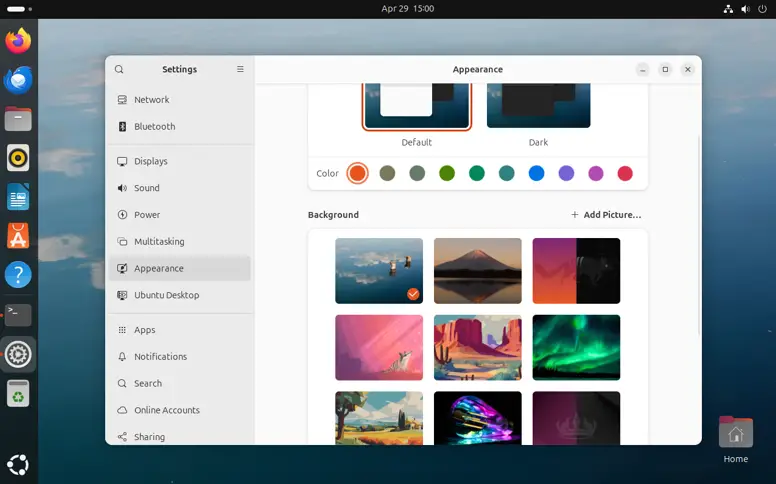
If you don’t fancy the default desktop background, you can apply a different background from a variety of colorful and elegant selections. These are located in the ‘background’ section in the ‘Appearance’ window.
5. Enable Night Light
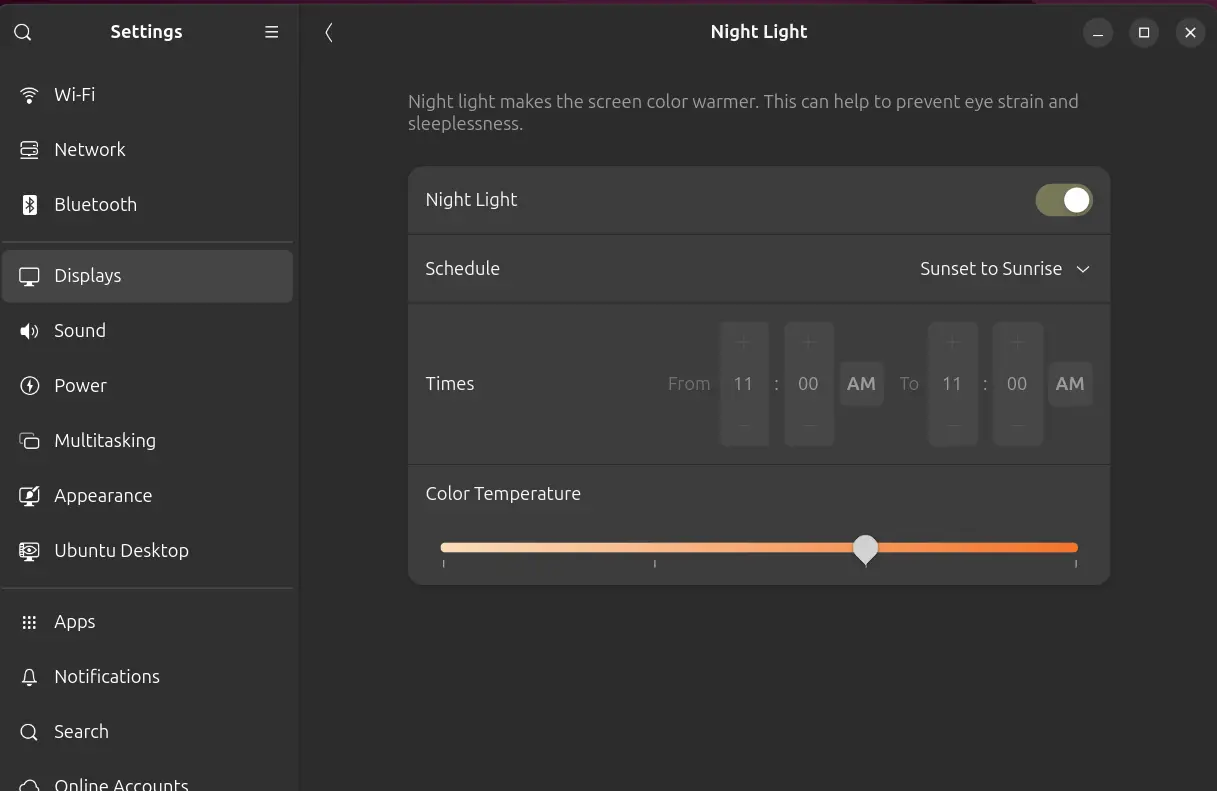
Modern PCs, TVs, and smartphones emit blue light which is part of the light spectrum. It has shorter wavelengths and high energy which is linked to eye damage. In addition, long exposure to blue light at night fools the brain into thinking that it is daytime, in effect, interfering with the secretion of melatonin, a hormone that induces sleep.
To enable night light and protect your eyes, head to Settings > Screen Display and then select the Night Light tab.
6. Enable Flatpak Support
Flatpak is a universal package management utility for Linux that runs in a sandboxed environment. Flatpak apps can be installed on any Linux system that has Flatpak installed. Like snap apps, Flatpaks apps run in isolation from the rest of the system offering robust security, stability, and no package conflicts.
Flatpak is totally open-source and has an edge over Snap by working on most Linux distributions and having a smaller memory footprint. Snaps are typically larger and have slower launch times. In addition, the FlatHub portal provides a myriad of Flatapps that you can download and install on your system.
Given the benefits associated with running flatpak apps, enabling Flatpak support is something you should consider.
To enable Flatpak support, open your terminal and run the command:
$ sudo apt install flatpak gnome-software gnome-software-plugin-flatpak
Next, add a Flatpak repository to install apps from. In this case, we are adding the Flathub repository.
$ flatpak remote-add --if-not-exists flathub https://flathub.org/repo/flathub.flatpakrepo
From here, you can install and update apps from FlatHub.
7. Change the Size and Position of Desktop Icons
Like Ubuntu 22.04, Ubuntu 24.04 positions new desktop icons at the right-bottom corner of your system’s screen by default. This might not be your preferred position and you might need to set it elsewhere on the screen. Thankfully, you can set the position of new desktop icons to a different location e.g. top left, top right, or bottom left. To achieve this, navigate to `Settings` > `Ubuntu Desktop` > `Desktop icons`.
In addition, you can adjust the size of the icons to your preferred size e.g. small, large, and tiny.
![]()
8. Adjust Dock Settings
In addition to setting the location and size of desktop icons, you can adjust various parameters. To configure the dock settings, again, navigate to `Settings` > `Ubuntu Desktop` > `Dock`.
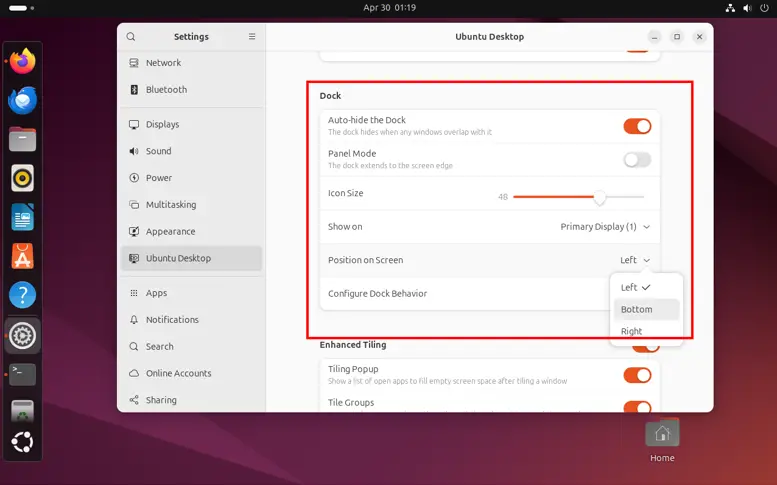
You can adjust dock settings such as dock icon size, auto-hide, dock position on the screen, and dock behavior.
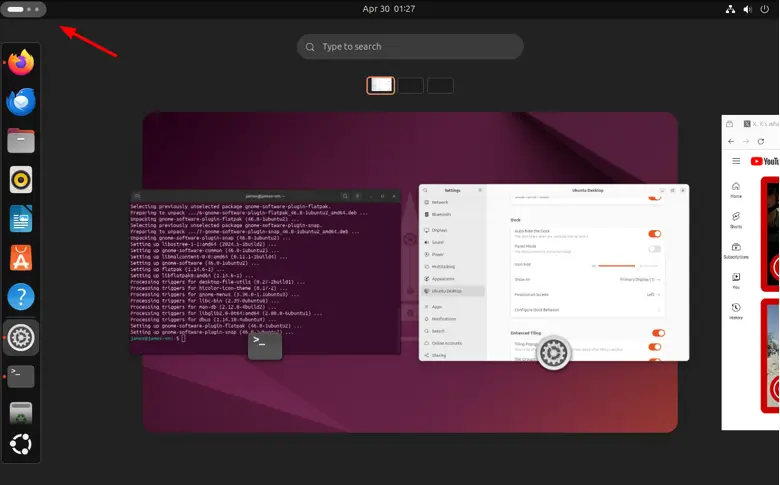
9. Explore GNOME 46
Ubuntu 24.04 ships with GNOME 46 which comes with new visual improvements that spruce up the user experience. A conspicuous new feature is the dynamic workspace indicator which replaces the `Activities` tab. This is a dotted indicator located at the top left corner and lets you seamlessly switch between workspace.
To start using the indicator, simply hover on it and scroll using your mouse to switch from one workspace to another.
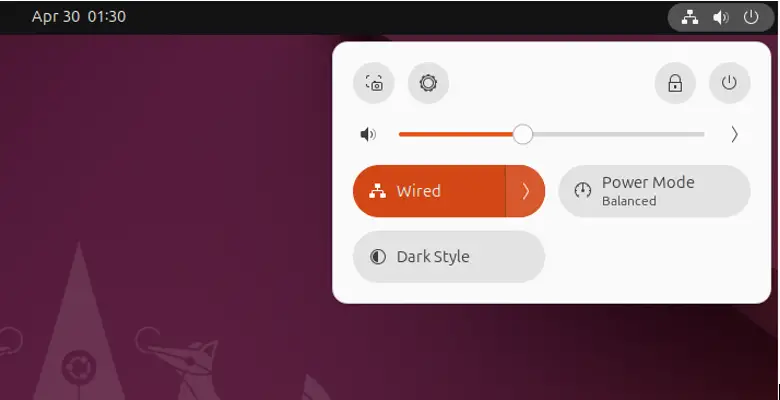
Another major upgrade is the revamped ‘Quick Settings‘. It looks more polished and elegant with pill-shaped options for Wired/WiFi connections, Bluetooth, Dark Mode, Power options, and the `Settings` button. You can also adjust the system volume using the volume slider feature.
When enabled, an option is highlighted using the theme color.
Overall, GNOME 46, looks quite polished, and user-friendly in every aspect. It’s easy to find everything visually and improves user experience.
10. Install Essential Software
Ubuntu 24.04 comes with basic utilities to help you hit the ground running. In addition to the default apps, you can install other third-party tools to help you make the most of your operating system and achieve your goals.
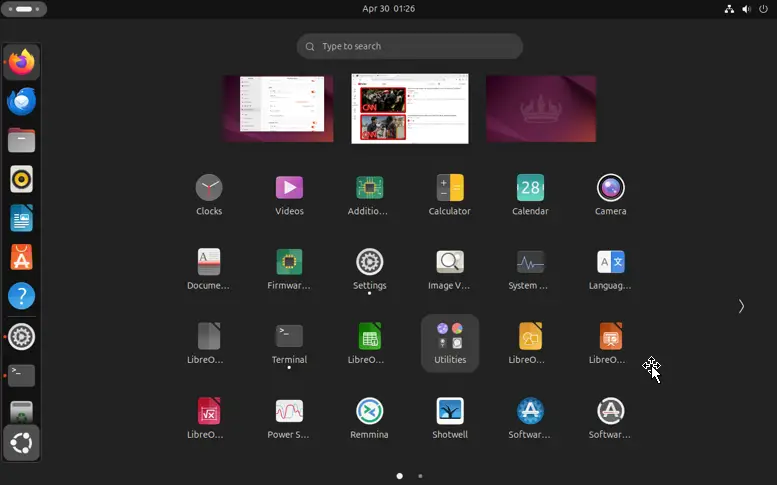
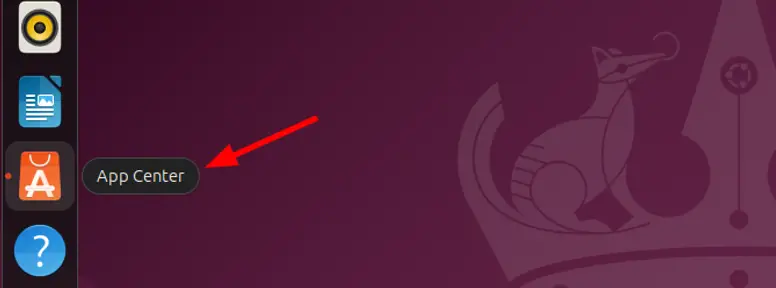
For example, you can install applications such as VLC media player, Slack, Skype, Telegram, GIMP, and development tools such as Microsoft Visual Code Studio. This is made easy using the `App Center` application which replaces the Software Center in older Ubuntu releases. The application appears on the Dock as an Orange shopping basket with the `A` logo emblazoned.
Once opened, you will find a myriad of applications in different categories such as `Games`, `Productivity`, and `Development`.

11. Install GNOME Shell Extensions Manager
Finally, consider installing GNOME Shell Extensions Manager. Shell Extensions are simply small pieces of code that extend the functionality of the GNOME desktop. In most cases, when enabled, the extensions can be accessed from the top bar of the GNOME desktop.
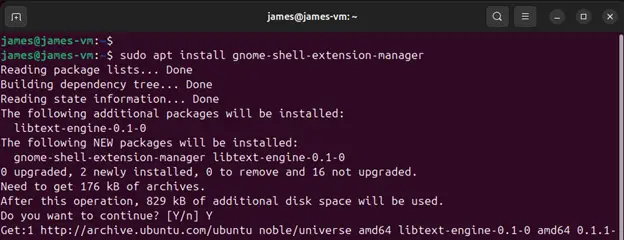
To install the GNOME Extensions Manager, run the command:
$ sudo apt install gnome-shell-extension-manager
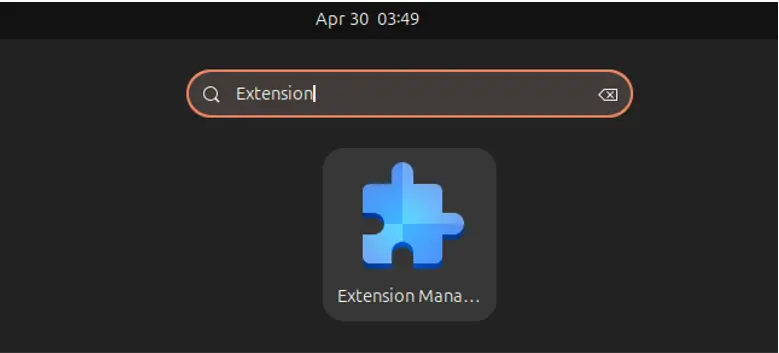
Once installed, you can access it by searching using the Applications Manager.
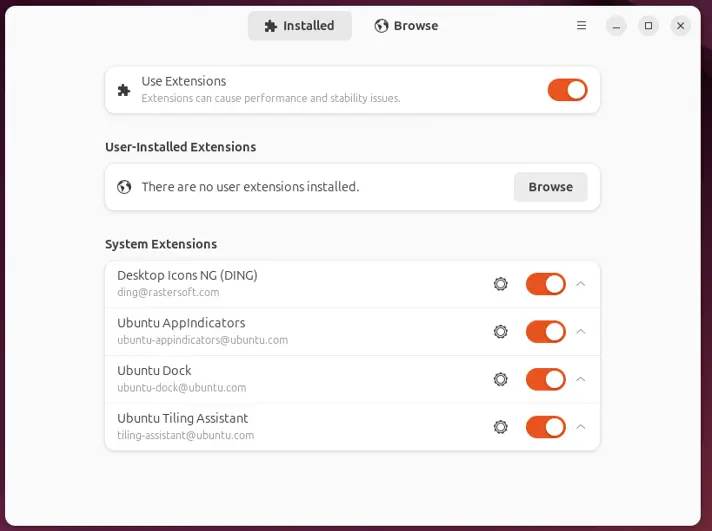
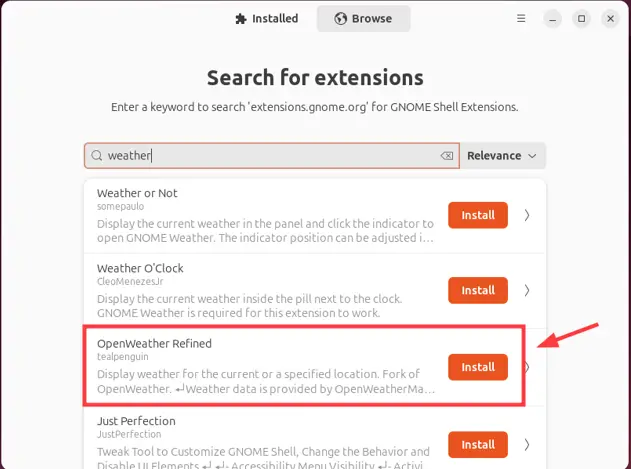
Once launched, you get the following window displayed. It shows user-installed extensions which you can disable or enable. The Extensions manager allows you to search, browser and install your preferred extensions.
For example, in this case, we want to install a Weather App by OpenWeather. So, click `Browse`. Once you locate your extension, click `Install`. The select shell extension will be installed after a few seconds.
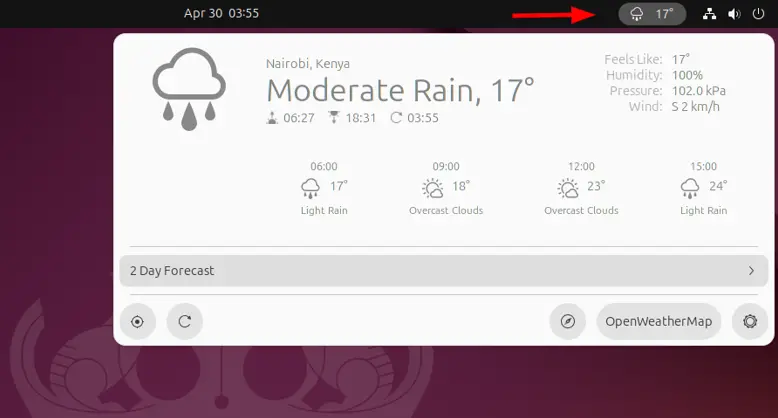
Once installed, the extension will appear at the top bar as shown. Here, you can see the weather app display weather information of my current location.
Summing up
While this is not a comprehensive list of everything you can do right after installing Ubuntu 24.04, it’s a blueprint of the fundamental steps you can take on your fresh installation. There’s still more you can do and we’d love to hear your ideas in the comment section.