Good news for Linux desktop lovers, Canonical has announced and released(19th Oct 2017) its latest linux based operation system Ubuntu 17.10, code name for Ubuntu 17.10 is “Artful Aardvark“. As Ubuntu 17.10 is not a LTS release, so we will get support and patches from the community for the next 9 months.
Some of the new features included in this release are listed below.
- GNOME Desktop environment replace the default Unity Desktop
- There is no support for 32 bit system, means we can’t install Ubuntu 17.10 on 32 bit system.
- New Kernel 4.13 is included
- GDM is the default display manager in place of LightDM
- Improved Hardware support
- New version of Network Manager 1.8
- Ext4 file system support encryption with fscrypt
In this article we will walk through the installation steps of ubuntu 17.10. Followings are minimal system requirements for Ubuntu 17.10:
- 2 GB RAM
- Dual Core processor ( 2GHz)
- 25 GB free Hard disk space
- Installer media either a DVD drive or a USB stick
- Internet connectivity ( optional)
Let’s jump into the installation steps.
Step:1) Download Ubuntu 17.10 iso file
First thing is to download Ubuntu 17.10 iso file from its official web site
https://www.ubuntu.com/download/desktop
Once the file is downloaded, burn it either into a DVD or usb stick and make it bootable.
Step:2) Boot your system with above prepared bootable media
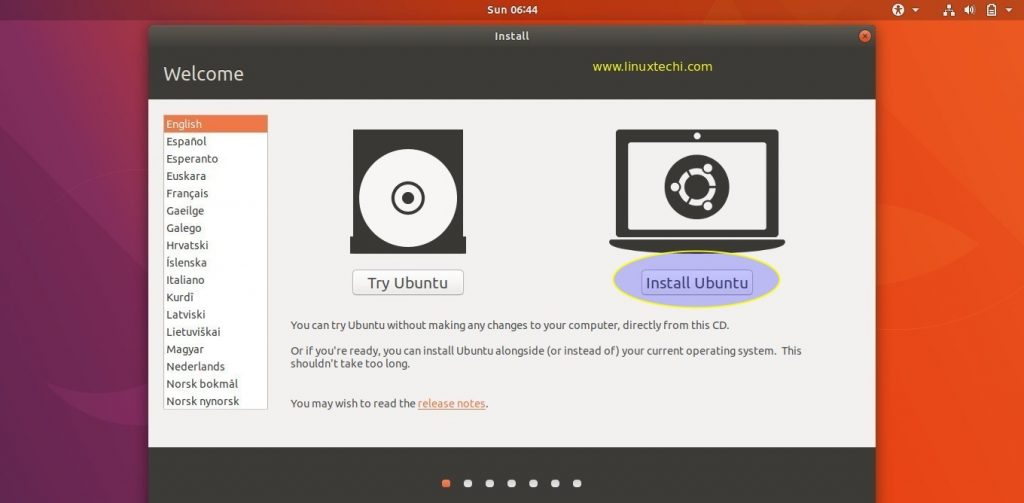
In the next window, select “Install Ubuntu” option
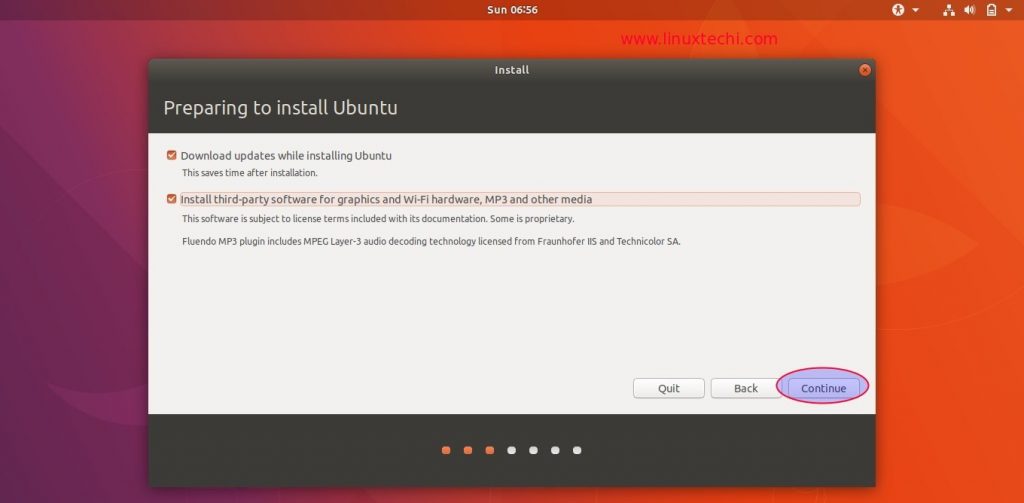
Step:3) Install updates & third party software during Ubuntu 17.10 Installation
In case your system is connected to the Internet, then select both options to install latest updates, third party and multimedia software during the installation else you can leave them uncheck,
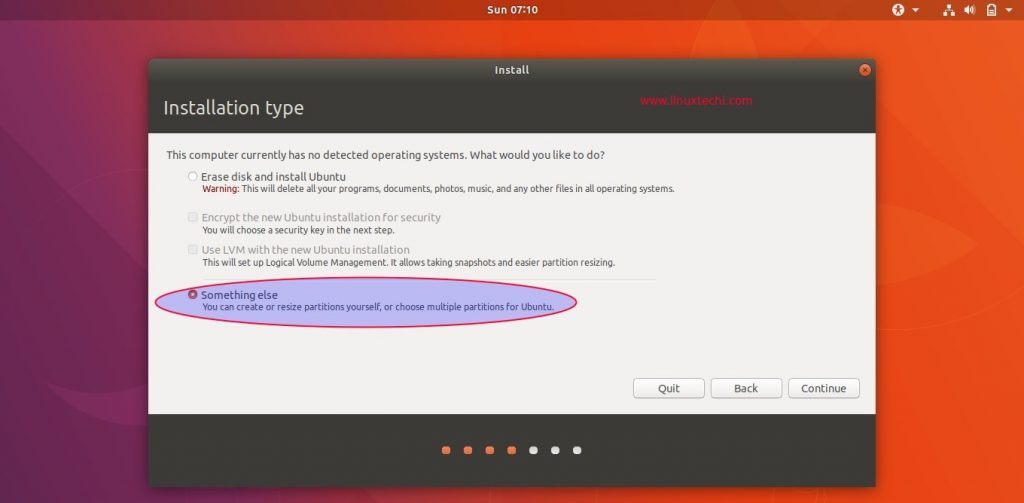
Step:4) Select Installation type for your system
Installation type means choose the partition scheme for your hard disk. We have two options here either we allow installer to create automatic partitions scheme (Select first option ‘Erase disk and Install Ubuntu‘) or we can create our own partitions scheme by selecting the second option ( Something else),
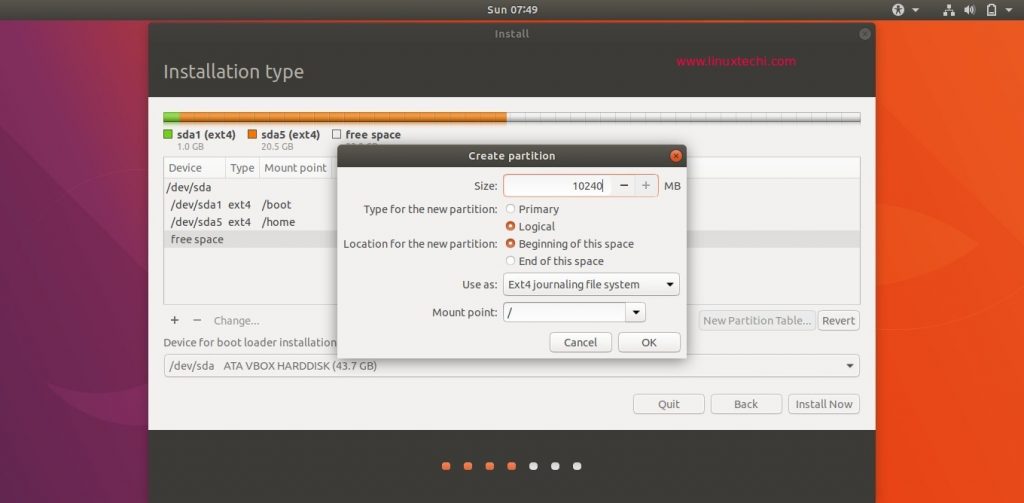
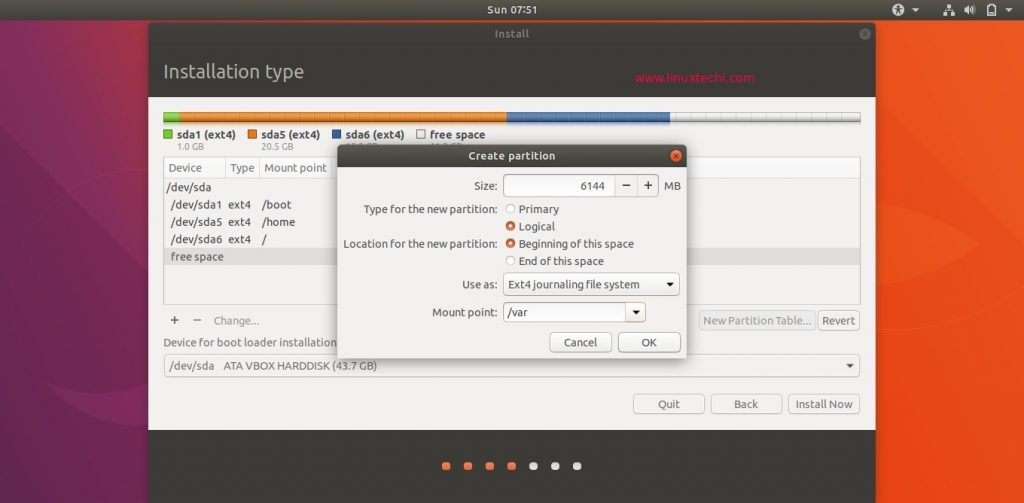
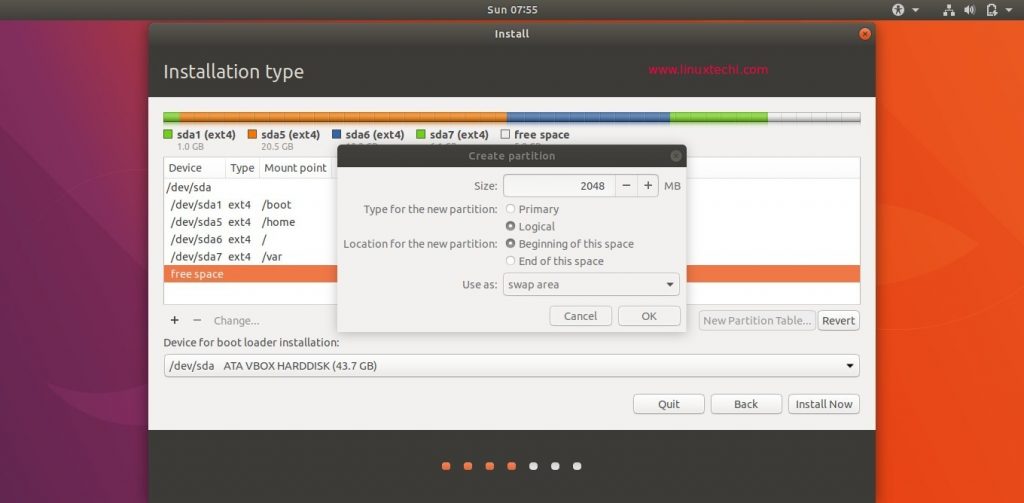
In this guide we are going to create our own customize partitions scheme on 40 GB hard disk. We will create following partitions
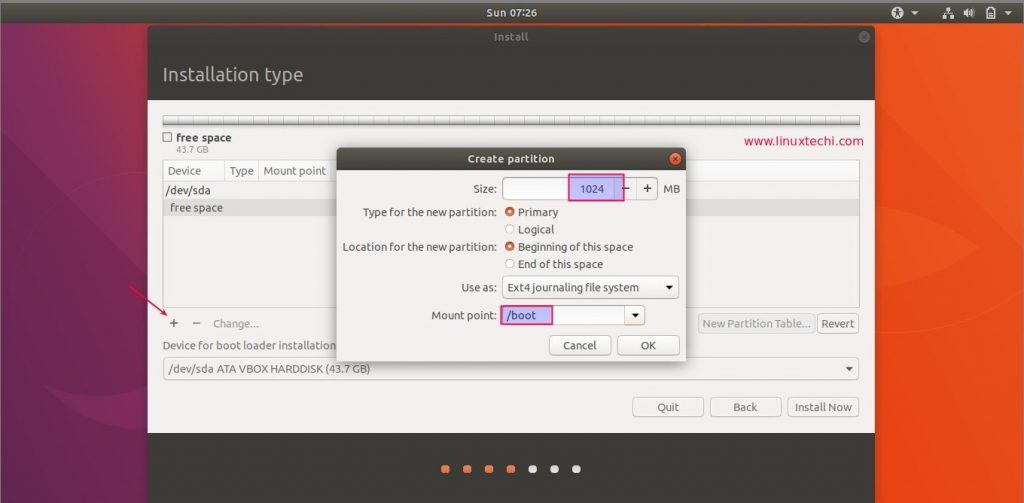
- /boot 1GB (ext4 files system)
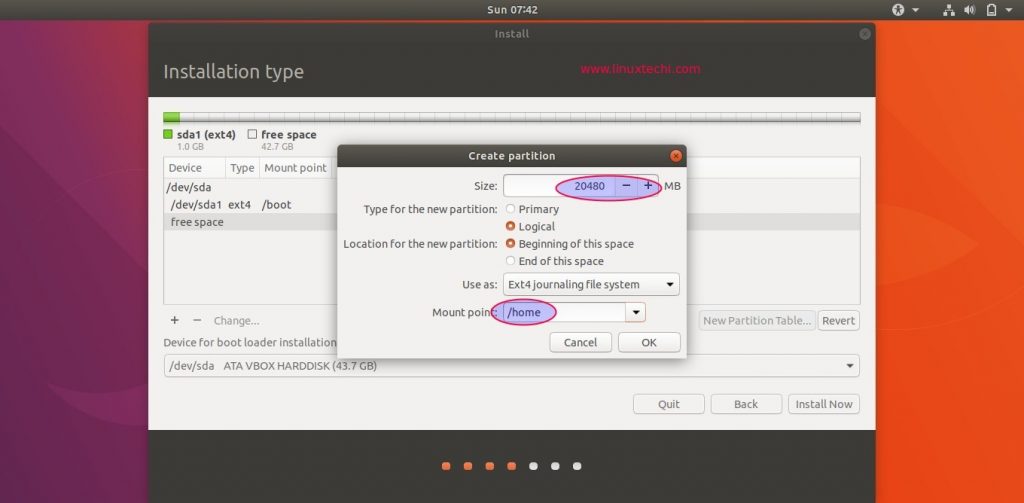
- /home 20 GB (ext4 file system)
- / 10 GB ( ext4 file system)
- /var 6 GB ( ext4 file system)
- Swap 2 GB
Click on continue
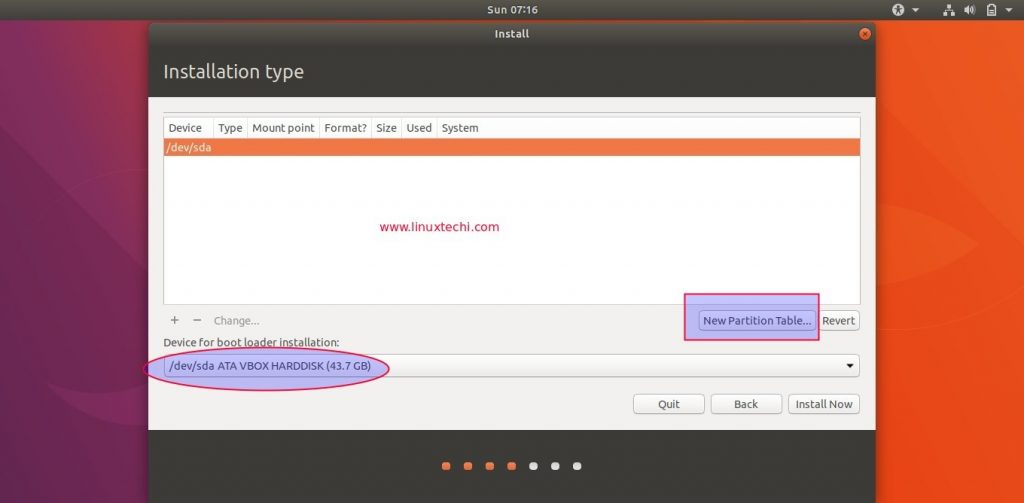
In the next window we will see the free available disk size for Ubuntu Linux,
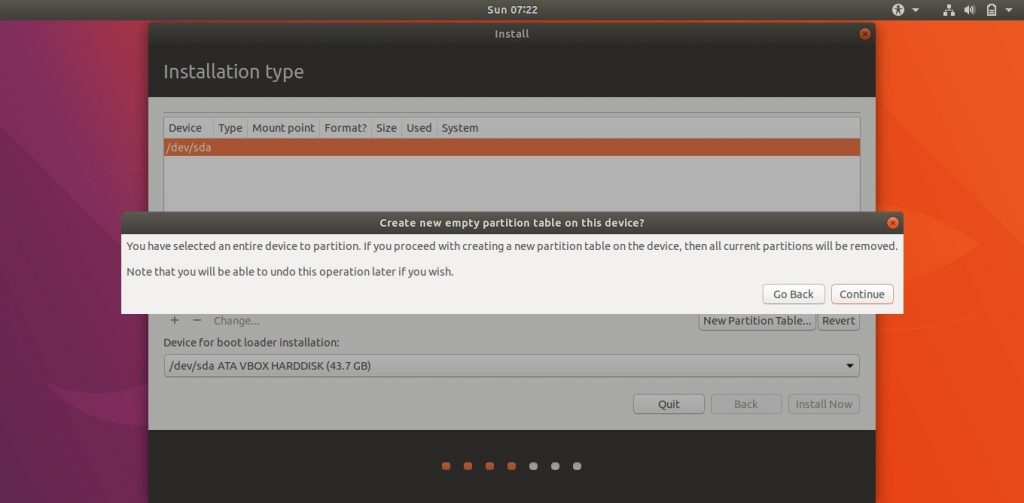
To start creating new partition table, click on the option “New Partition Table”
Click on continue
Create /boot partition of size 1GB, Click on + symbol to create a new partition
Create /home partition of size 20 GB,
Similarly create / & /var file system of size 10 GB & 6 GB respectively
Now create our last partition as swap of size 2 GB
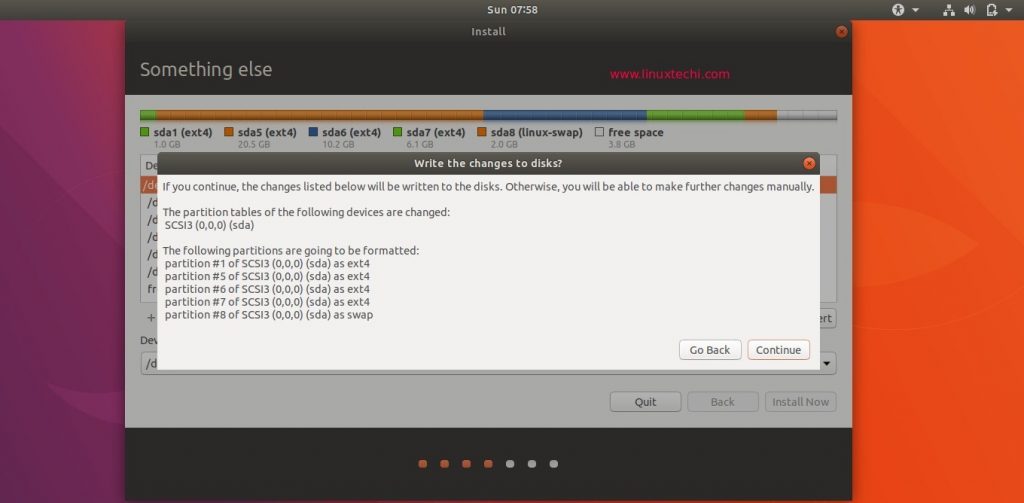
Once your are done with partitions, then click on ‘Install Now‘ option
click on Continue to write changes to the disks.
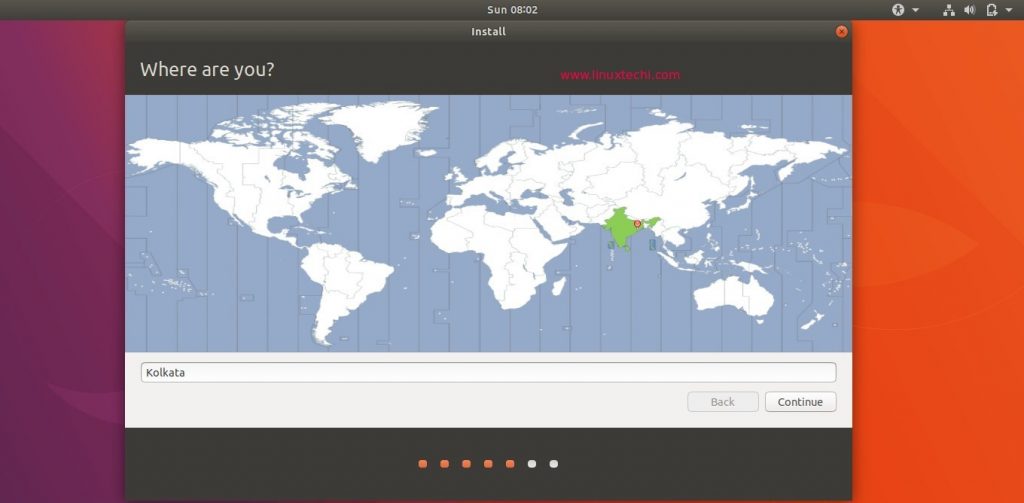
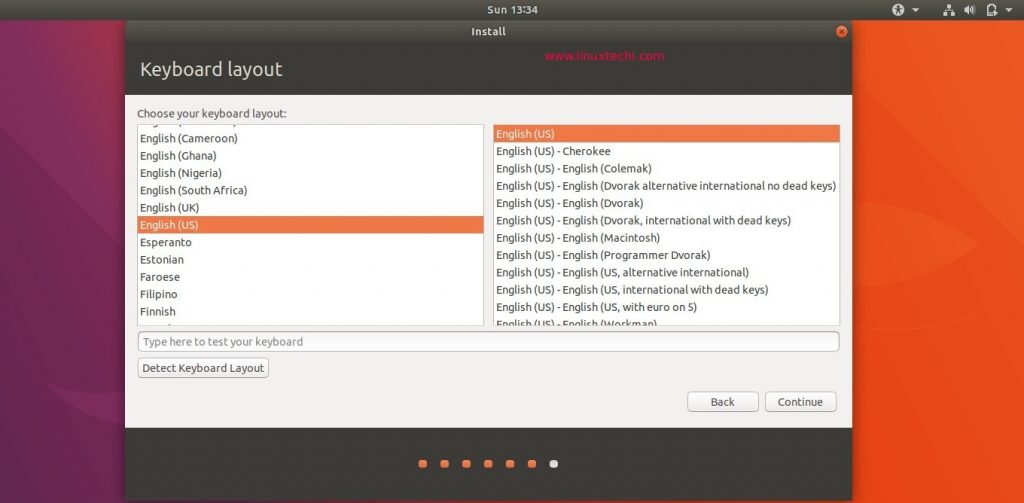
Step:5) Select your respective Time zone and Keyboard Layout
click on continue
Click on continue to Proceed further
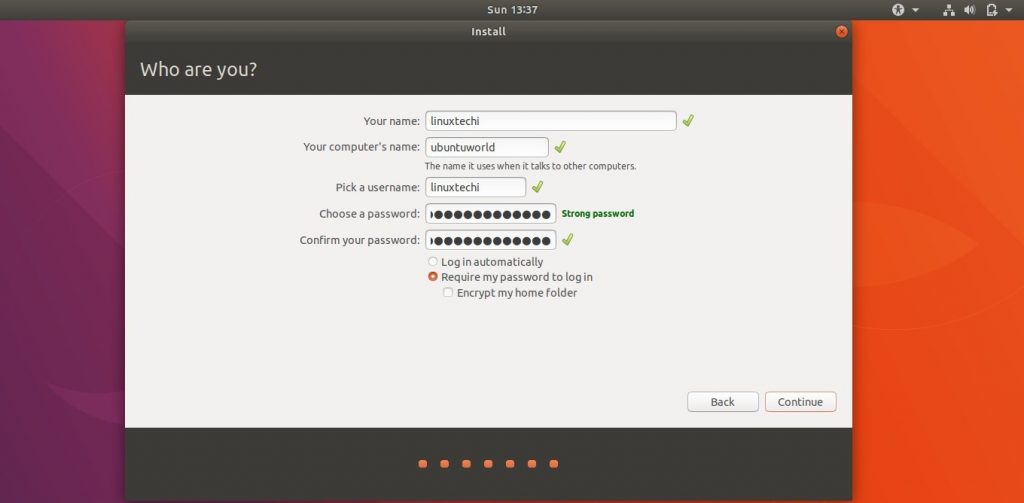
Step:6) Mention the User Name and Host name for your system
Whatever User name and host name you have specified here, it will be create on your system during the installation.
Click on Continue to start the Installation
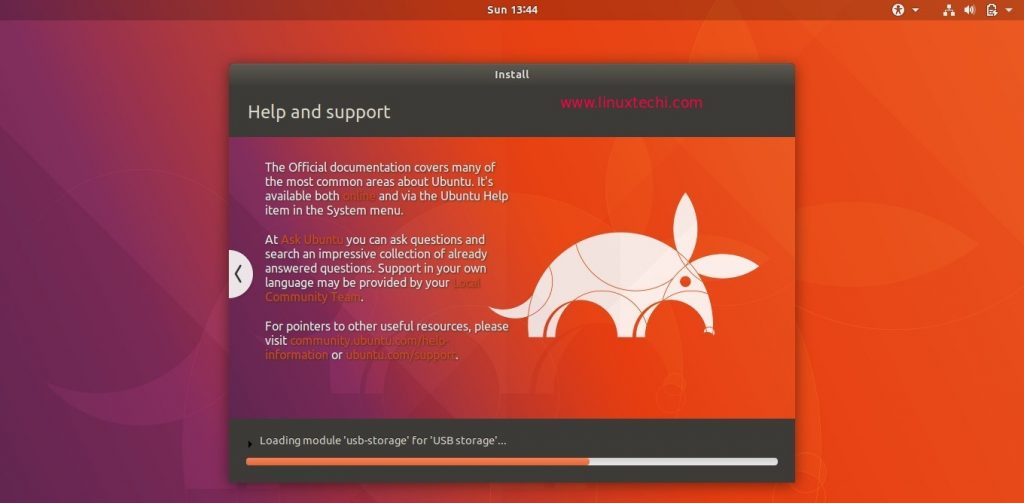
Step:7) Ubuntu 17.10 installation has been started and is in progress
At this step, Installation of Ubuntu 17.10 should be started and is in progress.
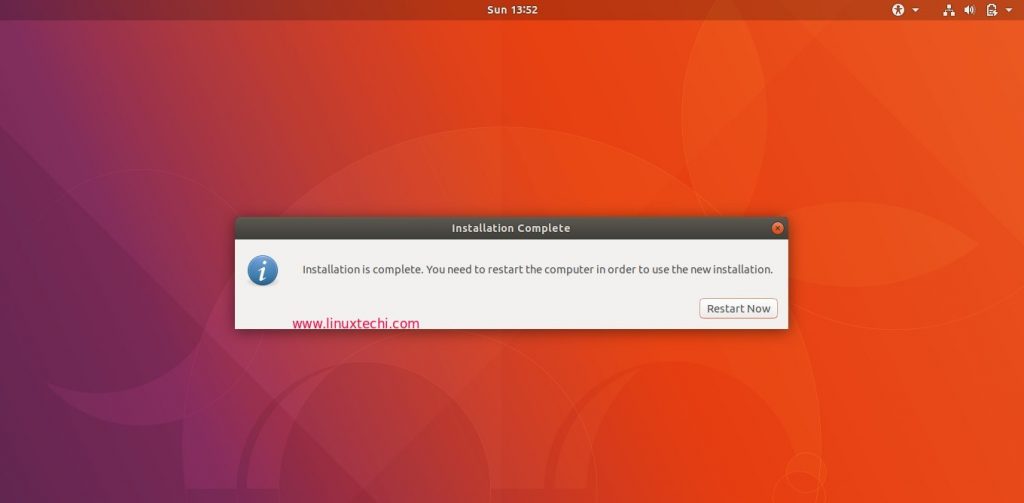
Once the installation is completed, installer will prompt us to restart your system.
Click on “Restart Now” to reboot the machine.
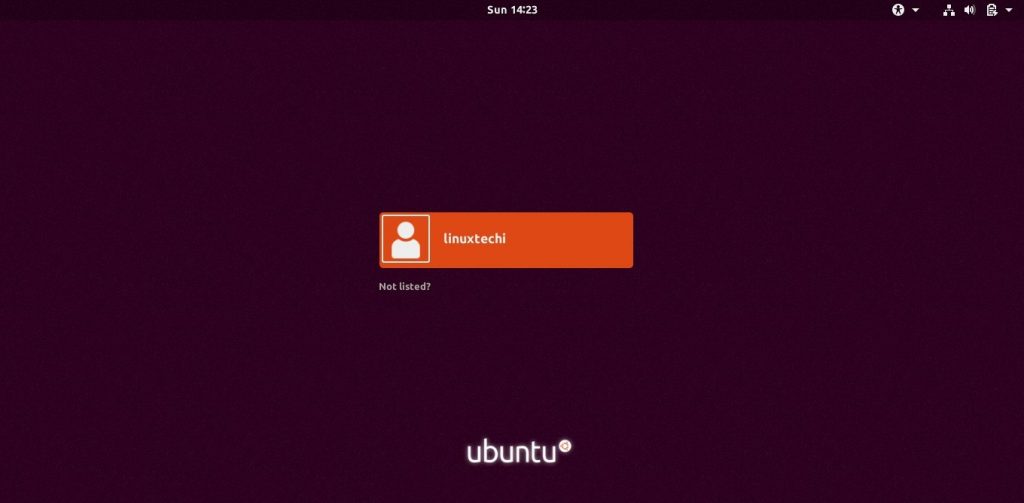
Step:8) Ubuntu 17.10 login screen after reboot
Use the same credentials that we have specified during the installation
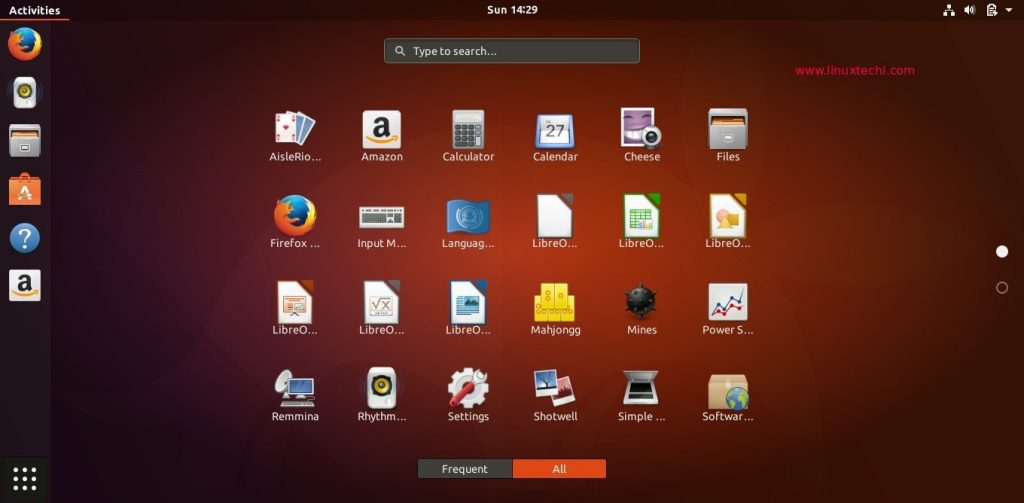
This concludes the installation of Ubuntu 17.10, now explore latest version of Ubuntu and have fun 🙂


Yes, this is a different Ubuntu 17.10 version, I have those options.
What about Save Mode when installing Third Party Software and Secure Boot & Password?
Should it be set Password and then disabled or what?
The feed doesn’t say what to do, should it be disabled before continue or will it be done by the installer?
And when using third Party Software, I couldn’t login. the password to Decrypt can’t be typed, cursor is at the top of the screen. So, I want to reinstall, but what about that Save Mode?
I can’t even access other drives when running a 17:10 live Cd. Not authorised , etc. Never had that issue before but… Gksudo nautlius and I can’t even find the other drives !
If I can’t save out .Thunderbird & .Mozilla then the Live Cd is Completely useless. How in the heck could it be trusted to run without issue updated my 17:04 desktop if the Live CD wont even work as it should ?