Ubuntu 14.04 LTS has been released officially & code name is Trusty Tahr. Ubuntu is the fastest growing desktop operating system , to download the ISO file use below links:
Ubuntu 14.04 LTS 32-bit
Ubuntu 14.04 LTS 64-bit
Some of the new features of Ubuntu 14.04 LTS are listed below :
- New kernel 3.13
- Python 3.4
- Libreoffice-4.2.3
- AppArmor with lot of new feature
- Xorg-15.01 (Display Server)
- Ubuntu Desktop – Unity with lot of new features
- Upstart 1.12.1
- Oxide – Oxide is a webview based on Chromium to deliver web content. Oxide allows us to better support 3rd party developers and applications within the Ubuntu archive by providing a fast, secure and up to date webengine library for the duration of the LTS
In this article we will discuss the installation steps of Ubuntu 14.04 .
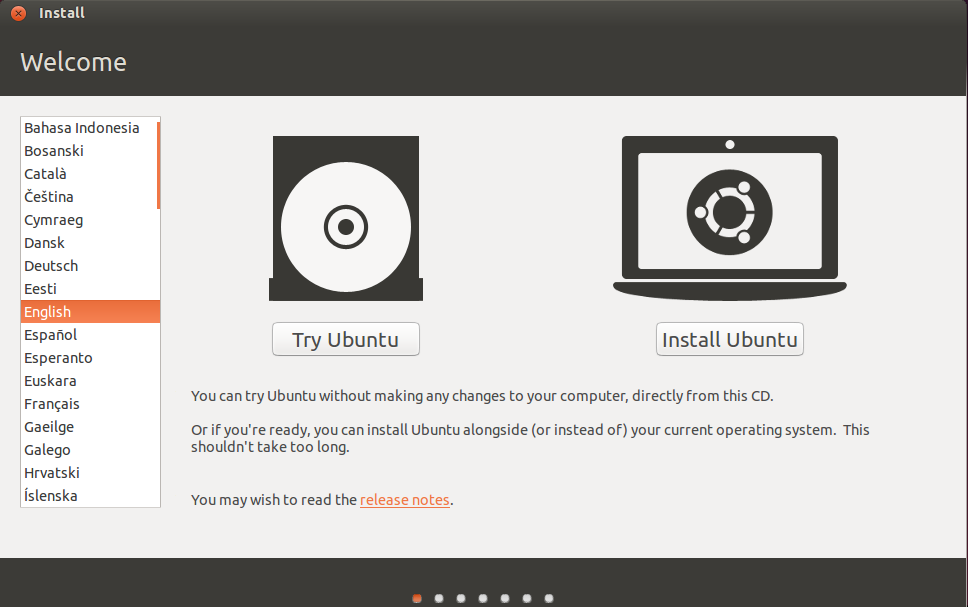
Step:1 Write the downloaded ISO file into USB drive or in DVD and boot your system with USB Drive / DVD & will get below welcome Screen.
Step:2 Click on ‘Install Ubuntu‘ Option
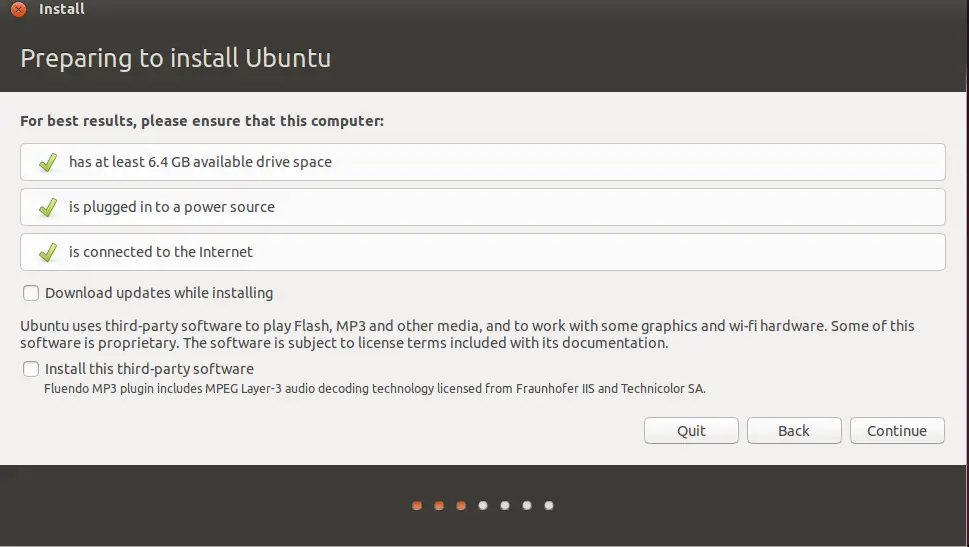
Step:3 Prepare to Install Ubuntu, make sure your system has enough free space (atleast 6.4 GB) , connected to Internet & power source
Click on Continue…
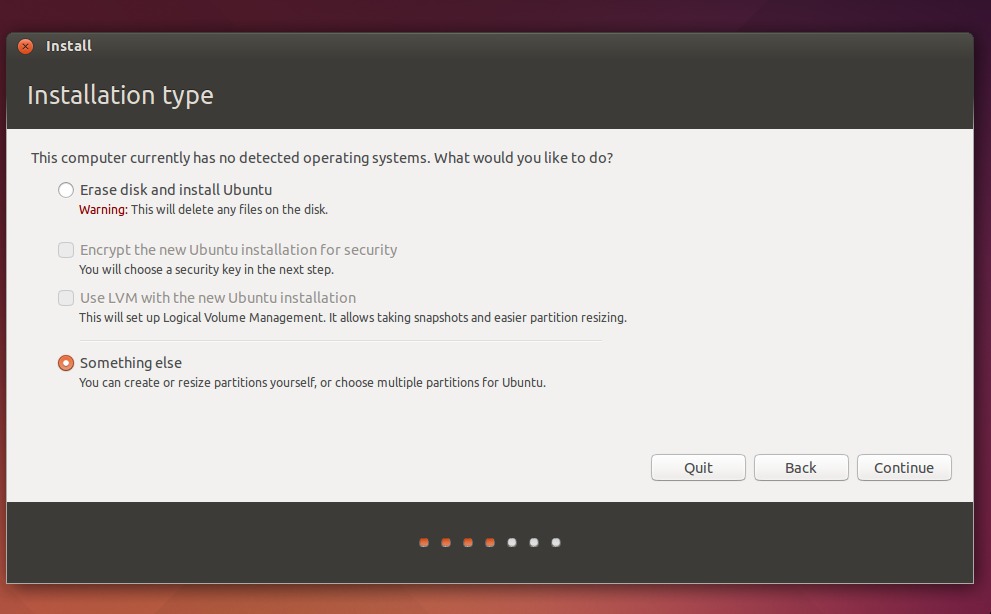
Step:4 Installation Type : You can select default option , in which data on disk will be erased , if you want your customize partition table ,then select ‘Something else’ option . If you want encrypt the drive , then select ‘Encrypt the new Ubuntu installation for security‘.
In my case i am creating customize partition table by selecting ‘something else’
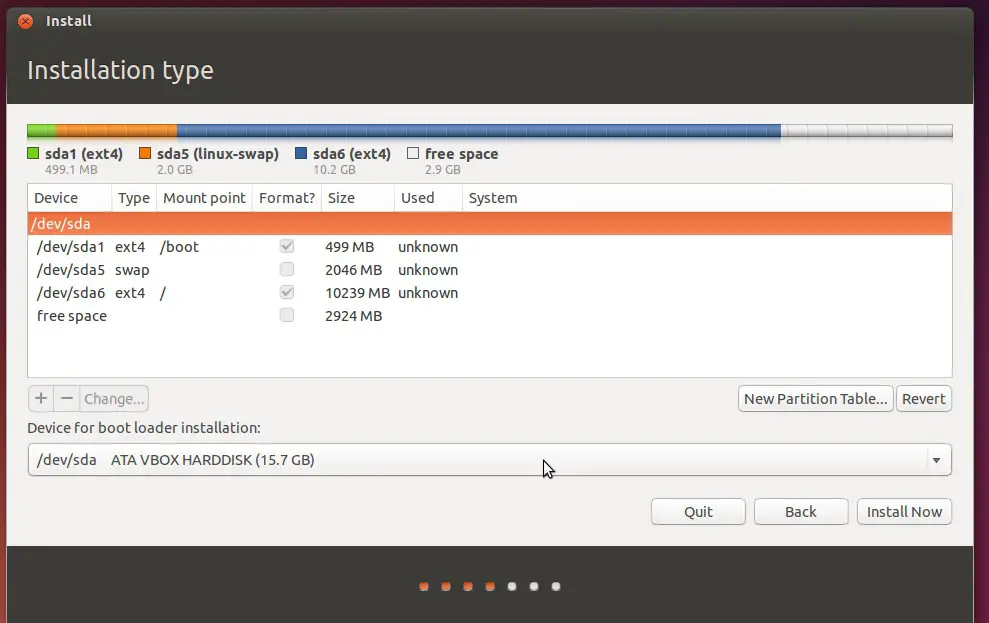
Step:5 Create Partitions as per your requirement. In my case i am creating /boot – 500 MB , swap-2048 MB and / – 10240 MB .
Click on Install Now…..
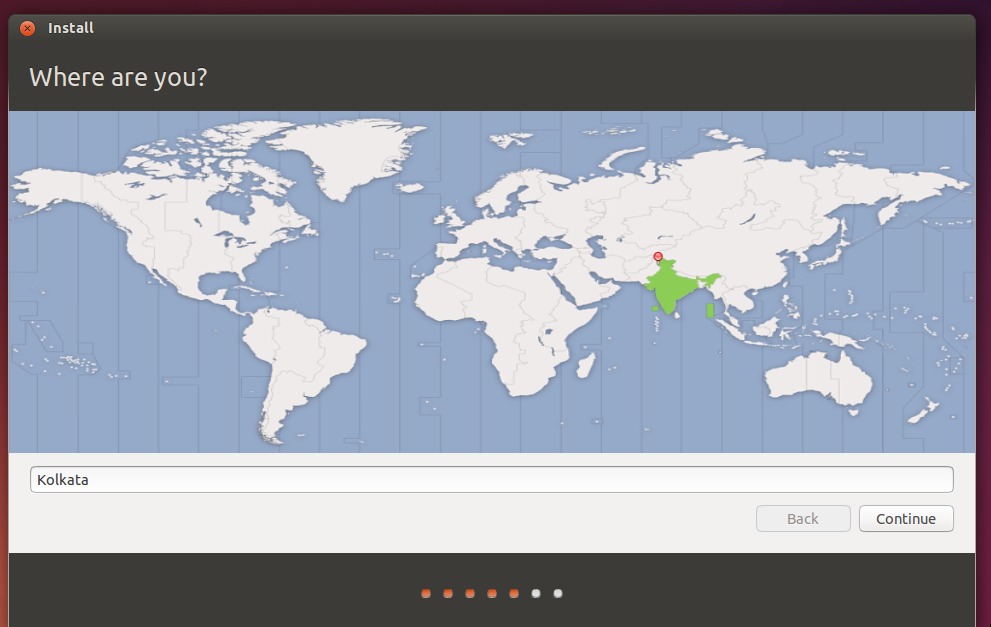
Step:6 Select your Respective Time Zone
click on Continue….
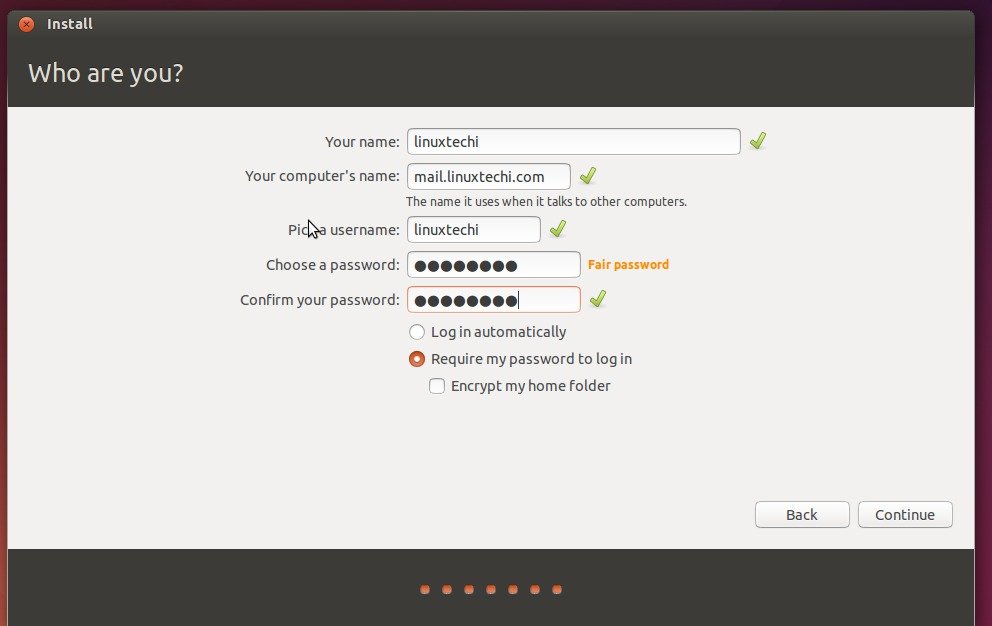
Step:8 Set the HostName and User Name with the password.
Click on Continue….
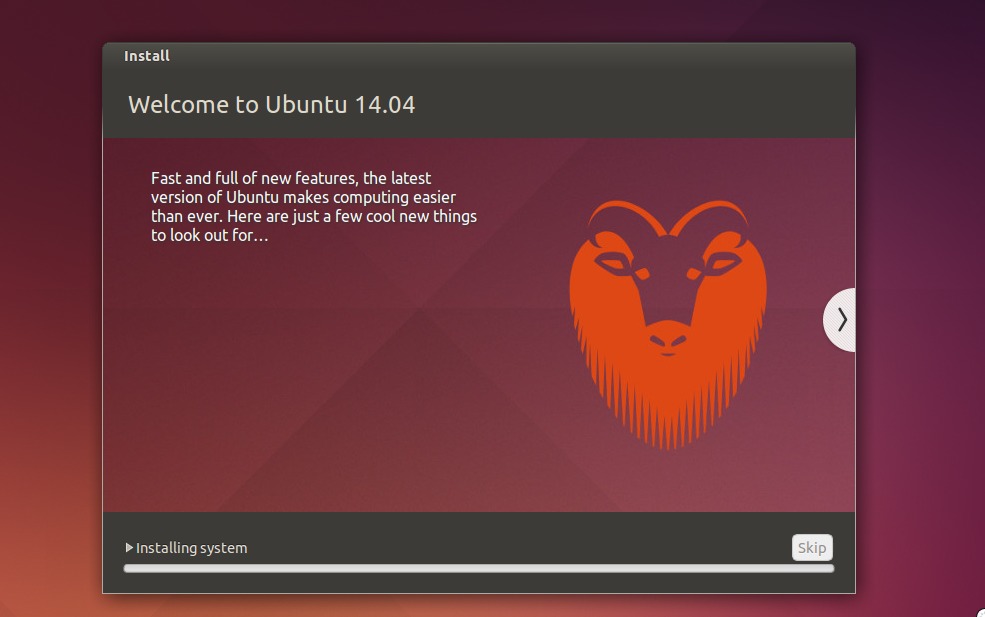
Step:9 Installation Started as shown below
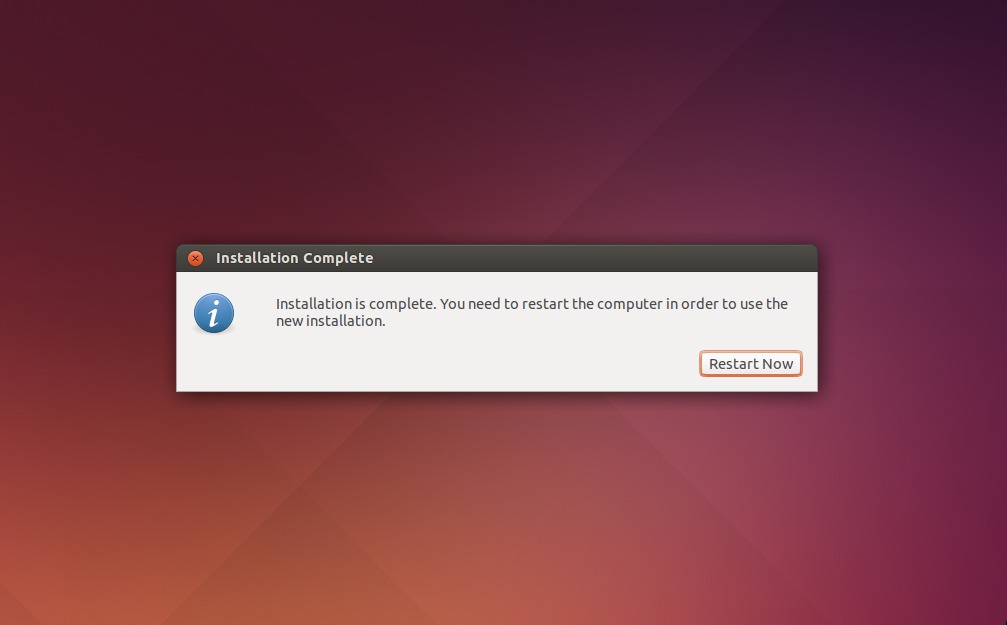
 Step:10 After the installation is completed , it will ask you to reboot the Machine.
Step:11 Login Prompt after installation – Use same credentials that you have set during installation
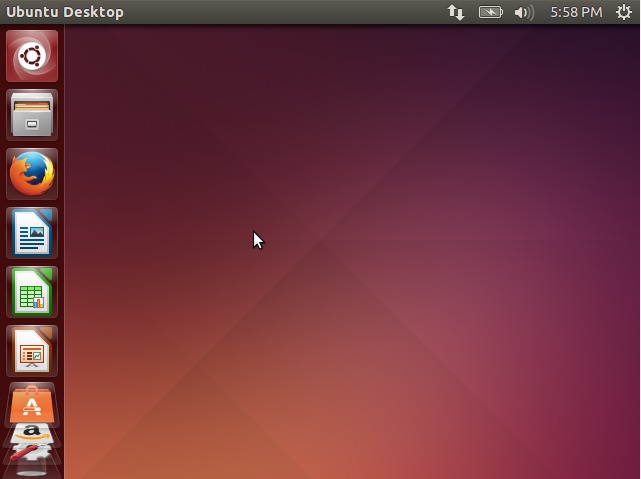
Step:12 Screen After the Entering the Credentials



An outstanding share! I have just forwarded this onto a colleague who was doing a little research on this. And he in fact ordered me lunch simply because I found it for him… lol. So let me reword this…. Thanks for the meal!! But yeah, thanx for spending the time to discuss this topic here on your internet site.