OpenStack is a Cloud Software that manage large pool of compute (hypervisors), storage ( block & swift ) and network resources of a data center. It provides a Dashboard where admins can create and manage Projects (Tenants ) and give appropriate access to the project members , further on Project members can create VMs (Virtual Machine).
In this article we will install latest version of OpenStack ‘Liberty’ on CentOS 7 using rdo repositories. As per my setup i am using followings on my CentOS 7 Machine
- Hostname = openstack.example.com
- IP address = 192.168.1.3
- netmask = 255.255.255.0
- Gateway = 192.168.1.1
- DNS = 192.168.1.254
Step:1 Set the hostname using hostnamectl command .
[root@localhost ~]# hostnamectl set-hostname "openstack.example.com"
[root@localhost ~]#
Step:2 Set the Selinux in Permissive Mode
[root@localhost ~]# setenforce 0
Edit the selinux config file ( /etc/sysconfig/selinux ) and set “SELINUX=permissive”
[root@localhost ~]# grep permissive /etc/sysconfig/selinux
SELINUX=permissive
[root@localhost ~]#
Step:3 Disable firewalld & NetworkManager Service
[root@openstack ~]# systemctl stop firewalld
[root@openstack ~]# systemctl disable firewalld
Removed symlink /etc/systemd/system/dbus-org.fedoraproject.FirewallD1.service.
Removed symlink /etc/systemd/system/basic.target.wants/firewalld.service.
[root@openstack ~]#
[root@openstack ~]# systemctl stop NetworkManager
[root@openstack ~]# systemctl disable NetworkManager
Removed symlink /etc/systemd/system/multi-user.target.wants/NetworkManager.service.
Removed symlink /etc/systemd/system/dbus-org.freedesktop.NetworkManager.service.
Removed symlink /etc/systemd/system/dbus-org.freedesktop.nm-dispatcher.service.
[root@openstack ~]#
Step:4 Enable rdo repository for liberty packages.
Use below commands to update the system and enable rdo repository
[root@openstack ~]# yum update -y
[root@openstack ~]# yum install -y https://www.rdoproject.org/repos/rdo-release.rpm
Step:5 Install OpenStack PackStack Package
[root@openstack ~]# yum install -y openstack-packstack
Generate the answer file using below command.
[root@openstack ~]# packstack --gen-answer-file=/root/answer.txt
Packstack changed given value to required value /root/.ssh/id_rsa.pub
Edit the answer file “/root/answer.txt” , set the following parameters and leave rest of parameters as it is.
# NTP Server
CONFIG_NTP_SERVERS=<NTP_Server_IP>

# Disable Demo Version
CONFIG_PROVISION_DEMO=n

# Set KeyStone Admin Password or Admin user Password
CONFIG_KEYSTONE_ADMIN_PW=<password>

# Config Horizon over SSL
CONFIG_HORIZON_SSL=y

# Disable Nagios
CONFIG_NAGIOS_INSTALL=n
Note : In case if you don’t have NTP server in your setup then you can leave NTP parameter as it is.
Step:6 Start OpenStack installation using answer file.
[root@openstack ~]# packstack --answer-file /root/answer.txt
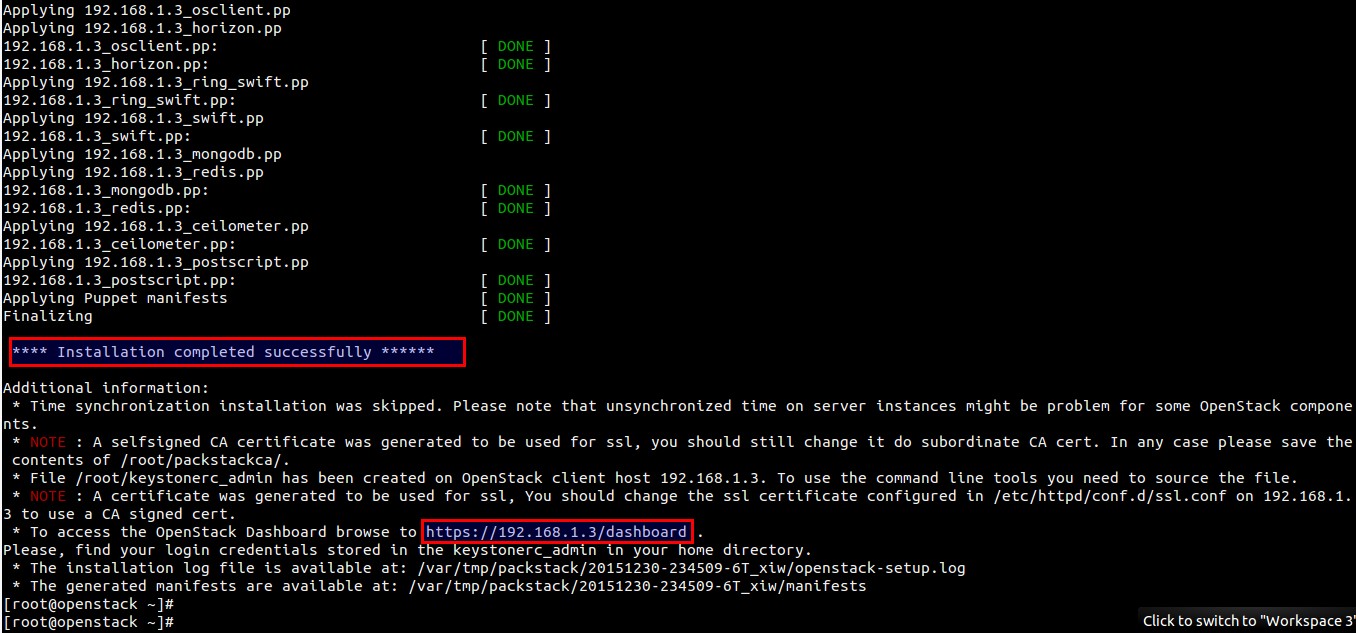
Once the installation is completed , we will get below message.
After the installation a new interface “br-ex” will be created and assign the IP addess of eth0 or enp0s3 to br-ex .
[root@openstack ~]# cd /etc/sysconfig/network-scripts/
[root@openstack network-scripts]# cp ifcfg-enp0s3 ifcfg-br-ex
[root@openstack network-scripts]# vi ifcfg-enp0s3
DEVICE=enp0s3
HWADDR="08:00:27:8E:EA:56"
TYPE=OVSPort
DEVICETYPE=ovs
OVS_BRIDGE=br-ex
ONBOOT=yes

[root@openstack network-scripts]# vi ifcfg-br-ex
DEVICE=br-ex
DEVICETYPE=ovs
TYPE=OVSBridge
BOOTPROTO=static
IPADDR=192.168.1.3
NETMASK=255.255.255.0
GATEWAY=192.168.1.1
DNS1=192.168.1.254
ONBOOT=yes
In above files please change the IP details, Hardware address and Device name as per your setup.
When we restart the network service , it will add “enp0s3” as a port in br-ex OVS bridge.
[root@openstack network-scripts]# systemctl restart network
[root@openstack network-scripts]#
Please take a reboot and check whether settings are persistent or not.
Step:7 Now Access OpenStack Dashboard.
When the installation is completed a dashboard link was provided on the screen , in My Case it is “https://192.168.1.3/dashboard”
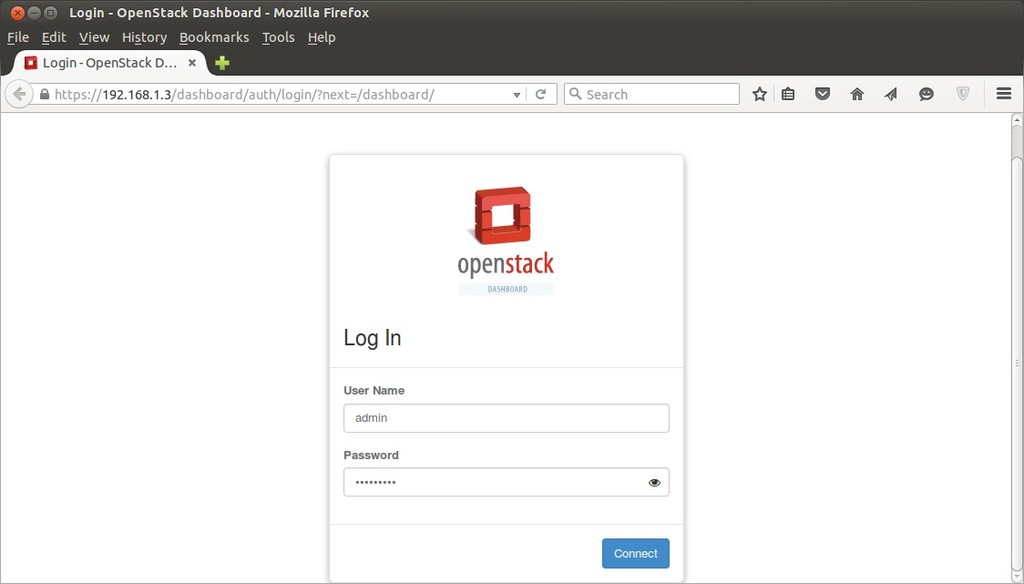
Use the user name as “admin” and password that we set for keystone admin user in answer file.
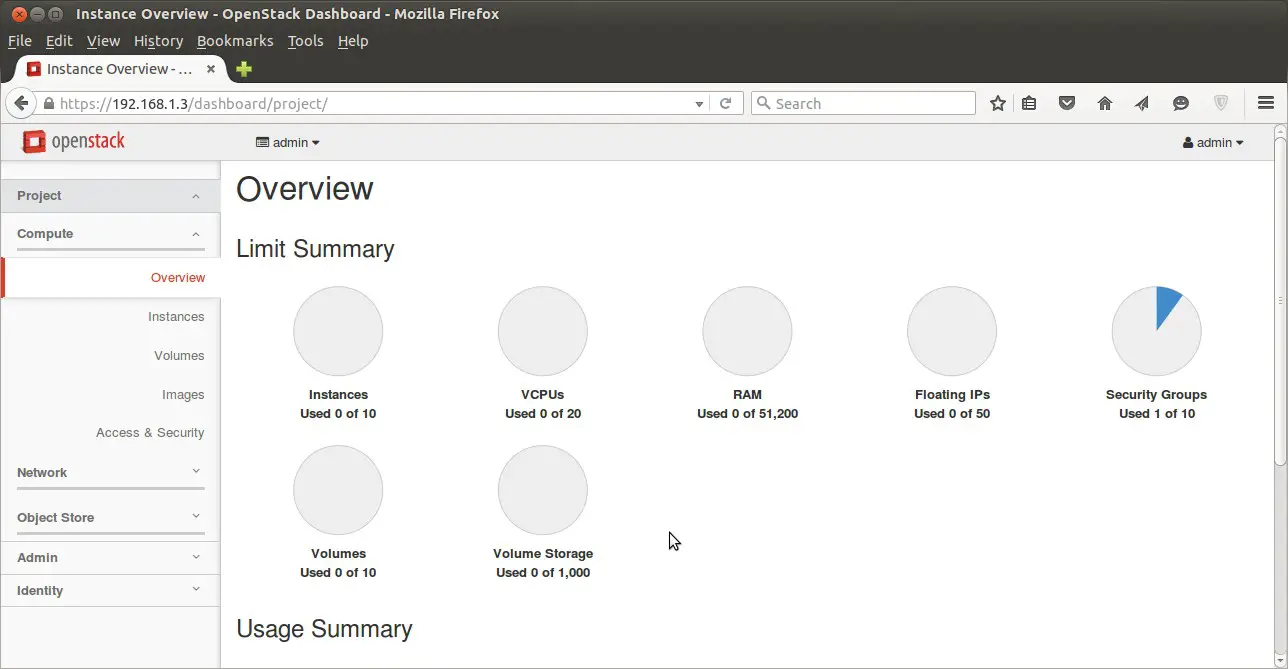
As we are able to login in Dashboard , so OpenStack installation part is completed. Now our next task is to “Launch an Instance from OpenStack Dashboard“

ERROR : Error appeared during Puppet run: 192.168.45.179_chrony.pp
Error: /usr/sbin/ntpdate pool.ntp.org returned 1 instead of one of [0]
Hi Rajendra ,
Try to stop the ntp service first and then start the installation.
Hi Pradeep,
Thanks for the valuable article.
Could you let me know how I can add additional IP address to the openstack?
For test I am using private IP address.
Hi Pradeep,
After the open stack installation as you said.
>>> After the installation a new interface “br-ex” will be created and assign the IP addess of eth0 or enp0s3 to br-ex .
cp ifcfg-enp0s3 ifcfg-br-ex
But I am not seeing a file name with ifcfg-enp0s3 under the folder network-scripts
Hi Rinshad ,
What OS version you are using ? and paste the content of directory (/etc/sysconfig/network-scripts). In case of CentOS 7.X & RHEL 7.X we have a interface file either with name “ifcfg-enp0s3” or ifcfg-eth0/1/2′ under the directory ‘/etc/sysconfig/network-scripts/’.
Hi Pradeep,
I am using Centos.7.1. Here is network-scripts folder contents.
network-scripts]# ls
ifdown ifdown-ippp ifdown-post ifdown-Team ifup-aliases ifup-ippp ifup-plip ifup-routes ifup-tunnel network-functions-ipv6
ifcfg-eno1 ifdown-bnep ifdown-ipv6 ifdown-ppp ifdown-TeamPort ifup-bnep ifup-ipv6 ifup-plusb ifup-sit ifup-wireless
ifcfg-lo ifdown-eth ifdown-isdn ifdown-routes ifdown-tunnel ifup-eth ifup-isdn ifup-post ifup-Team init.ipv6-global
ifcfg-Profile_1 ifdown-ib ifdown-ovs ifdown-sit ifup ifup-ib ifup-ovs ifup-ppp ifup-TeamPort network-functions
Rinshad ,
In your case interface file name is ‘ifcfg-eno1’ , in the above document try to use ‘ifcfg-eno1’ instead of ‘ifcfg-enp0s3’
when i am using this command yum install -y ‘https://www.rdoproject.org/repos/rdo-release.rpm’
i am getting this error:
Loaded plugins: fastestmirror, langpacks
Cannot open: ‘https://www.rdoproject.org/repos/rdo-release.rpm’ Skipping.
Error: Nothing to do
can u please tell me why it is like this.
this command is working, actually my internet connection was not there, lets see further
thanks
i do not acccess after resat network
it is fail connect
Nice article all steps are working properly.
some rpms need to be download from epel and centos plus repository 🙂
I cannot access to external network from instances that I launched in openstack environment. I have mapped it corectly but still cannot ping is threre a way you can show us how to map it our virtual netwotk to external network. It will be so helpfull.
Hi Kumar,
i have error like this when install openstack:
ERROR : Error appeared during Puppet run: 10.10.66.60_provision_glance
Error: Execution of ‘/usr/bin/openstack image create –format shell cirros –public –container-format=bare –disk-format=qcow2 –copy-from=http://download.cirros-cloud.net/0.3.4/cirros-0.3.4-x86_64-disk.img’ returned 1: 400 Bad Request: The HTTP URL is invalid: HTTPConnectionPool(host=’download.cirros-cloud.net’, port=80): Max retries exceeded with url: /0.3.4/cirros-0.3.4-x86_64-disk.img (Caused by NewConnectionError(‘<requests.packages.urllib3.connection.HTTPConnection object at 0x6e9cf50>: Failed to establish a new connection: [Errno 113] EHOSTUNREACH’,)) (HTTP 400)
what is impact for my environment?and any resolution? ^_^
Regards
failure: repodata/repomd.xml from base: [Errno 256] No more mirrors to try.
‘http://mirror.centos.org/centos/7/os/x86_64/repodata/repomd.xml’: [Errno -1] Erro r importing repomd.xml for base: Damaged repomd.xml file
++ t
Getting this error when trying to Start OpenStack installation using answer file, if anyone can help me here.
i am also getting same error..how you resolved?
Check DNS resolution on you server and try .
after finishing the installation, i must have an internet connection to access the dashboard. what should i do to make it as an offline server? please help me. thanks before.