This post explains you how to install VMware Workstation on Linux Mint 21 system.
In the realm of virtualization, VMware Workstation stands out as a powerful tool that enables users to run multiple operating systems on a single machine. If you are Linux Mint user eager to harness the benefits of VMware Workstation, you’re in the right place.
Prerequisites
- Pre-Install Linux Mint 21 system
- 64-bit x86/AMD64 CPU
- 4 GB RAM or more
- Sudo user with admin privileges
- Internet connectivity
Without any further delay, let’s deep dive into VMware Workstation installation steps.
1) Install Updates
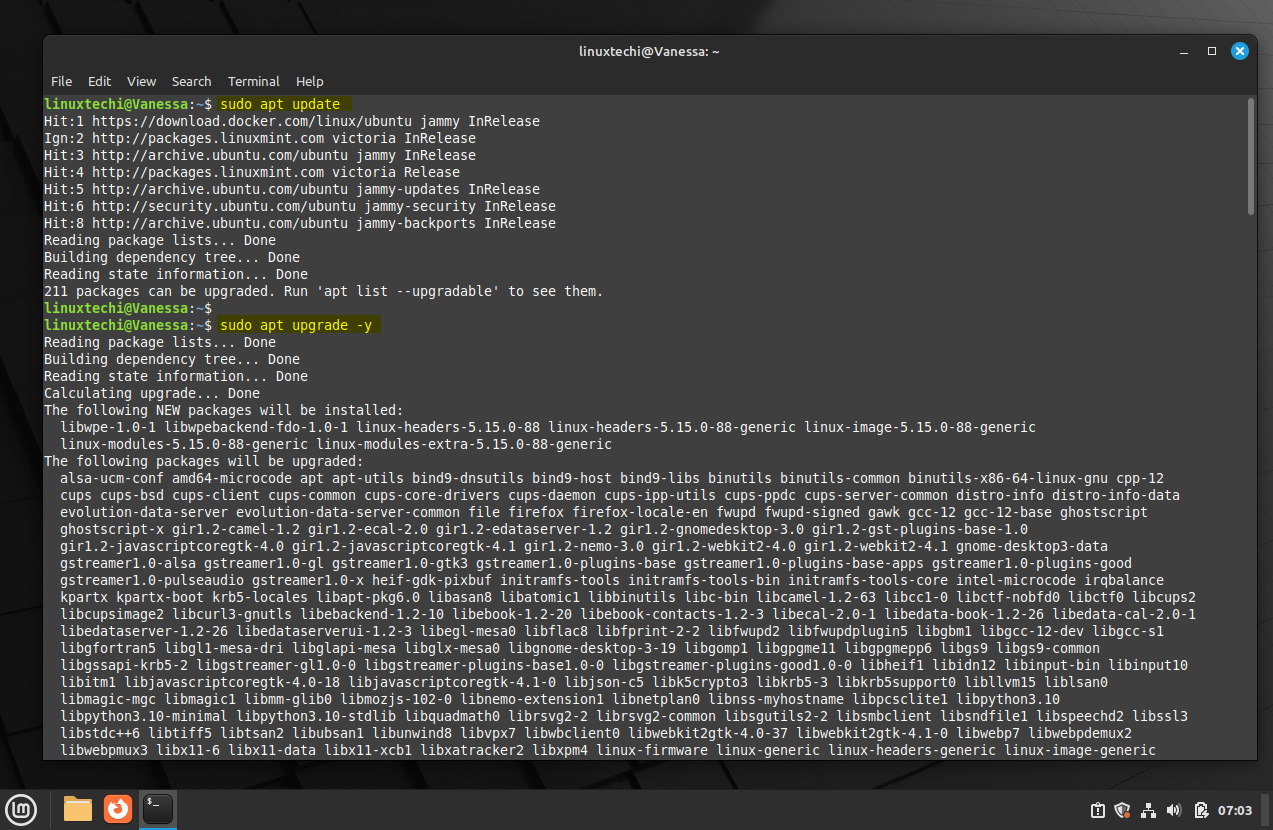
Before diving into the installation, it’s crucial to ensure your Linux Mint 21 system is up to date. Open a terminal and run the following commands:
$ sudo apt update
$ sudo apt upgrade -y
This ensures that your system is equipped with the latest packages and dependencies required for VMware Workstation.
Reboot your system post installing all the updates.
$ sudo reboot
2) Install VMware Dependencies
VMware Workstation may require additional libraries and dependencies to function correctly. Install them by running the following command in your terminal:
$ sudo apt install build-essential linux-headers-$(uname -r) -y
3) Download VMware Workstation
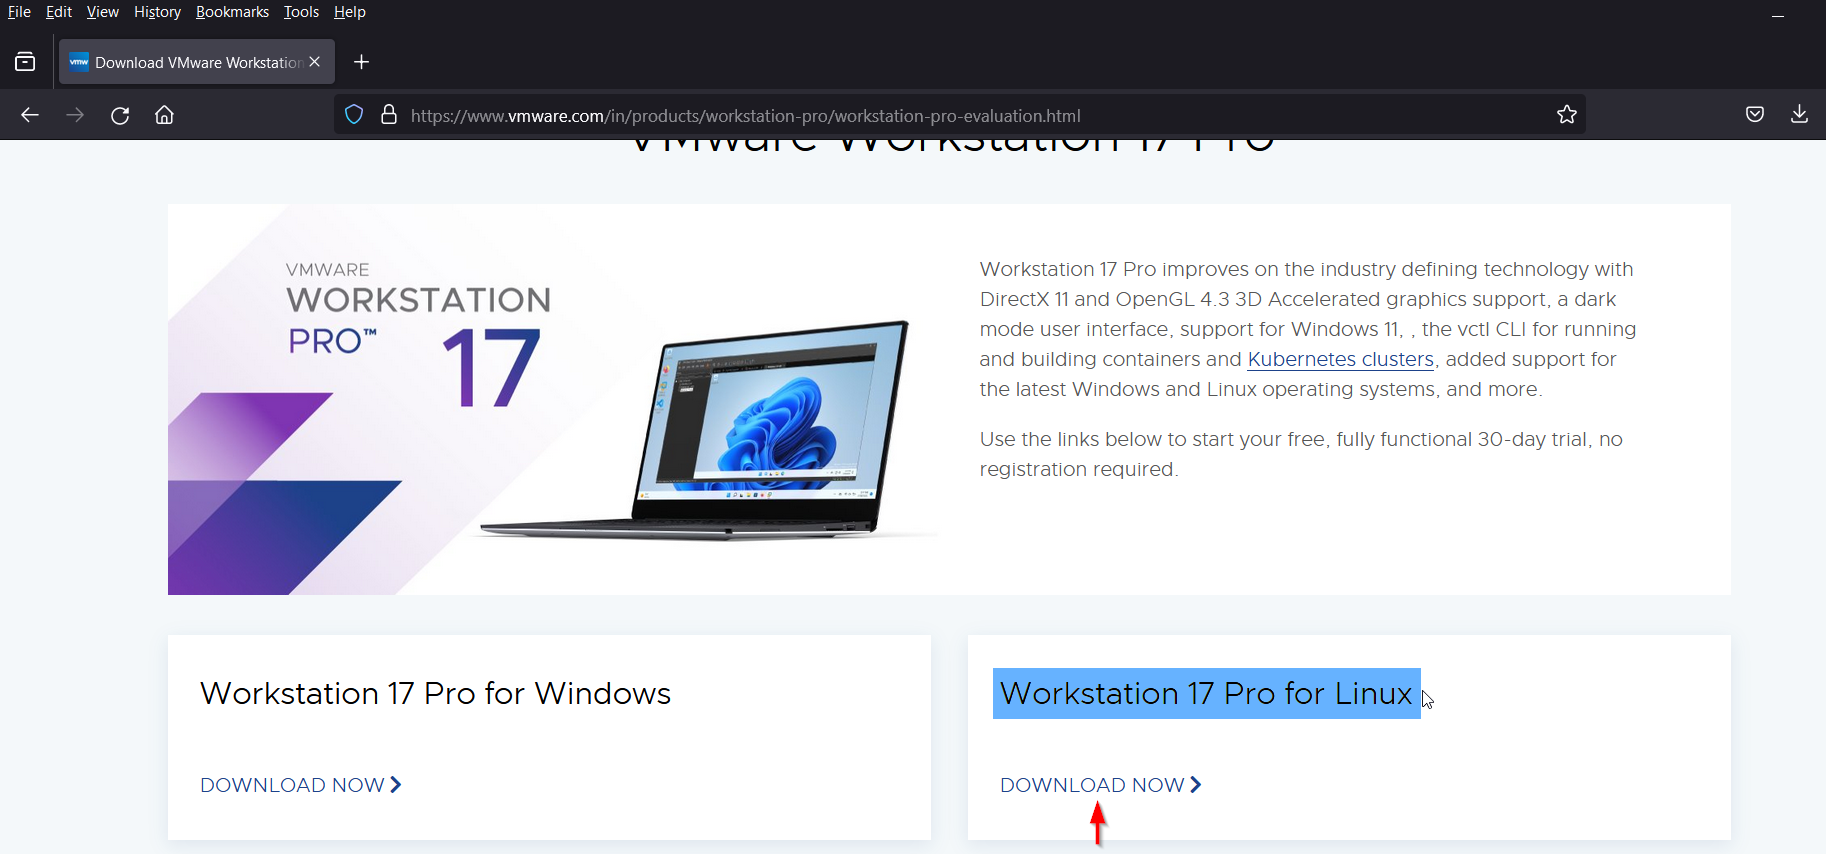
Navigate to the official VMware website (https://www.vmware.com/in/products/workstation-pro/workstation-pro-evaluation.html) and download the VMware Workstation17 pro for Linux.
Click on “Download Now” and save the installer package to your preferred directory.
Alternatively, we can also download it from command line using following wget command.
$ wget https://download3.vmware.com/software/WKST-1750-LX/VMware-Workstation-Full-17.5.0-22583795.x86_64.bundle
4) Install VMware Workstation on Linux Mint 21
Navigate the directory where you have downloaded the bundle file and set the executable permissions on it.
$ sudo chmod +x VMware-Workstation-Full-17.5.0-22583795.x86_64.bundle
Next, Execute the installer to initiate the installation process:
$ sudo ./VMware-Workstation-Full-17.5.0-22583795.x86_64.bundle
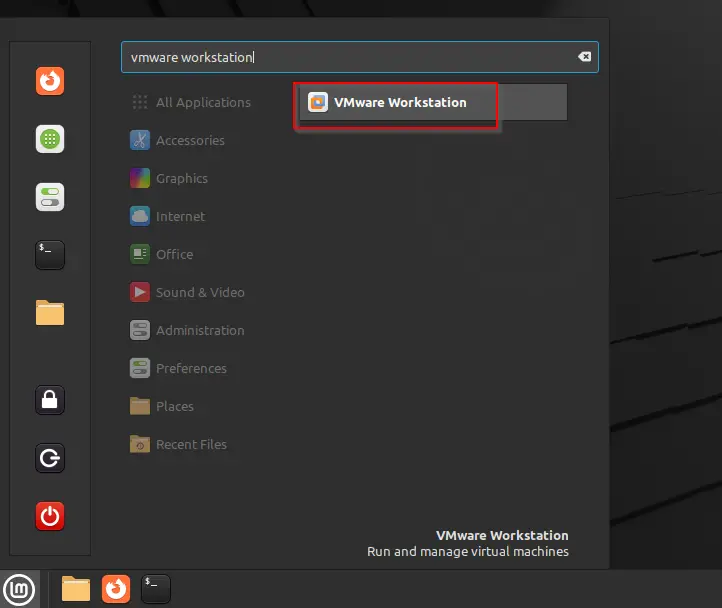
Next, start the VMware Workstation and follow the on-screen instructions to complete the installation.
Click on “VMware Workstation”
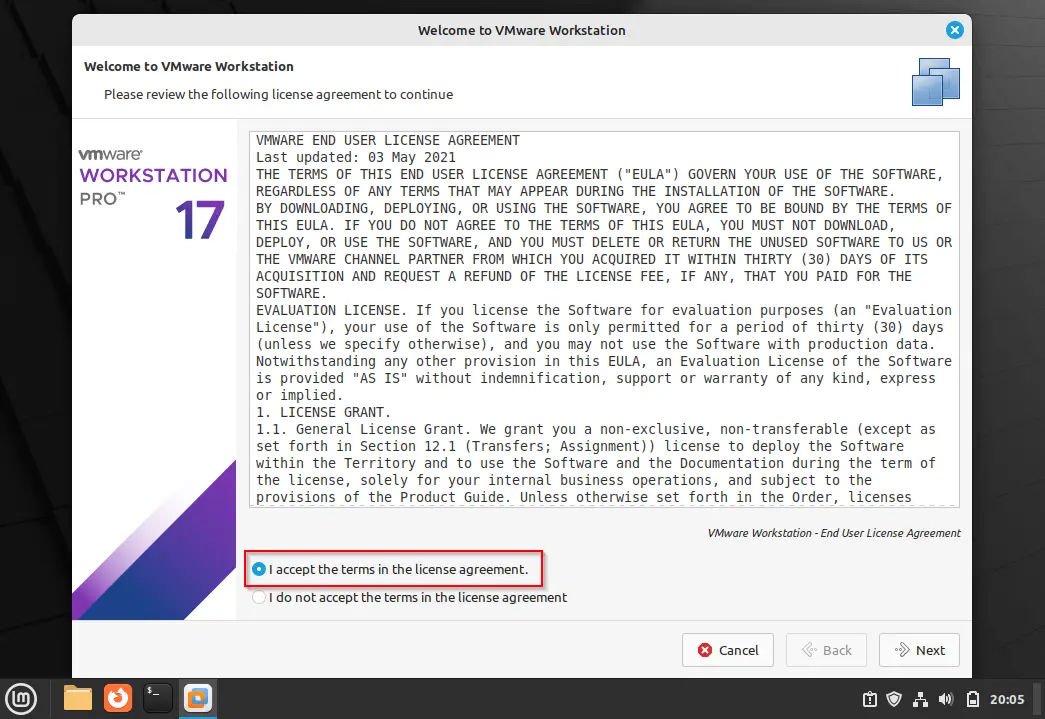
You will be prompted to accept the license agreement.
Click on Next,
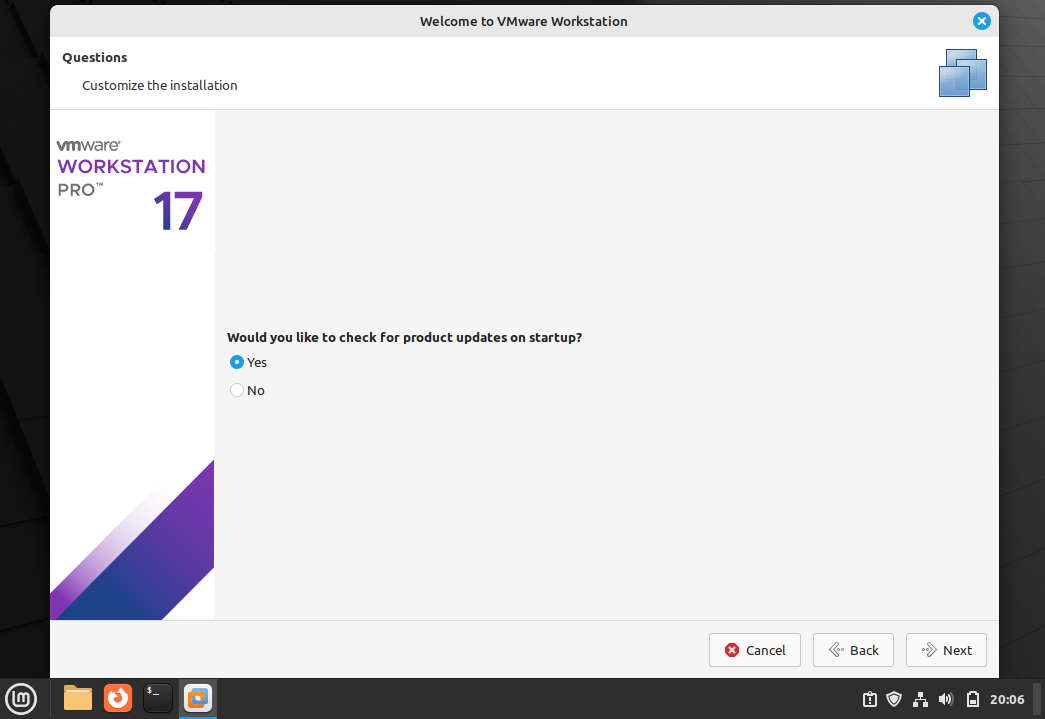
Now, you will prompt whether you want the updates automatically or not. Choose option accordingly and Click on Next.
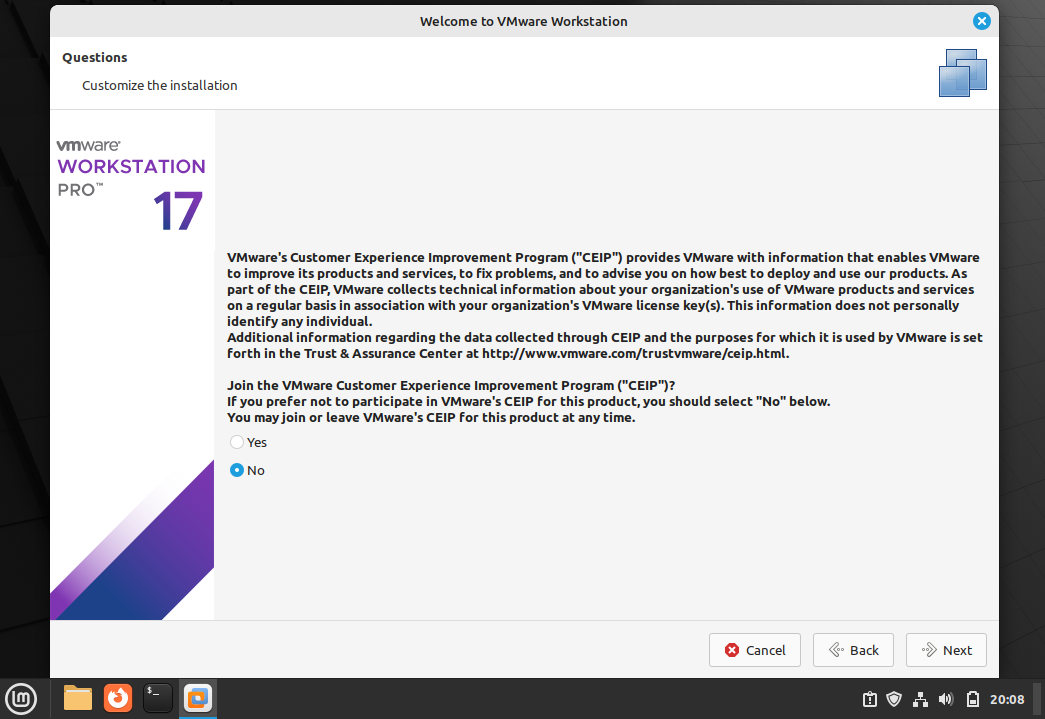
In the following screen, make your choice on “VMware Experience Improvement Program”.
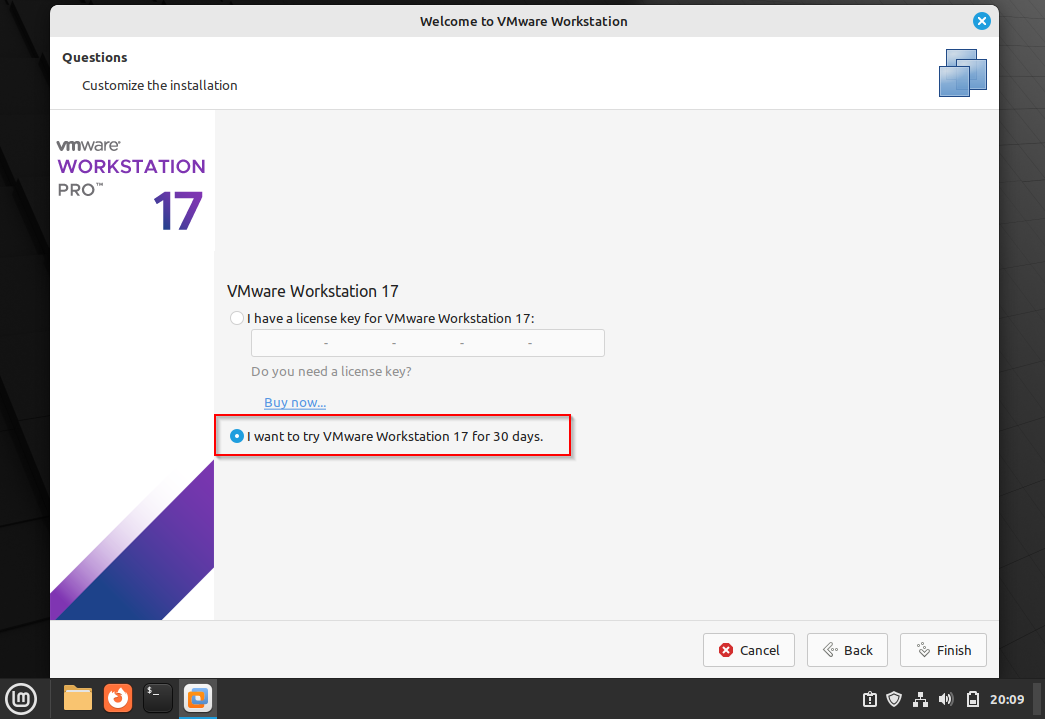
On the following screen, you will be asked how you want to use VMware Workstation. In case you want to use it free for 30 days then go for the second option else enter the key if you already have it.
Click on Finish
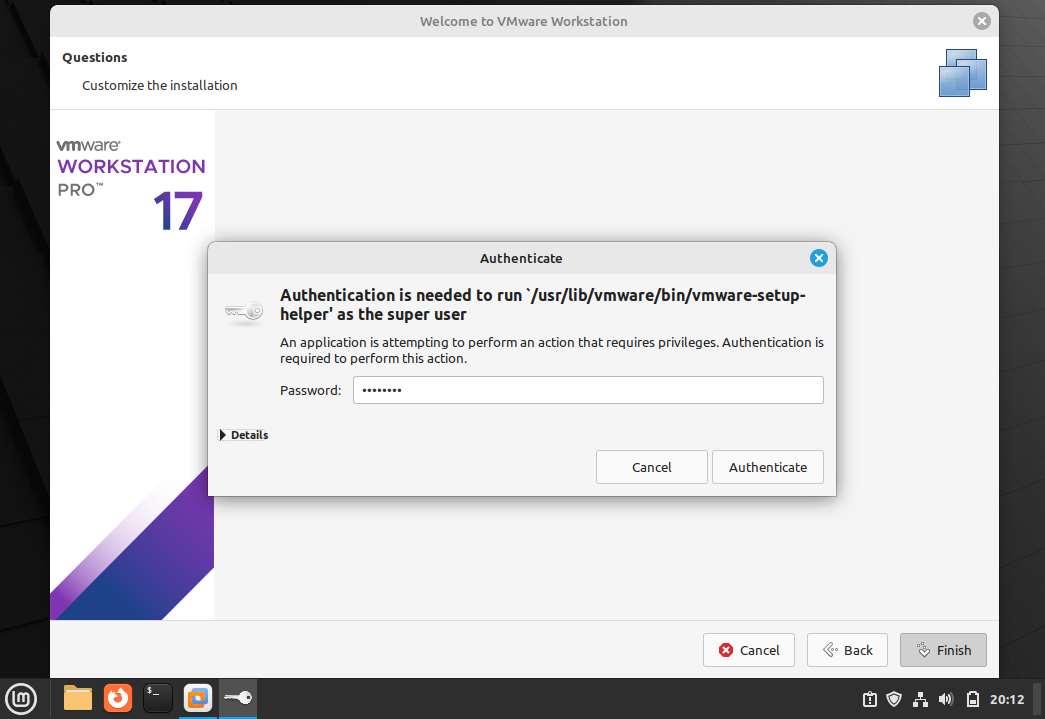
Enter your user’s password in the beneath screen to apply above settings.
Click on Authenticate.
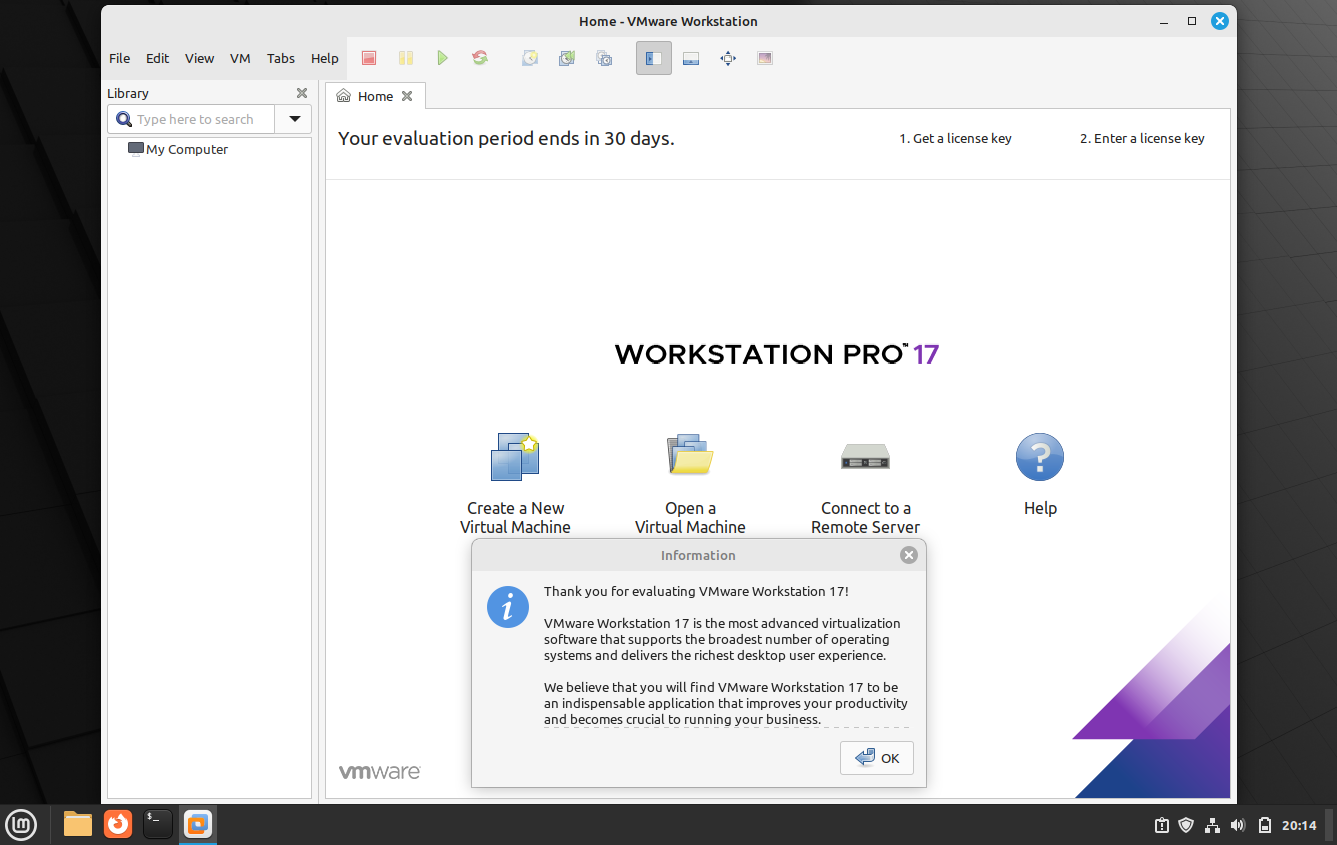
Finally, we will get the following screen, which confirms that, VMWare workstation is installed successfully.
Now you are good to create Virtual machines and explore VMware workstation.
5) Uninstall VMware Workstation
In case you don’t want to continue with VMware workstation and wants to uninstall it, then run the following command.
$ sudo vmware-installer -u vmware-workstation
That’s all from this post, we believe you have found it informative and useful. Feel free to post your queries and feedback in below comments section.
Read Also: How to Connect Remote Windows System from Linux Command Line
