In this blog post, we will cover how to install OTRS (Community Edition) on RHEL 8 or Rocky Linux 8 or AlmaLinux 8.
OTRS is a free and open source ticketing tool available for Linux like operating systems. OTRS stands for “Open Source Trouble Ticket System”. In open-source world it is one of the most popular trouble ticketing tool used by help desk, call centers and IT service management team in various organizations.
Prerequisites
- Minimal Installed RHEL 8 or Rocky Linux 8 or AlmaLinux 8 system
- 4 GB RAM
- 2 vCPUs or more
- 80 GB Disk space
- Perl 5.16 or higher
- Web Server (Apache 2 or NGINX)
- Database (MariaDB, MySQL & PostgreSQL 9.2 or higher)
- Internet Connectivity
Lab Details
- Hostname: otrs.linuxtechi.local
- IP Address: 192.168.1.248
- Sudo User : linuxtechi
Without any delay, lets jump into the OTRS installations steps,
1) Adjust SELinux and Firewall Rules
Login to your target system where you want to install OTRS, run following commands to set SELinux mode as permissive. So that OTRS works correctly
$ sudo setenforce 0
$ sudo sed -i --follow-symlinks 's/SELINUX=enforcing/SELINUX=permissive/g' /etc/sysconfig/selinux
Allow ports 80 and 443 in the firewall using following firewall-cmd commands,
$ sudo firewall-cmd --permanent --add-service=http
$ sudo firewall-cmd --permanent --add-service=https
$ sudo firewall-cmd --reload
2) Install Apache Web Server
Install apache web server and mod_perl package but mod_perl package is not available in the default package repositories. For it’s installation enable EPEL repository first.
For RHEL system, run
$ sudo subscription-manager repos --enable codeready-builder-for-rhel-8-$(arch)-rpms
$ sudo dnf install -y https://dl.fedoraproject.org/pub/epel/epel-release-latest-8.noarch.rpm
For Rocky Linux / Alma Linux, run
$ sudo dnf install epel-release -y
Next, run beneath command to install apache and mod_perl.
$ sudo dnf install httpd httpd-devel gcc mod_perl perl perl-core -y
Post apache installation, start and enable its service
$ sudo systemctl enable httpd --now
3) Install MariaDB Database Server
Execute the beneath dnf command to install mariadb database server,
$ sudo dnf install mariadb-server -y
After the mariadb installation, add the following parameters under the [mysqld] directive in /etc/my.cnf file for OTRS
$ sudo vi /etc/my.cnf

[mysqld]
datadir=/var/lib/mysql
socket=/var/lib/mysql/mysql.sock
max_allowed_packet=64M
query_cache_size=32M
innodb_log_file_size=256M
character-set-server=utf8
collation-server=utf8_unicode_ci
Save & close the file
Next Start and enable the database service using following command,
$ sudo systemctl enable mariadb --now
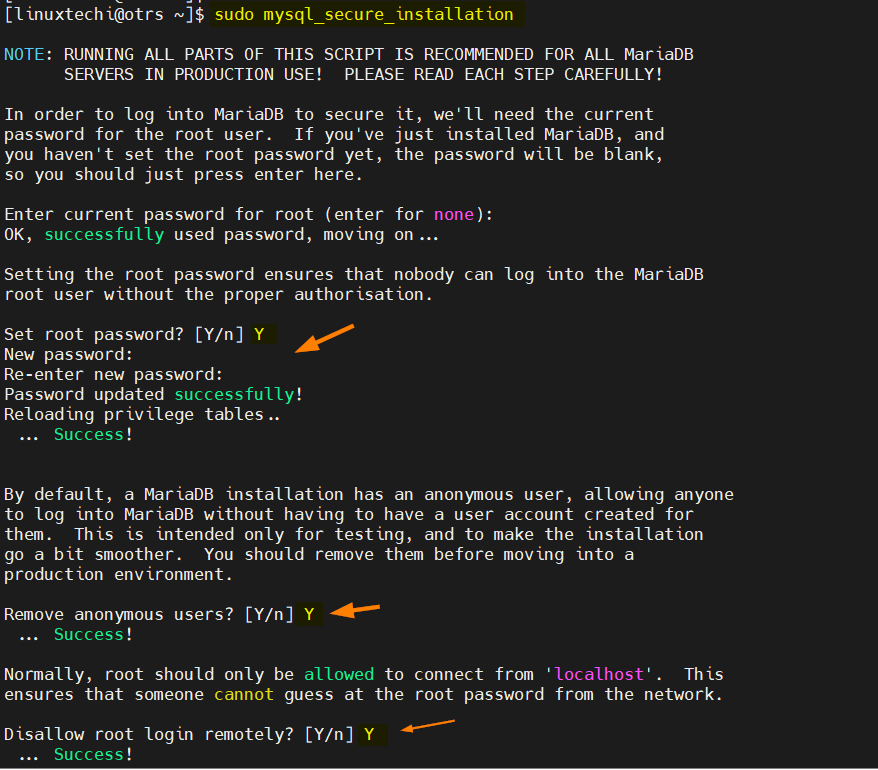
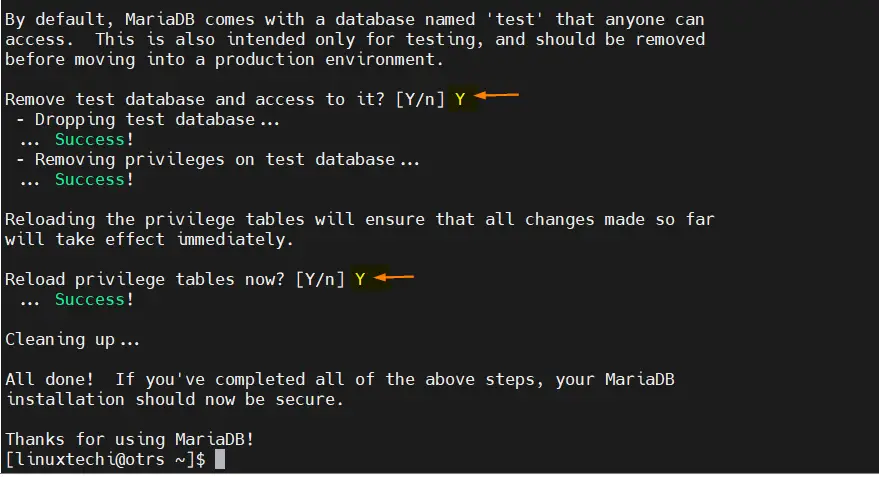
It is recommended to secure database server by assigning root password of mariadb database, remove the test database, remove anonymous users and disable root login remotely.
Run “mysql_secure_installation” command to accomplish above said tasks
$ sudo mysql_secure_installation
Output of above command would look like below:
4) Install Required Perl Modules
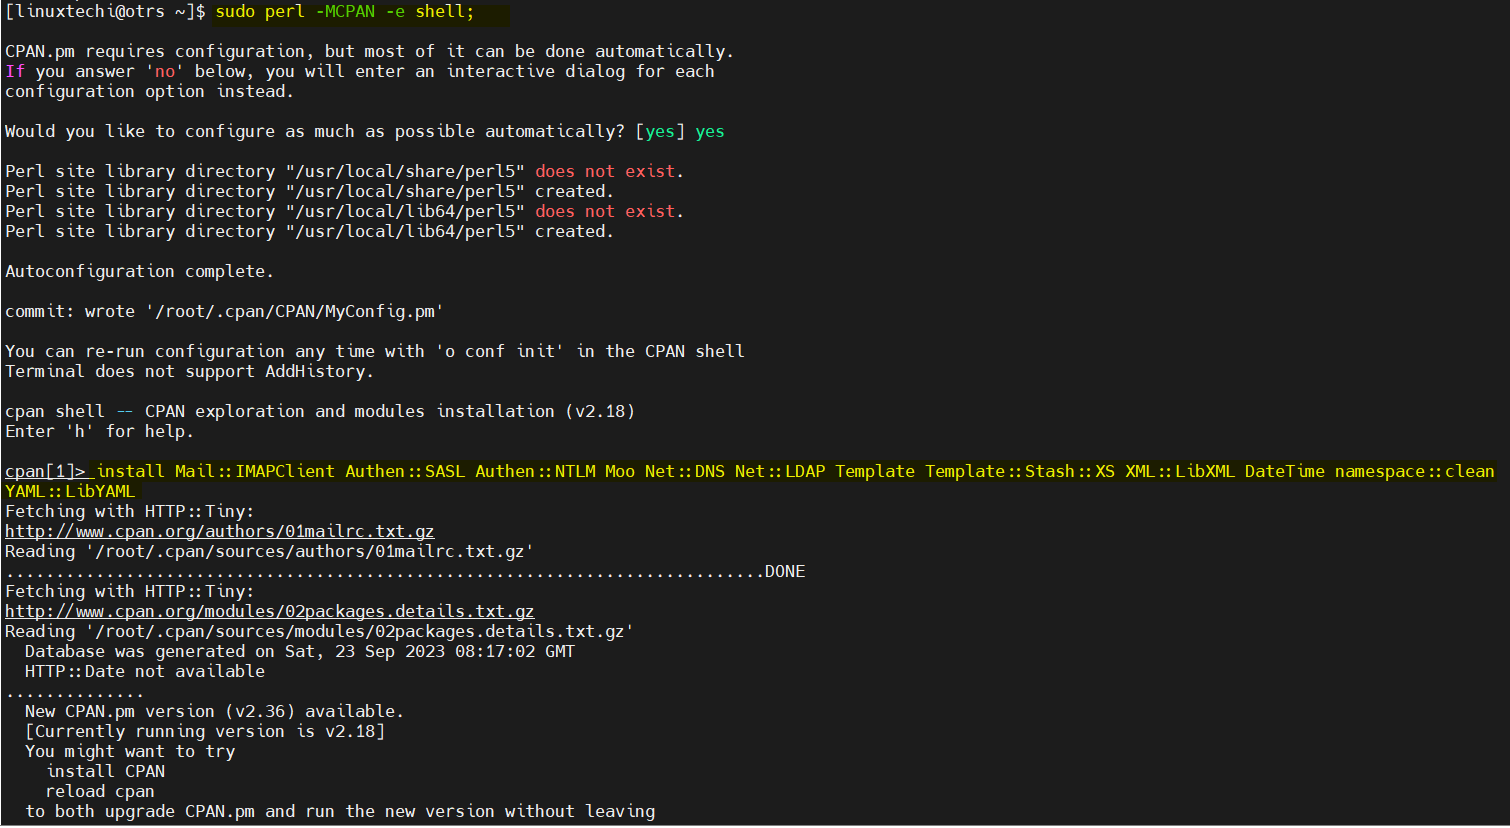
For successful OTRS installation, we must install all the required perl modules. I have already prepared the list of perl modules, so just run below commands,
$ sudo perl -MCPAN -e shell;
cpan[1]> install Mail::IMAPClient Authen::SASL Authen::NTLM Moo Net::DNS Net::LDAP Template Template::Stash::XS XML::LibXML DateTime namespace::clean YAML::LibYAML Date::Format
Above command may take around 10 to 15 minutes depending on your internet speed.
5) Download OTRS Source Package
Download OTRS community edition source package using wget command,
$ wget https://otrscommunityedition.com/download/otrs-community-edition-6.0.40.tar.gz
Note : At time of writing this post, OTRS community edition ‘6.0.40’ was available.
Extract the tar file and move it under /opt folder.
$ sudo tar zxpvf otrs-community-edition-6.0.40.tar.gz -C /opt
$ sudo mv /opt/otrs-community-edition-6.0.40 /opt/otrs
6) Configure OTRS
Create a otrs user and add it apache group, run
$ sudo useradd -G apache -c 'OTRS user' -d /opt/otrs otrs
Copy the default OTRS config file, run below cp command
$ sudo cp /opt/otrs/Kernel/Config.pm.dist /opt/otrs/Kernel/Config.pm
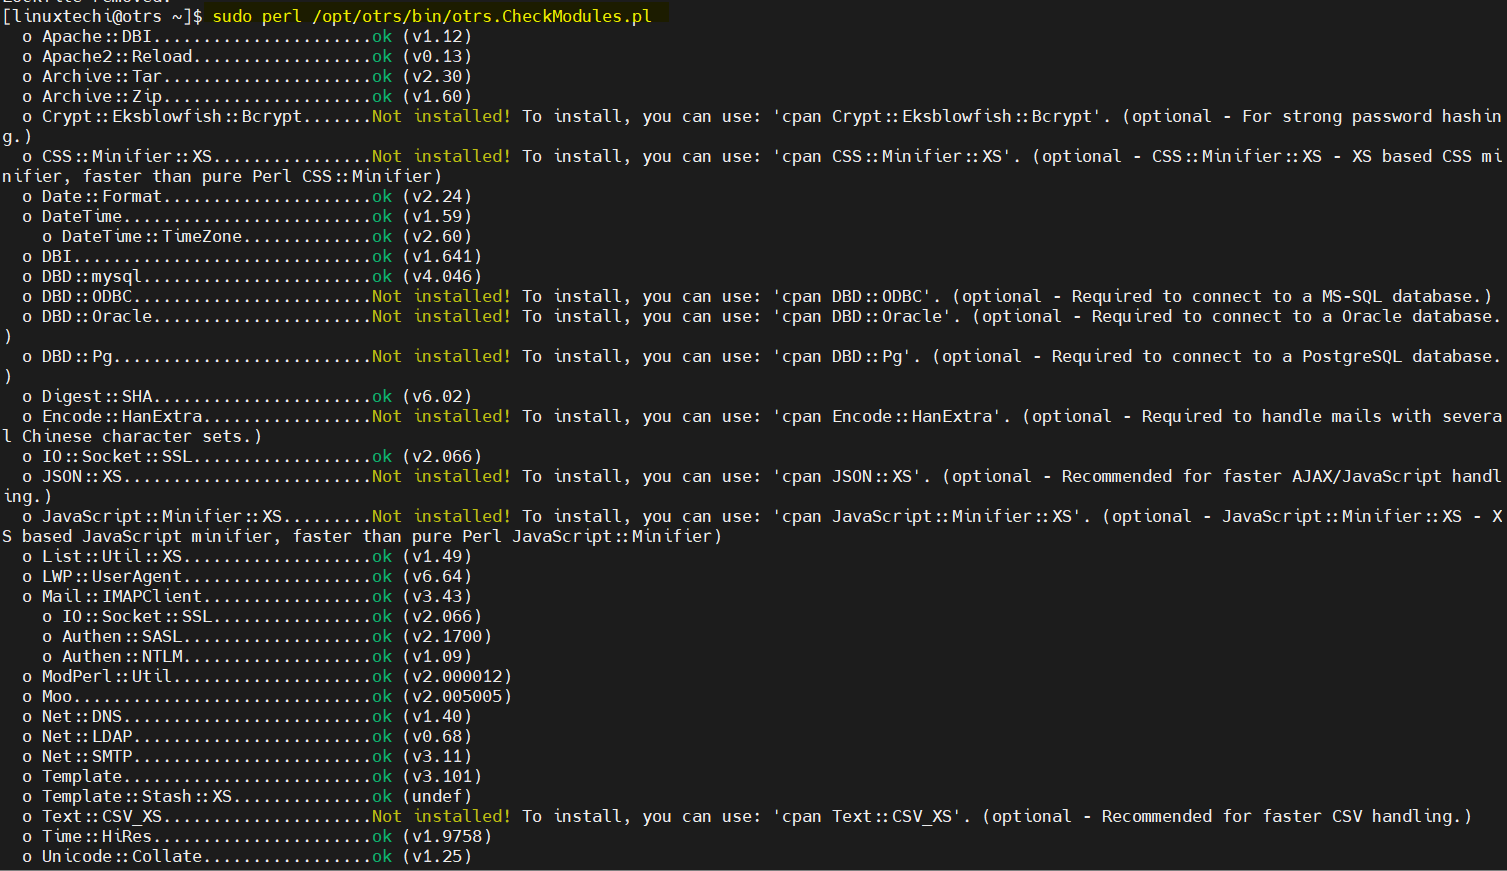
Next, verify whether all required perl modules are installed or not, run the below command
$ sudo /opt/otrs/bin/otrs.CheckModules.pl
Output of above command would be something like below,
Note: You can ignore the optional perl modules as they are not required for the installation.
alternate way to check all the needed modules are installed or not. run
$ perl -cw /opt/otrs/bin/cgi-bin/index.pl
$ perl -cw /opt/otrs/bin/cgi-bin/customer.pl
$ perl -cw /opt/otrs/bin/otrs.Console.pl
Here “syntax OK” shows that all the needed perl modules are installed.
Next, create below soft link so that apache server read OTRS configuration file.
$ sudo ln -s /opt/otrs/scripts/apache2-httpd.include.conf /etc/httpd/conf.d/otrs.conf
Verify whether required httpd modules are installed or not, run
$ apachectl -M | grep -E 'version|deflate|filter|headers'
Set the required permissions on /opt/otrs folder.
$ sudo /opt/otrs/bin/otrs.SetPermissions.pl
Restart Apache server to make above changes into the effect.
$ sudo systemctl restart httpd
7) Finish OTRS Installation Using Installation Wizard
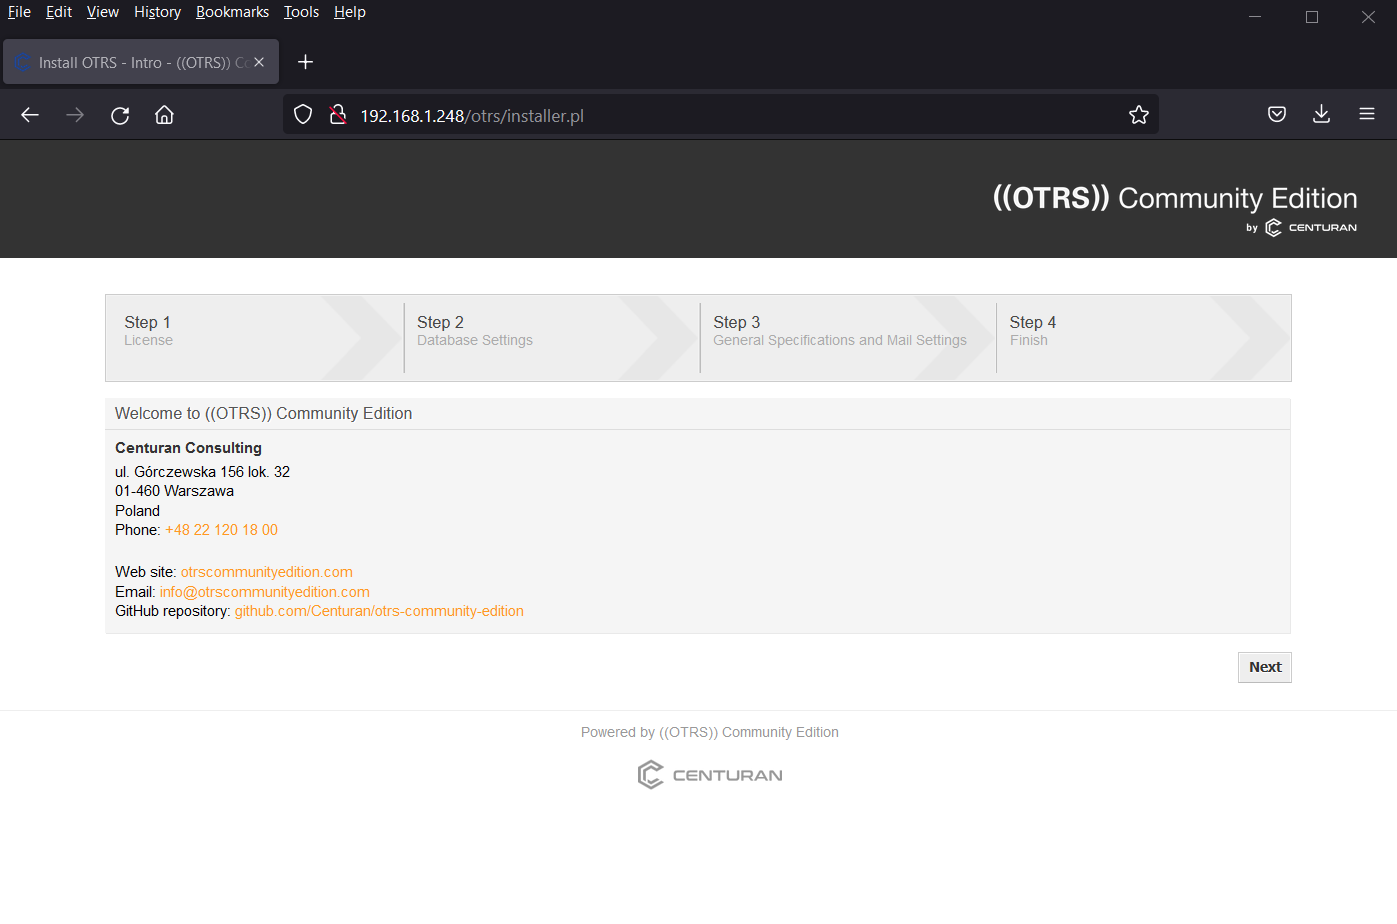
Type the following URL in your web browser , http://<OTRS-Server-IP-Adrress>/otrs/installer.pl
In my case URL is “http://192.168.1.248/otrs/installer.pl”
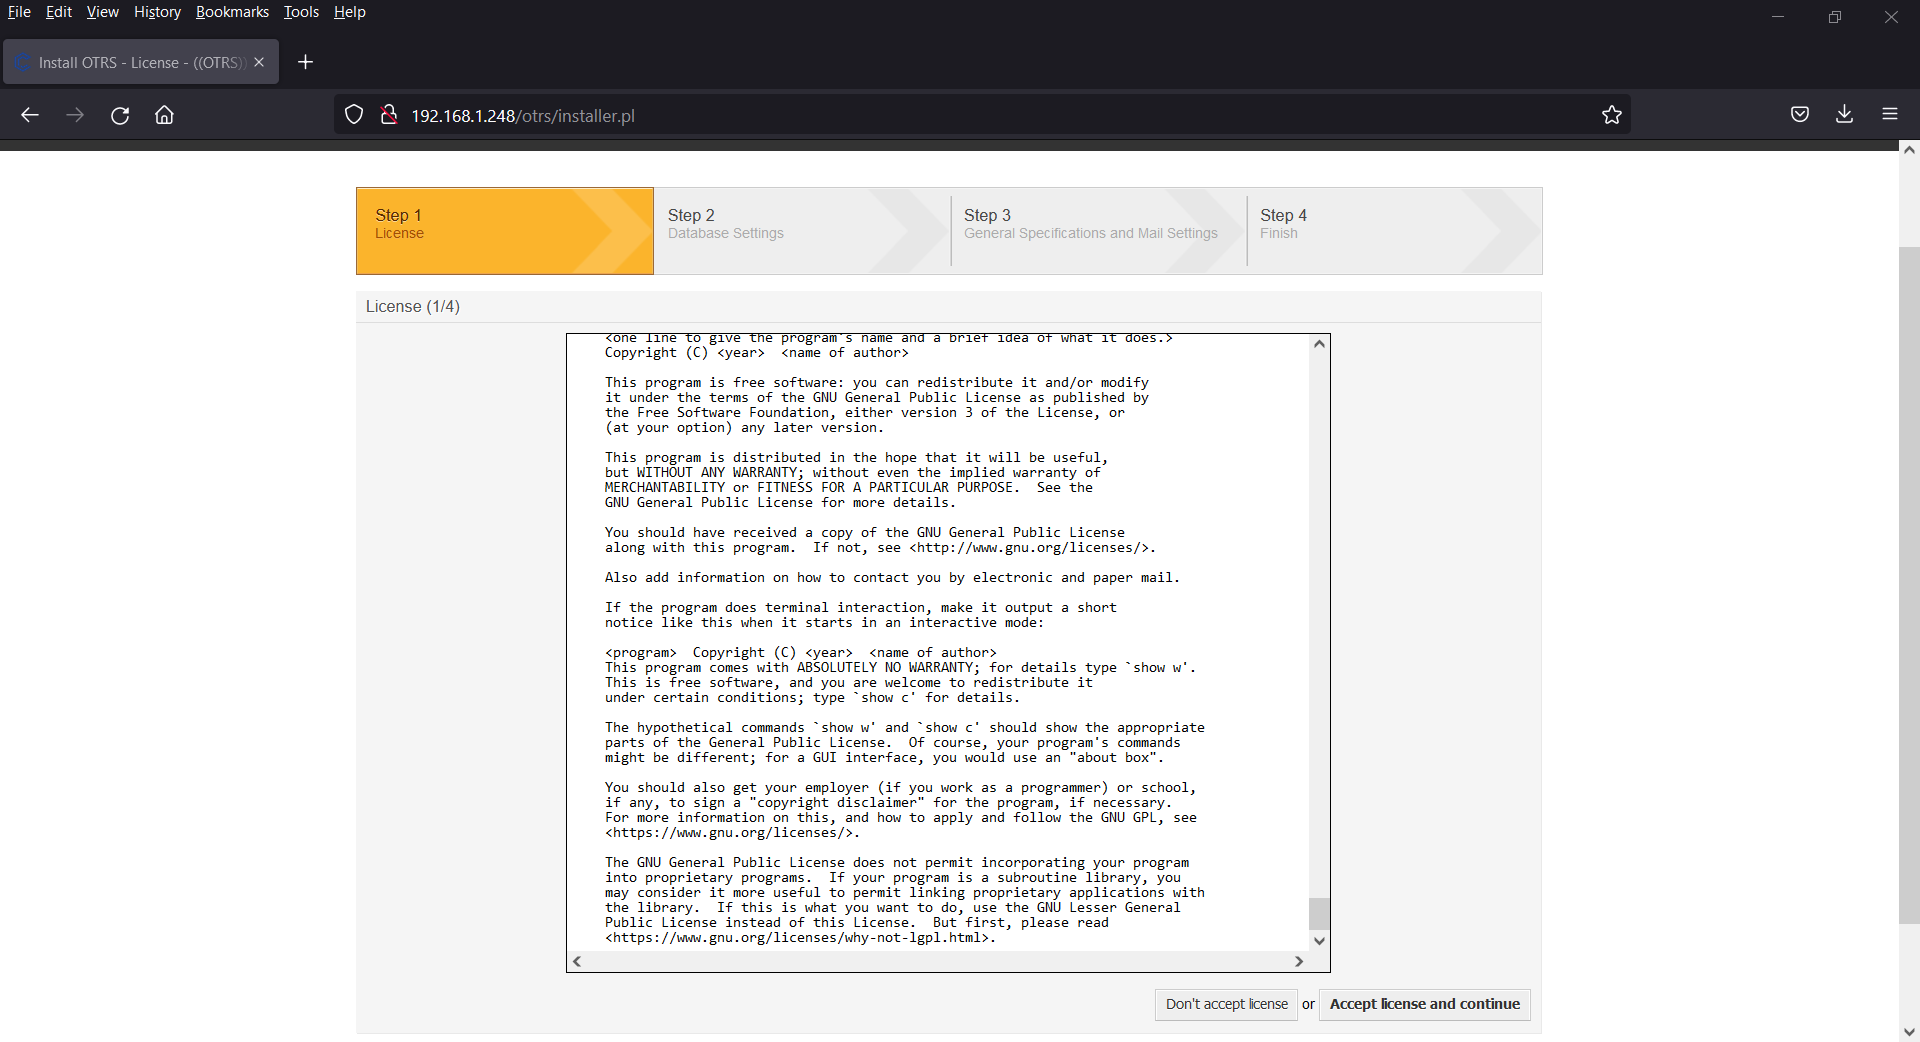
Click Next and Accept the License and Continue
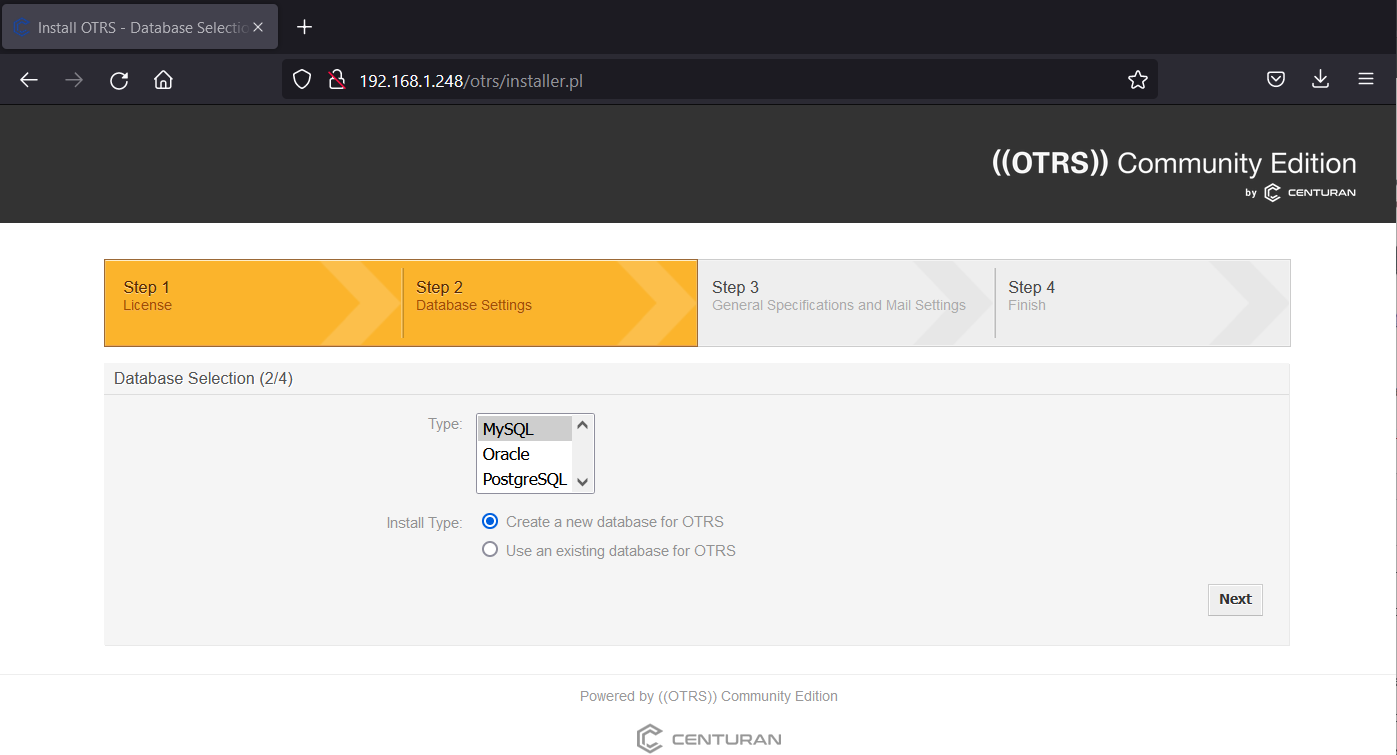
In the next step select the database you want to use for OTRS, so in my case I am selecting as “MySQL“.
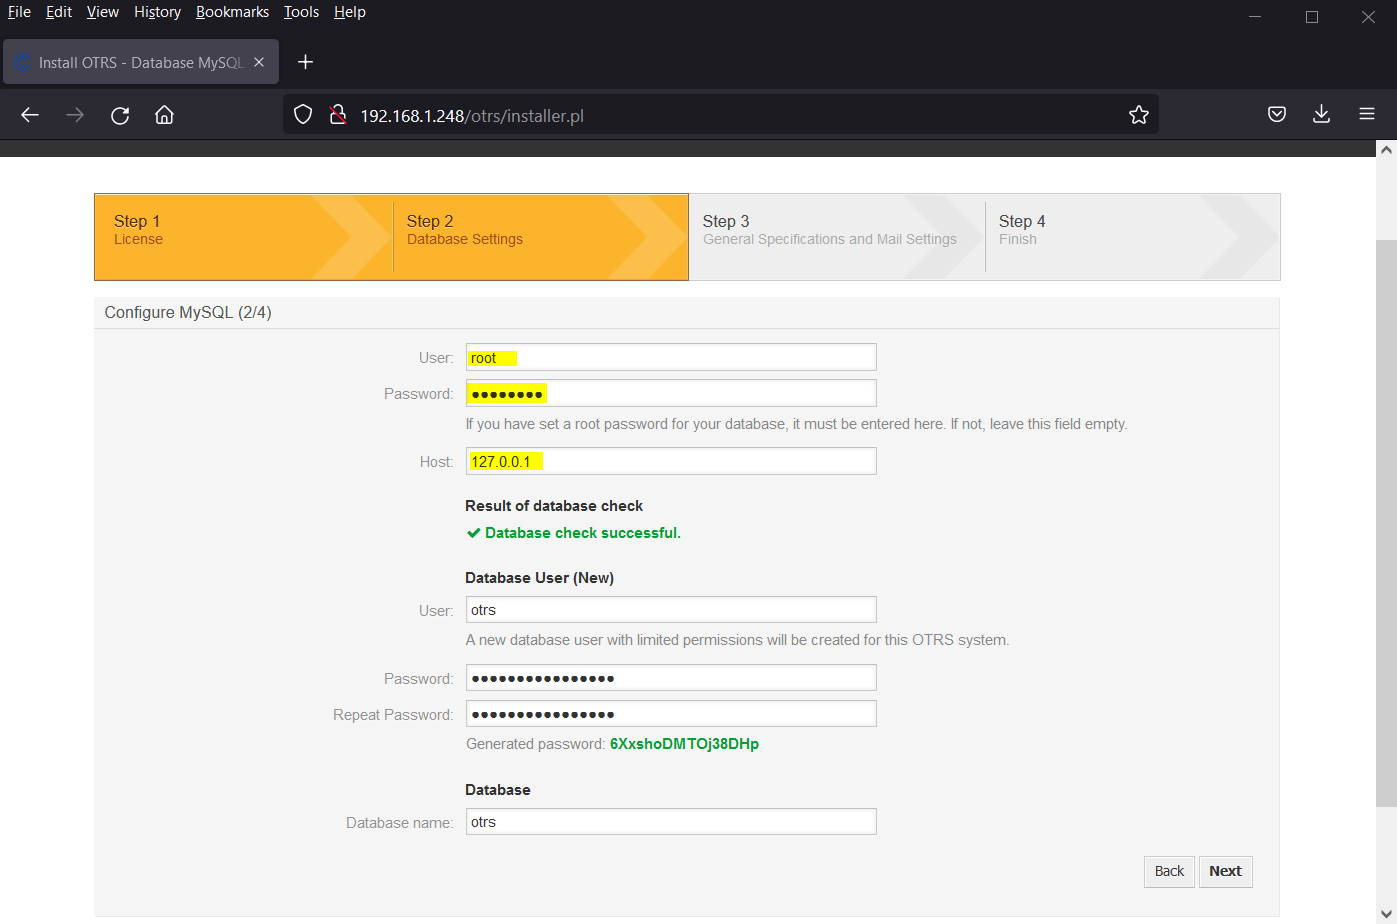
In the following window specify the root user password of mariadb database server, host where mariadb is running and rest of the things will be configured automatically by the installer.
Click on Next to proceed further,
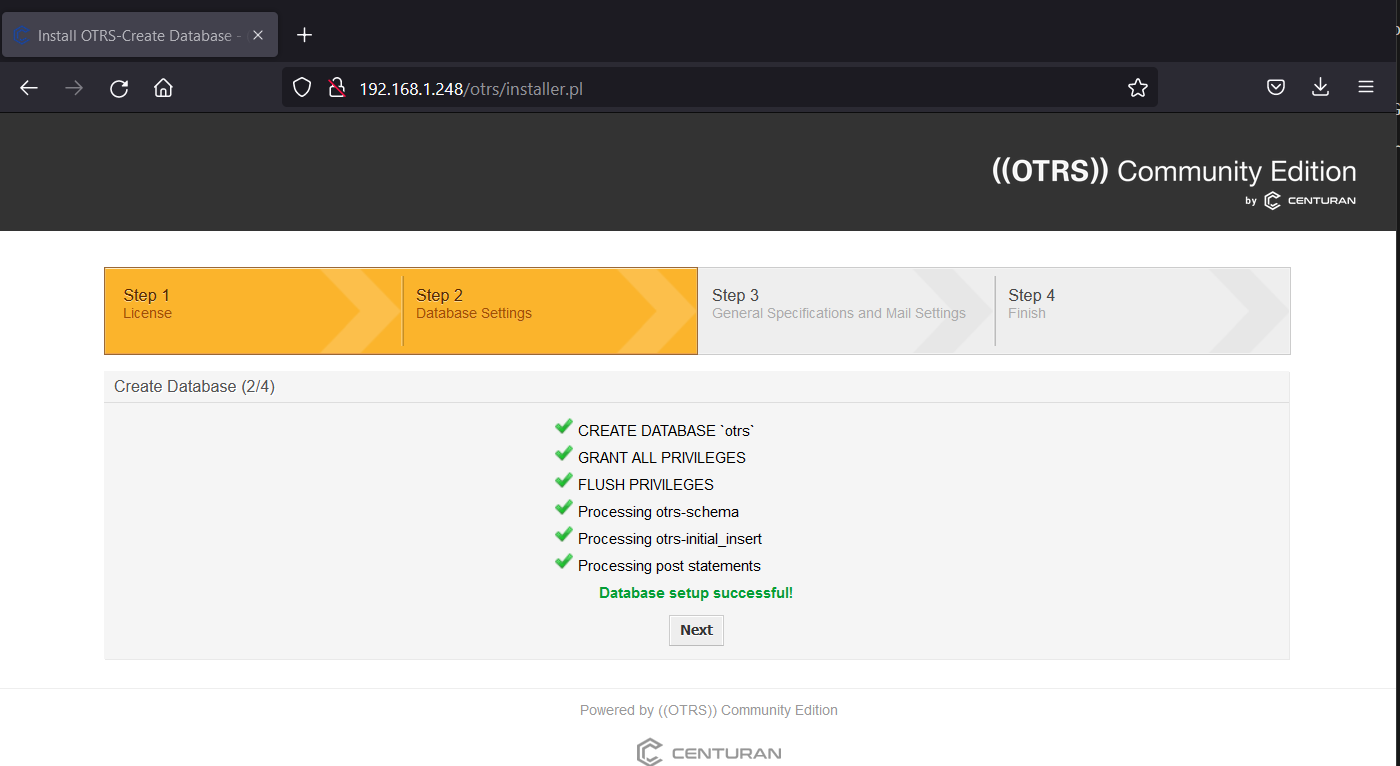
As we can see above, Installer has successfully setup Database for OTRS, Click on Next
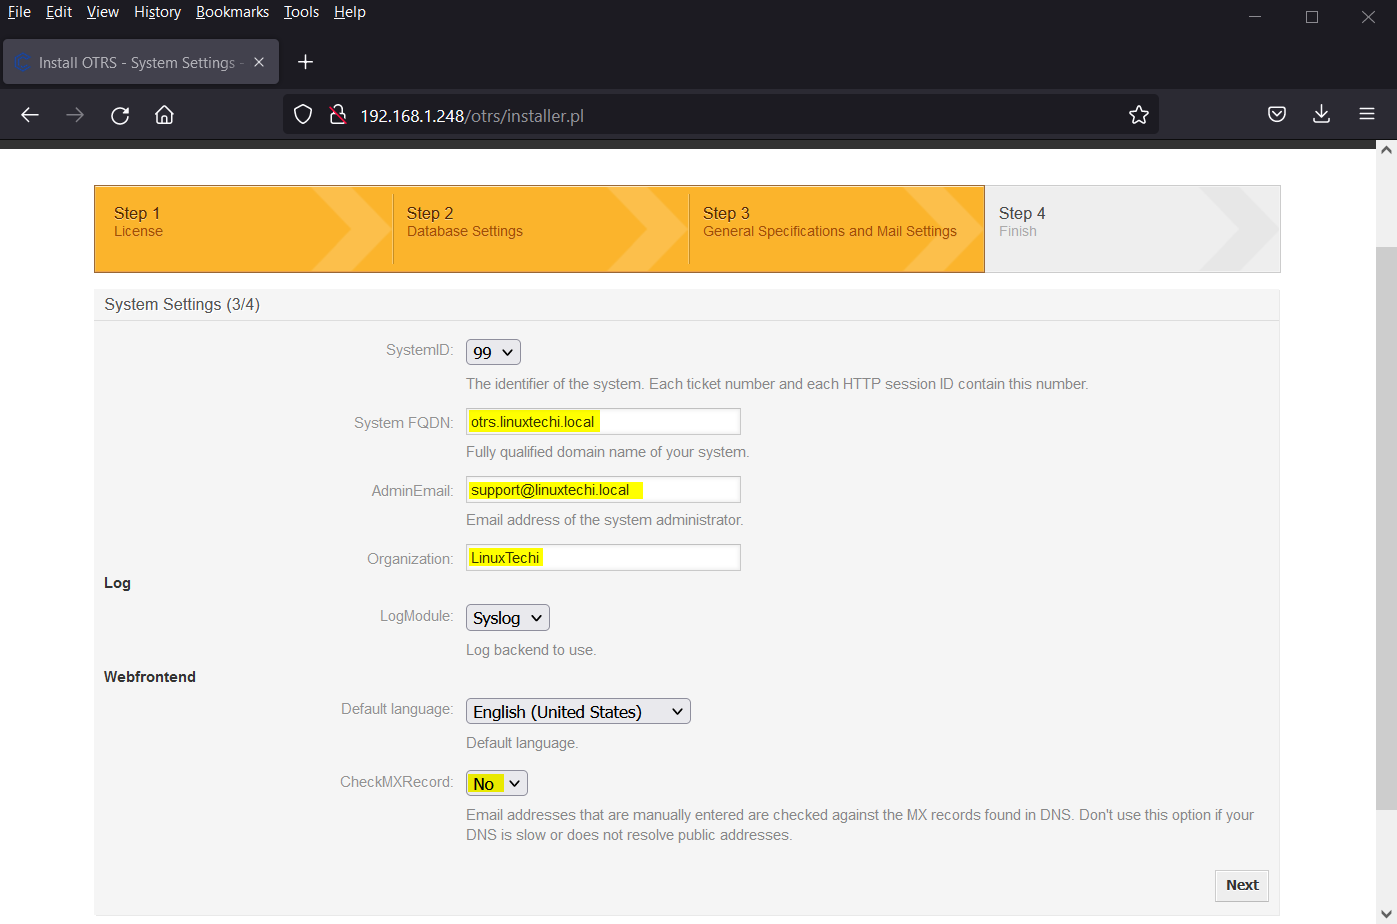
Specify the FQDN of your OTRS server, admin email address, Organization and Choose “No” against CheckMXRecord option in case your domain don’t have MX record .
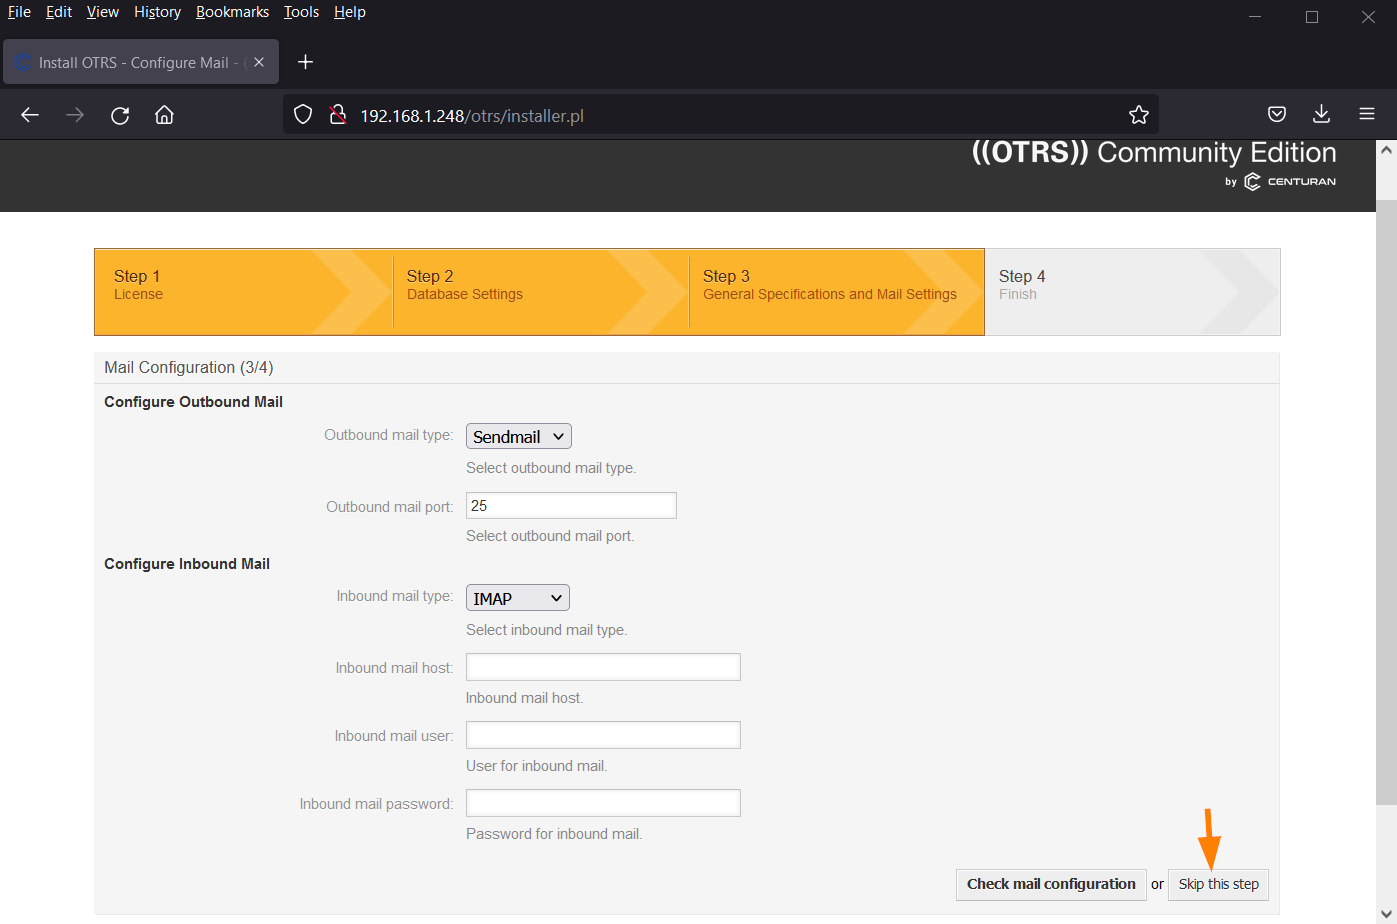
In the next window SKIP mail configuration, In case you have already configured MTA or SMTP relay server then specify the details else skip
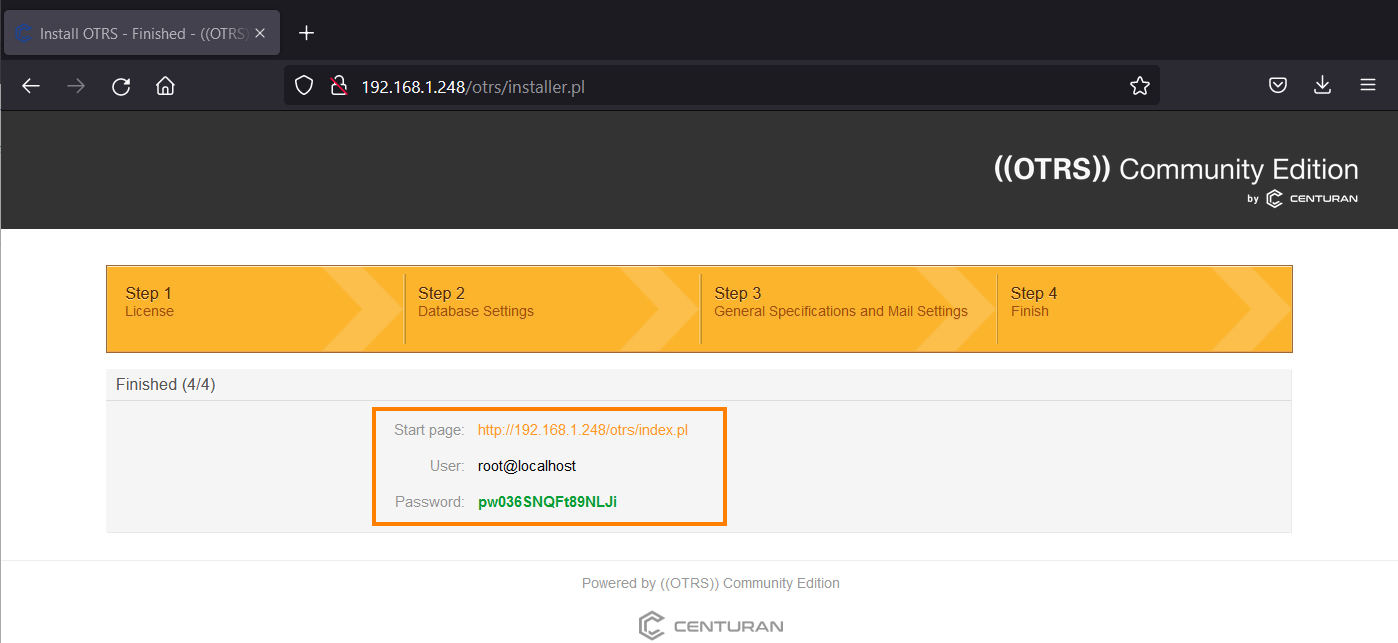
In following window, you will get message that OTRS has been installed successfully along with OTRS Start Page URL, username and its password.
8) Access OTRS Startup page
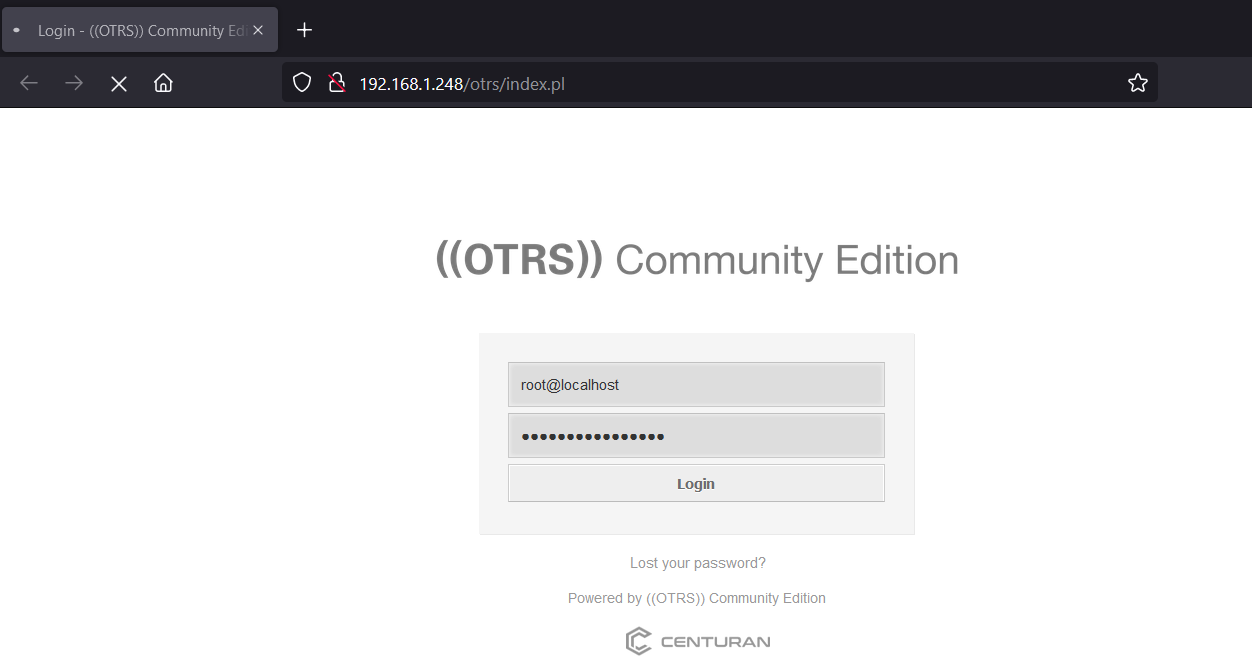
Now it’s time to access your otrs startup page, type the following URL in your web browser. Use the user name as “root@localhost” and password which is displayed in above step.
http://192.168.1.248/otrs/index.pl
Note: Replace the IP address that suits to your environment.
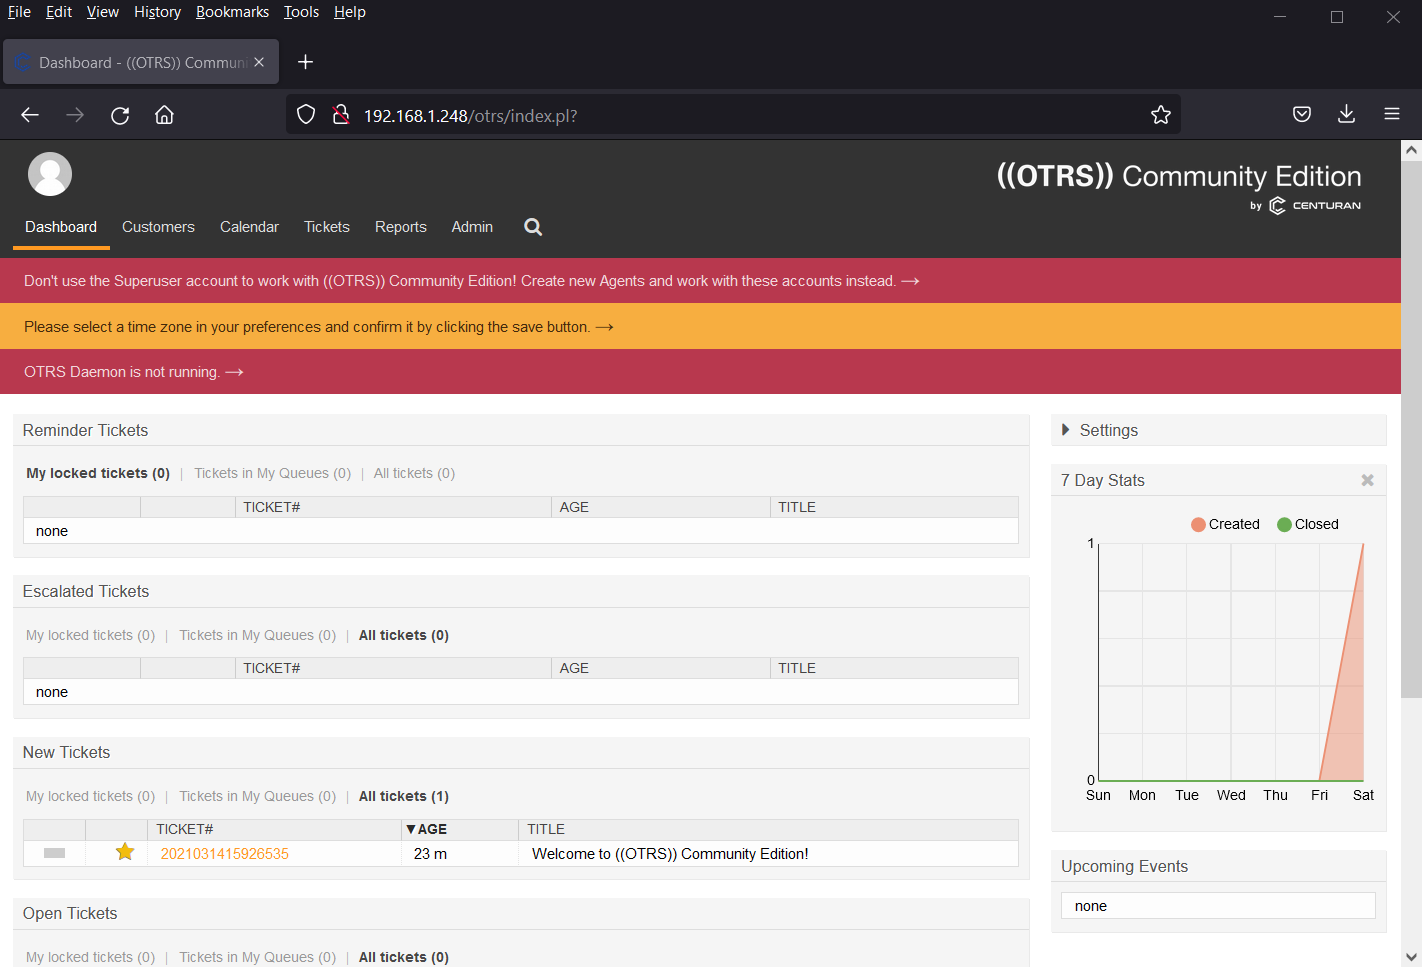
As we can see on the dashboard OTRS daemon is not running, so let’s start it using otrs user,
$ sudo su - otrs
$ /opt/otrs/bin/otrs.Daemon.pl start
Manage the OTRS daemon process.
Daemon started
$ /opt/otrs/bin/Cron.sh start
(using /opt/otrs) done
$
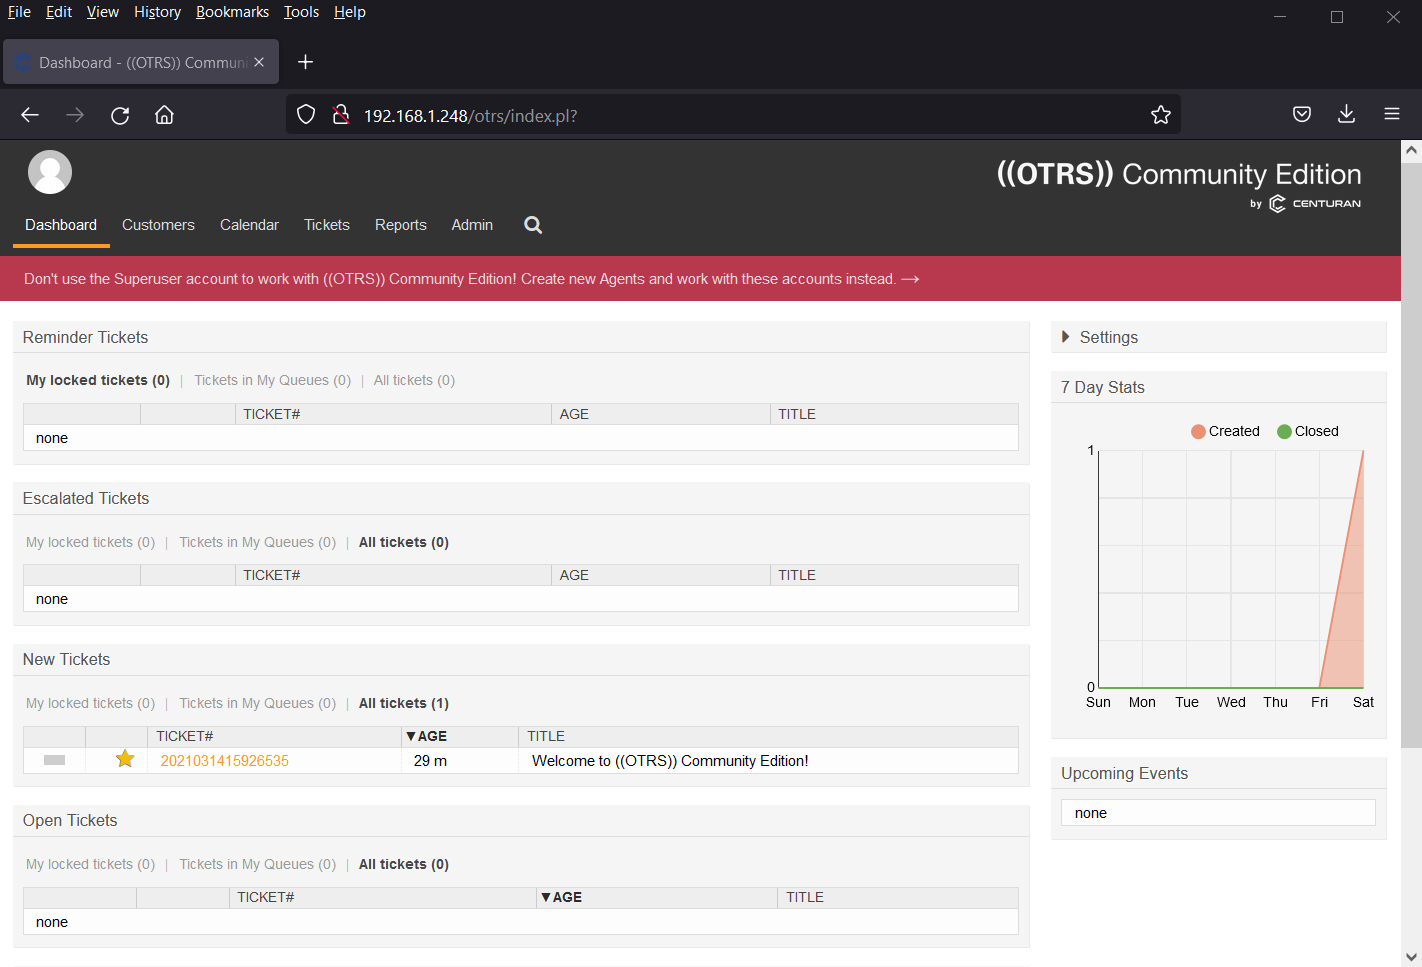
Now refresh the page and this time “OTRS daemon not running” message should go away.
Perfect, above confirms that OTRS community edition has been installed successfully on your system. That’s all from this post, I hope you have found it informative and useful. Please do post your queries and feedback in below comments section.





thanks
Endless thanks for you. Your article has been very useful for me
Blessings
Hi Carlos,
How did you configure email settings?
Thanks Pradeep. I very much needed the OTRS system for my internal organization work. Although I dont have CentOS, I will be able to make use of the post here.
Thanks for a wonderful step by step guide. I faced a problem in installing the modules using the following command string
# yum install “perl(Crypt::Eksblowfish::Bcrypt)” “perl(DBD::Pg)” “perl(Encode::HanExtra)” “perl(JSON::XS)” “perl(Mail::IMAPClient)” “perl(Authen::NTLM)” “perl(ModPerl::Util)” “perl(Text::CSV_XS)” “perl(YAML::XS)” -y
I tried using the alternative way but no success, however, OTRS still got installed
Have you installed Epel-release?
What type of OS you are using?
Hi Pradeep,
Really thank you allot for such a wonderful article.
Can you create an article on the OTRS email configuration?
Really thank you a lot for such a wonderful job. It’s very useful article.
What is the default “otrs” user password? In my case I had to reset the new password though.
Otherwise, overall installation was straight forward with these steps.
Thanks
Anwar
Got it. It is shown during Web Installer phase
Another problem; I cannot open ‘http://MyIPAdrress/otrs/customer.pl’
Getting error as below:
——————————-
An Error Occurred
Access denied for user ‘otrs’@’localhost’ (using password: YES)
Please contact the administrator.
For this, had to reinstall OTRS. Earlier, I made changes to hosts file, resulting in this problem. I came to know of it later.
It works perfect!!!
Thank you very much
Simone
Facing an issue with my.cnf file. getting below error,
‘Error: Please set the value for innodb_log_file_size on your database to at least 256 MB (current: 48 MB, recommended: 512 MB). For more information, please have a look at ‘http://dev.mysql.com/doc/refman/5.6/en/innodb-data-log-reconfiguration.html.’
When I changed the value to 256 MB, MariaDB Service is in a failed state.
Please help.