KVM is an open source hardware virtualization software through which we can create and run multiple Linux based and windows based virtual machines simultaneously. KVM is known as Kernel based Virtual Machine because when we install KVM package then KVM module is loaded into the current kernel and turns our Linux machine into a hypervisor.
In this post first we will demonstrate how we can install KVM hypervisor on CentOS 7.x and RHEL 7.x and then we will try to install virtual machines.
Before proceeding KVM installation, let’s check whether your system’s CPU supports Hardware Virtualization.
Run the beneath command from the console.
[root@linuxtechi ~]# grep -E '(vmx|svm)' /proc/cpuinfo
We should get the word either vmx or svm in the output, otherwise CPU doesn’t support virtualization.
Step:1 Install KVM and its associate packages
Run the following yum command to install KVM and its associated packages.
[root@linuxtechi ~]# yum install qemu-kvm qemu-img virt-manager libvirt libvirt-python libvirt-client virt-install virt-viewer bridge-utils
Start and enable the libvirtd service
[root@linuxtechi ~]# systemctl start libvirtd
[root@linuxtechi ~]# systemctl enable libvirtd
Run the beneath command to check whether KVM module is loaded or not
[root@linuxtechi ~]# lsmod | grep kvm
kvm_intel             162153  0
kvm                   525409  1 kvm_intel
[root@linuxtechi ~]#
In Case you have Minimal CentOS 7 and RHEL 7 installation , then virt-manger will not start for that you need to install x-window package.
[root@linuxtechi ~]# yum install "@X Window System" xorg-x11-xauth xorg-x11-fonts-* xorg-x11-utils -y
Reboot the Server and then try to start virt manager.
Step:2 Start the Virt Manager
Virt Manager is a graphical tool through which we can install and manage virtual machines. To start the virt manager type the ‘virt-manager‘ command from the terminal.
[root@linuxtechi ~]# virt-manager
Step:3 Configure Bridge Interface
Before Start creating VMs , let’s first create the bridge interface. Bridge interface is required if you want to access virtual machines from outside of your hypervisor network.
[root@linuxtechi ~]# cd /etc/sysconfig/network-scripts/
[root@linuxtechi network-scripts]# cp ifcfg-eno49 ifcfg-br0
[root@linuxtechi network-scripts]#
In cp command replace the interface name that suits to your system and then edit the Interface file and set followings:
[root@linuxtechi network-scripts]# vi ifcfg-eno49
TYPE=Ethernet
BOOTPROTO=static
DEVICE=eno49
ONBOOT=yes
BRIDGE=br0
Edit the Bridge file (ifcfg-br0) and set the followings:
[root@linuxtechi network-scripts]# vi ifcfg-br0
TYPE=Bridge
BOOTPROTO=static
DEVICE=br0
ONBOOT=yes
IPADDR=192.168.10.21
NETMASK=255.255.255.0
GATEWAY=192.168.10.1
DNS1=192.168.10.11
Replace the IP address and DNS server details as per your setup.
Restart the network Manager Service to enable the bridge interface.
[root@linuxtechi ~]# systemctl restart NetworkManager
[root@linuxtechi ~]#
Note: By default, in CentOS 7 / RHEL 7 Network Manager service is enabled and if have made changes in network files then we must restart Network Manager service to make the changes into the effect. In Case network Manager service is disabled and stopped then we can use network service (systemctl restart network)
Check the Bridge interface using below command :
[root@linuxtechi ~]# ip addr show br0
Step:4 Start Creating Virtual Machines.
Now Create Virtual Machine either from the command line using ‘virt-install‘ command or from GUI (virt-manager )
Let’s Create a virtual machine of “Windows Server 2012 R2” using virt-manager.
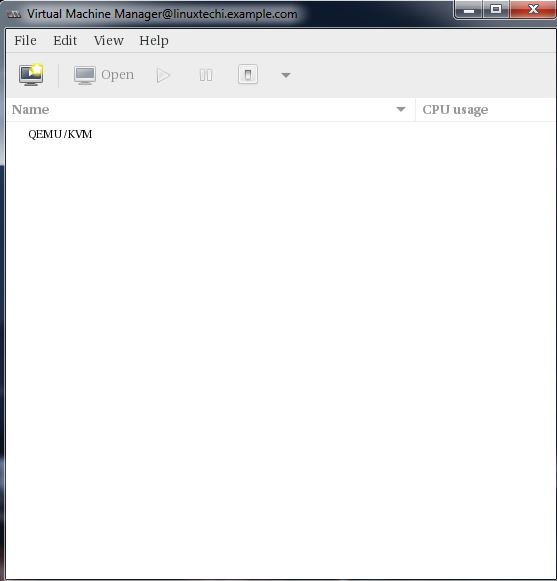
Start the “virt-manager”
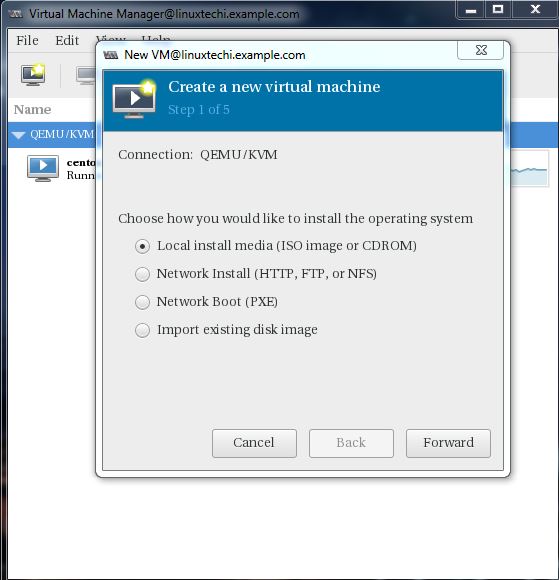
Go to the File Option, click on “New Virtual Machine”
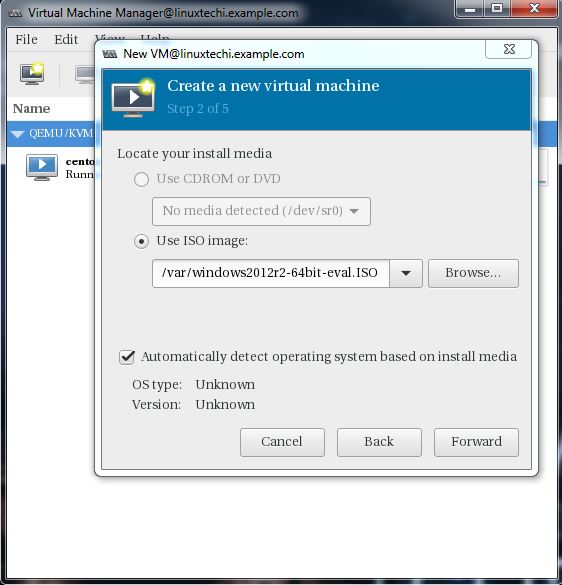
We will be using ISO file as installation media. In the next step Specify the path of ISO file.
Click on Forward.
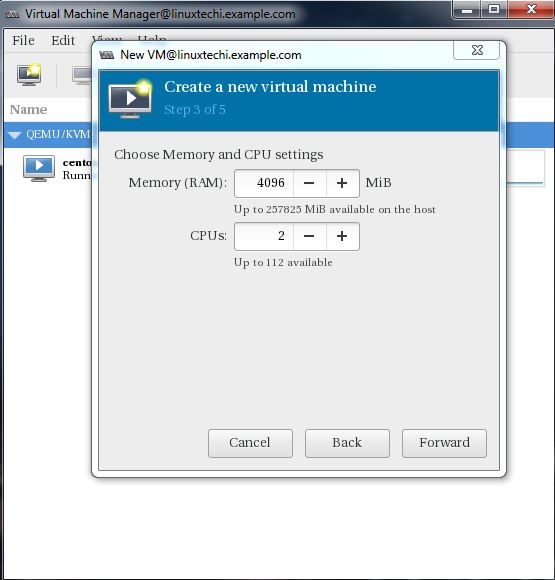
Specify the Compute Resources : RAM and CPU as per your setup.
Click on Forward to proceed further.
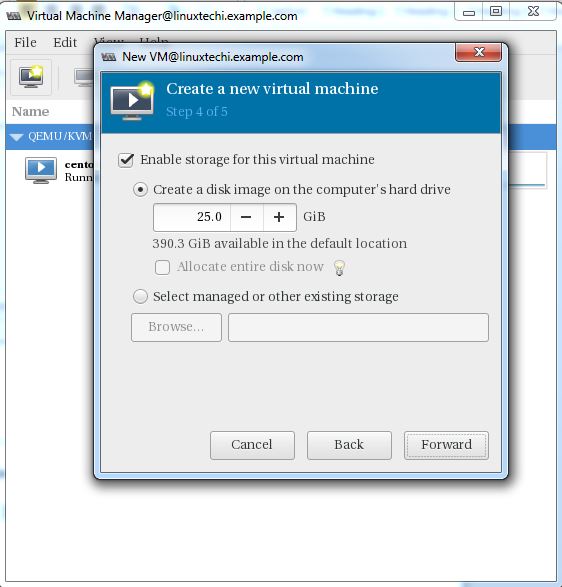
Specify the storage Size of Virtual Machine, In my case I am using 25G.
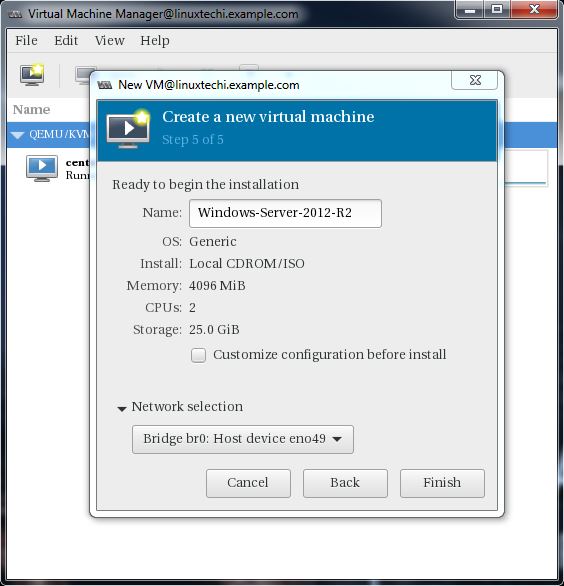
In the Next step Specify the Name of Virtual Machine and select network as ‘ Bridge bro’
Click on Finish to start the installation.
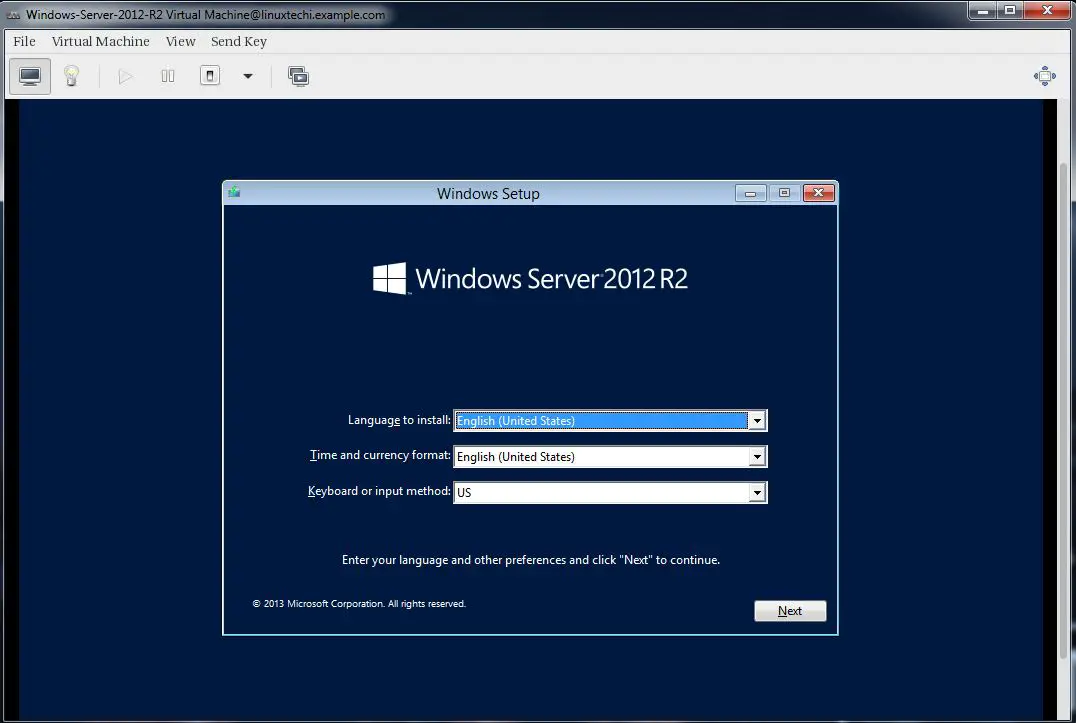
Follow the screen instructions and complete the installation.
Creating a virtual Machine from Command Line:
Virtual Machines can be created from the console as well using ‘virt-install’ command. In the following example i going to virtual machine of Ubuntu 16.04 LTS.
[root@linuxtechi ~]# virt-install --name=Ubuntu-16-04 --file=/var/lib/libvirt/images/ubuntu16-04.dsk --file-size=20 --nonsparse --graphics spice --vcpus=2 --ram=2048 --cdrom=ubuntu-16.04-server-amd64.iso --network bridge=br0 --os-type=linux --os-variant=generic
Starting install...
Allocating 'ubuntu16-04.dsk'               | 20 GB 00:00:00
Creating domain...
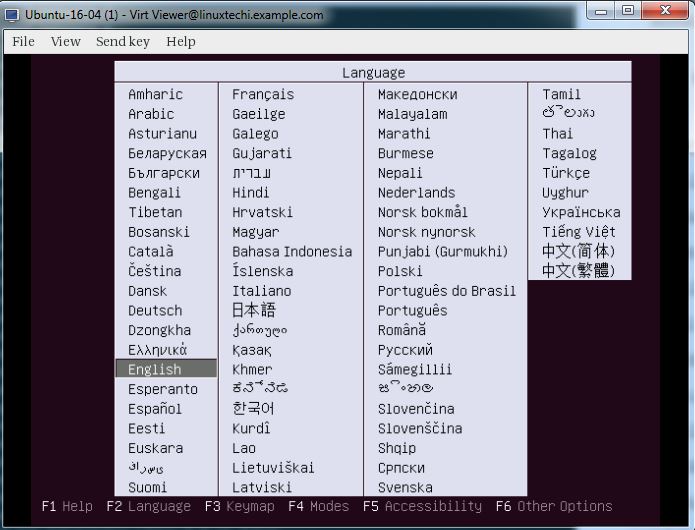
Follow the instruction now and complete the installation.
In the above ‘virt-install’ command we have used following options :
- –name = <Name of the Virtual Machine>
- –file = <Location where our virtual machine disk file will be stored >
- –file-size = < Size of the Virtual Machine, in my case it is 20GB >
- –nonsparse = < Allocate the whole storage while creating>
- –graphics = < Specify the graphical tool for interactive installation, in above example I am using spice >
- –vcpu = < Number of virtual CPU for the Machine >
- –ram = < RAM size for the virtual Machine >
- –cdrom = < Virtual CD ROM which specify the installation media like ISO file >
- –network = < it is used to specify which network we will use for the virtual machine, in this example I am bridge interface>
- –os-type = < Operating system type like linux and window>
- –os-variant= <KVM maintains the OS variants like ‘fedora18′, ‘rhel6’ and ‘winxp’ , this option is optional and if you not sure about OS variant you can mentioned it as generic>
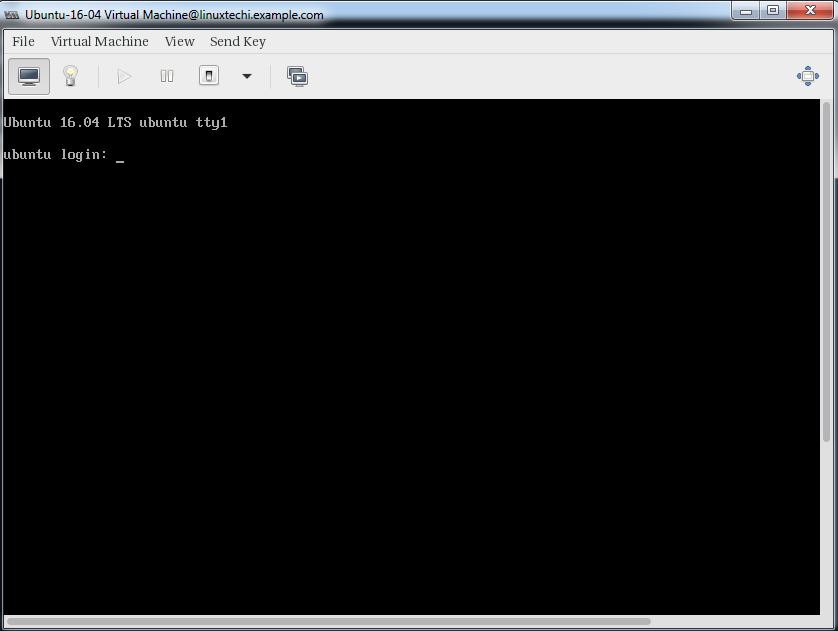
Once the Installation is completed we can access the Virtual Machine console from ‘virt-manager‘ as shown below.
That’s it, basic installation and configuration of KVM hypervisor is completed.


This tutorial no longer works, I tried to follow the steps religiously 2 times, and had to format my server because I lost remote SSH access when setting up the bridged network.
Hi Thiago,
Reason for losing the connectivity might be of network manager. It seems like Network Manager service was enabled on your system and to make network changes into the effect you might have restarted the network service. So to avoid these conditions either use Network Manager or stop and disable the Network Manager service and then restart network service.
I have modified the article as well.
A loopback is generating when I am configuring bridge
This is a superb tutorial. Love it.
Hi.. i didn’t use default virbr0(NAT)… but i create bridge br0 that mapping with enp0s3 interface and VM host able to access internet and lan. When I create guest VM and attach to br0, the vm can only ping to host VM and physical host but not able to ping gw router and cannot access internet. What could be wrong here. Please advise. Thank you