Hello, techies! In this blog post, we will learn how to install Jenkins on Kubernetes cluster. While Helm is a popular method for installing Jenkins on Kubernetes, we will use YAML manifest files in this guide. Using manifest files provides more direct control over the deployment and Jenkins configurations. This approach offers better visibility into what is being deployed and allows for easier customization.
Prerequisites
Before we begin, ensure you have:
- A running Kubernetes cluster (local or cloud-based)
- kubectl CLI tool installed and configured.
- Basic understanding of Kubernetes concepts
- Cluster admin privileges.
Without any delay, let’s deep dive into the Jenkins installations steps.
1) Create a Namespace for Jenkins
First, let’s create a dedicated namespace to organize our Jenkins resources:
$ kubectl create namespace jenkins
2) Create a Service Account and RBAC Configuration
Jenkins needs specific permissions to interact with the Kubernetes cluster. Let’s set up the necessary RBAC configuration. Create a jenkins-sa.yaml with following content .
$ vi jenkins-sa.yaml
---
apiVersion: rbac.authorization.k8s.io/v1
kind: ClusterRole
metadata:
  name: jenkins-admin
rules:
  - apiGroups: [""]
    resources: ["*"]
    verbs: ["*"]
---
apiVersion: v1
kind: ServiceAccount
metadata:
  name: jenkins-admin
  namespace: jenkins
---
apiVersion: rbac.authorization.k8s.io/v1
kind: ClusterRoleBinding
metadata:
  name: jenkins-admin
roleRef:
  apiGroup: rbac.authorization.k8s.io
  kind: ClusterRole
  name: jenkins-admin
subjects:
- kind: ServiceAccount
  name: jenkins-admin
  namespace: jenkins
Save and close the file.
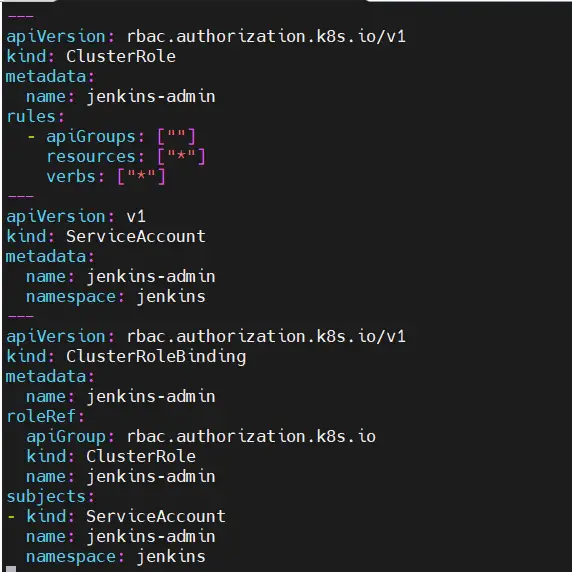
The jenkins-sa.yaml file creates a jenkins-admin ClusterRole, a jenkins-admin ServiceAccount, and binds the ClusterRole to the ServiceAccount.
The jenkins-admin ClusterRole grants full permissions to manage cluster components. However, you can restrict access by defining specific resource actions as needed.
Next apply this file using beneath kubectl command.
$ kubectl apply -f jenkins-sa.yaml

3) Create Persistent Volume
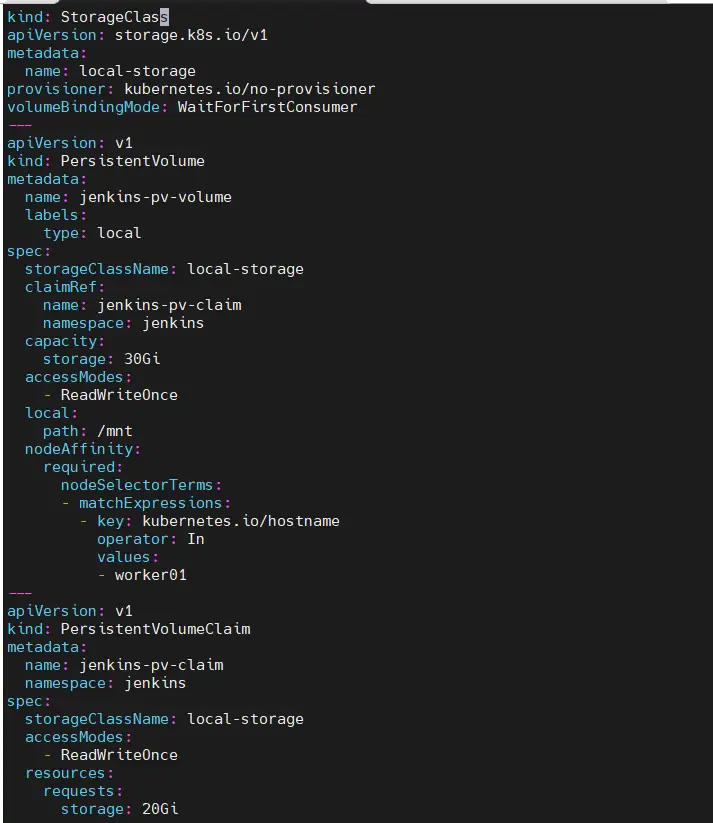
Jenkins needs persistent storage for its data. Create a PV and PVC using the following jenkins-volume.yaml file.
$ vi jenkins-volume.yaml
kind: StorageClass
apiVersion: storage.k8s.io/v1
metadata:
  name: local-storage
provisioner: kubernetes.io/no-provisioner
volumeBindingMode: WaitForFirstConsumer
---
apiVersion: v1
kind: PersistentVolume
metadata:
  name: jenkins-pv-volume
  labels:
    type: local
spec:
  storageClassName: local-storage
  claimRef:
    name: jenkins-pv-claim
    namespace: jenkins
  capacity:
    storage: 30Gi
  accessModes:
    - ReadWriteOnce
  local:
    path: /mnt
  nodeAffinity:
    required:
      nodeSelectorTerms:
      - matchExpressions:
        - key: kubernetes.io/hostname
          operator: In
          values:
          - worker01
---
apiVersion: v1
kind: PersistentVolumeClaim
metadata:
  name: jenkins-pv-claim
  namespace: jenkins
spec:
  storageClassName: local-storage
  accessModes:
    - ReadWriteOnce
  resources:
    requests:
      storage: 20Gi
Save and quit the file.
Important Note: Replace ‘worker01‘ with any one of your cluster worker nodes hostname. To get workers hostname, run ‘kubectl get nodes’
Above YAML file sets up local storage for a Kubernetes cluster. It defines:
- StorageClass (‘local-storage’) – A manual storage setup where Kubernetes won’t automatically provision storage (`no-provisioner`).
- PersistentVolume (‘jenkins-pv-volume’) – A 30Gi volume on `/mnt` of `worker01`, reserved for a specific claim.
- PersistentVolumeClaim (‘jenkins-pv-claim’) – A request for 20Gi storage from the `local-storage` class, which will be bound to the PV.
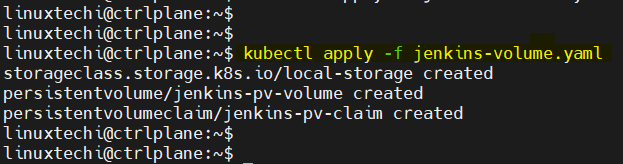
This setup ensures Jenkins gets dedicated storage on a specific node. Let’s apply this file using the beneath command.
$ kubectl apply -f jenkins-volume.yaml
Verify the status of PV and PVC using the following command.
$ kubectl get pv,pvc -n jenkins

Above output shows that PV and PVC are created successfully. Now move to the next step.
4) Install Jenkins on Kubernetes Cluster
Now, let’s create the Jenkins deployment manifests file with appropriate configurations:
$ vi jenkins-deployment.yamlapiVersion: apps/v1
kind: Deployment
metadata:
  name: jenkins
  namespace: jenkins
spec:
  replicas: 1
  selector:
    matchLabels:
      app: jenkins-server
  template:
    metadata:
      labels:
        app: jenkins-server
    spec:
      securityContext:
            fsGroup: 1000
            runAsUser: 1000
      serviceAccountName: jenkins-admin
      containers:
        - name: jenkins
          image: jenkins/jenkins:lts
          resources:
            limits:
              memory: "2Gi"
              cpu: "2"
            requests:
              memory: "1Gi"
              cpu: "1"
          ports:
            - name: web-port
              containerPort: 8080
            - name: agent-port
              containerPort: 50000
          livenessProbe:
            httpGet:
              path: "/login"
              port: 8080
            initialDelaySeconds: 90
            periodSeconds: 10
            timeoutSeconds: 5
            failureThreshold: 5
          readinessProbe:
            httpGet:
              path: "/login"
              port: 8080
            initialDelaySeconds: 60
            periodSeconds: 10
            timeoutSeconds: 5
            failureThreshold: 3
          volumeMounts:
            - name: jenkins-data
              mountPath: /var/jenkins_home
      volumes:
        - name: jenkins-data
          persistentVolumeClaim:
              claimName: jenkins-pv-claim
Save and close the file and apply it.

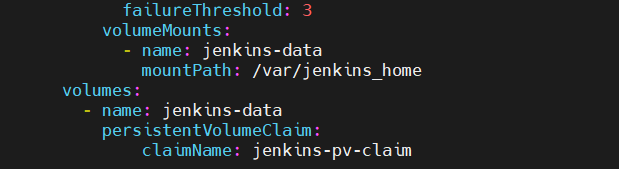
Above YAML will deploy a Jenkins server in Kubernetes with a single replica, running as a non-root user (1000). It uses persistent storage to retain data and sets resource limits (2 CPU, 2Gi memory). Health probes ensure Jenkins is responsive, and it exposes ports 8080 (Web UI) and 50000 (agent communication).
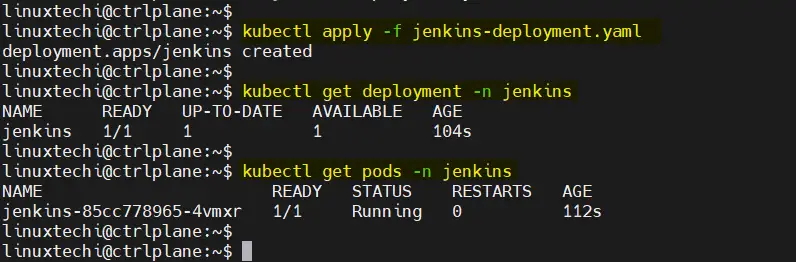
$ kubectl apply -f jenkins-deployment.yaml
Once deployed, verify the status of deployment and pods using following commands
$ kubectl get deployment -n jenkins
$ kubectl get pods -n jenkins
5) Create Jenkins Service
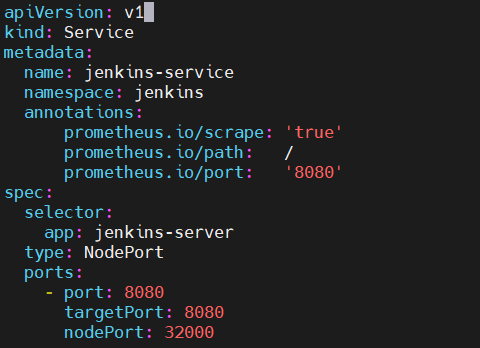
Expose the Jenkins deployment using the nodeport. Create a jenkins-service.yaml file with below content.
$ vi Jenkins-service.yaml
apiVersion: v1
kind: Service
metadata:
  name: jenkins-service
  namespace: jenkins
  annotations:
      prometheus.io/scrape: 'true'
      prometheus.io/path:   /
      prometheus.io/port:   '8080'
spec:
  selector:
    app: jenkins-server
  type: NodePort
  ports:
    - port: 8080
      targetPort: 8080
      nodePort: 32000
save and close the file.
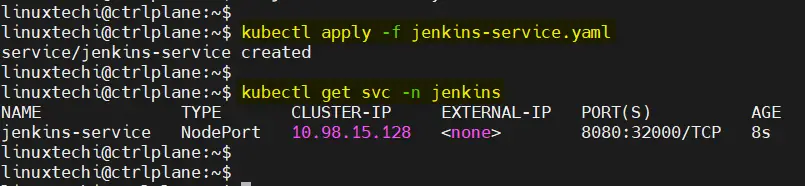
Apply this file, run
$ kubectl apply -f jenkins-service.yaml
6) Access Jenkins Web UI
Now, you can access the Jenkins dashboard by navigating to any worker Node IP on port 32000:
http://<worker-node-ip>:32000
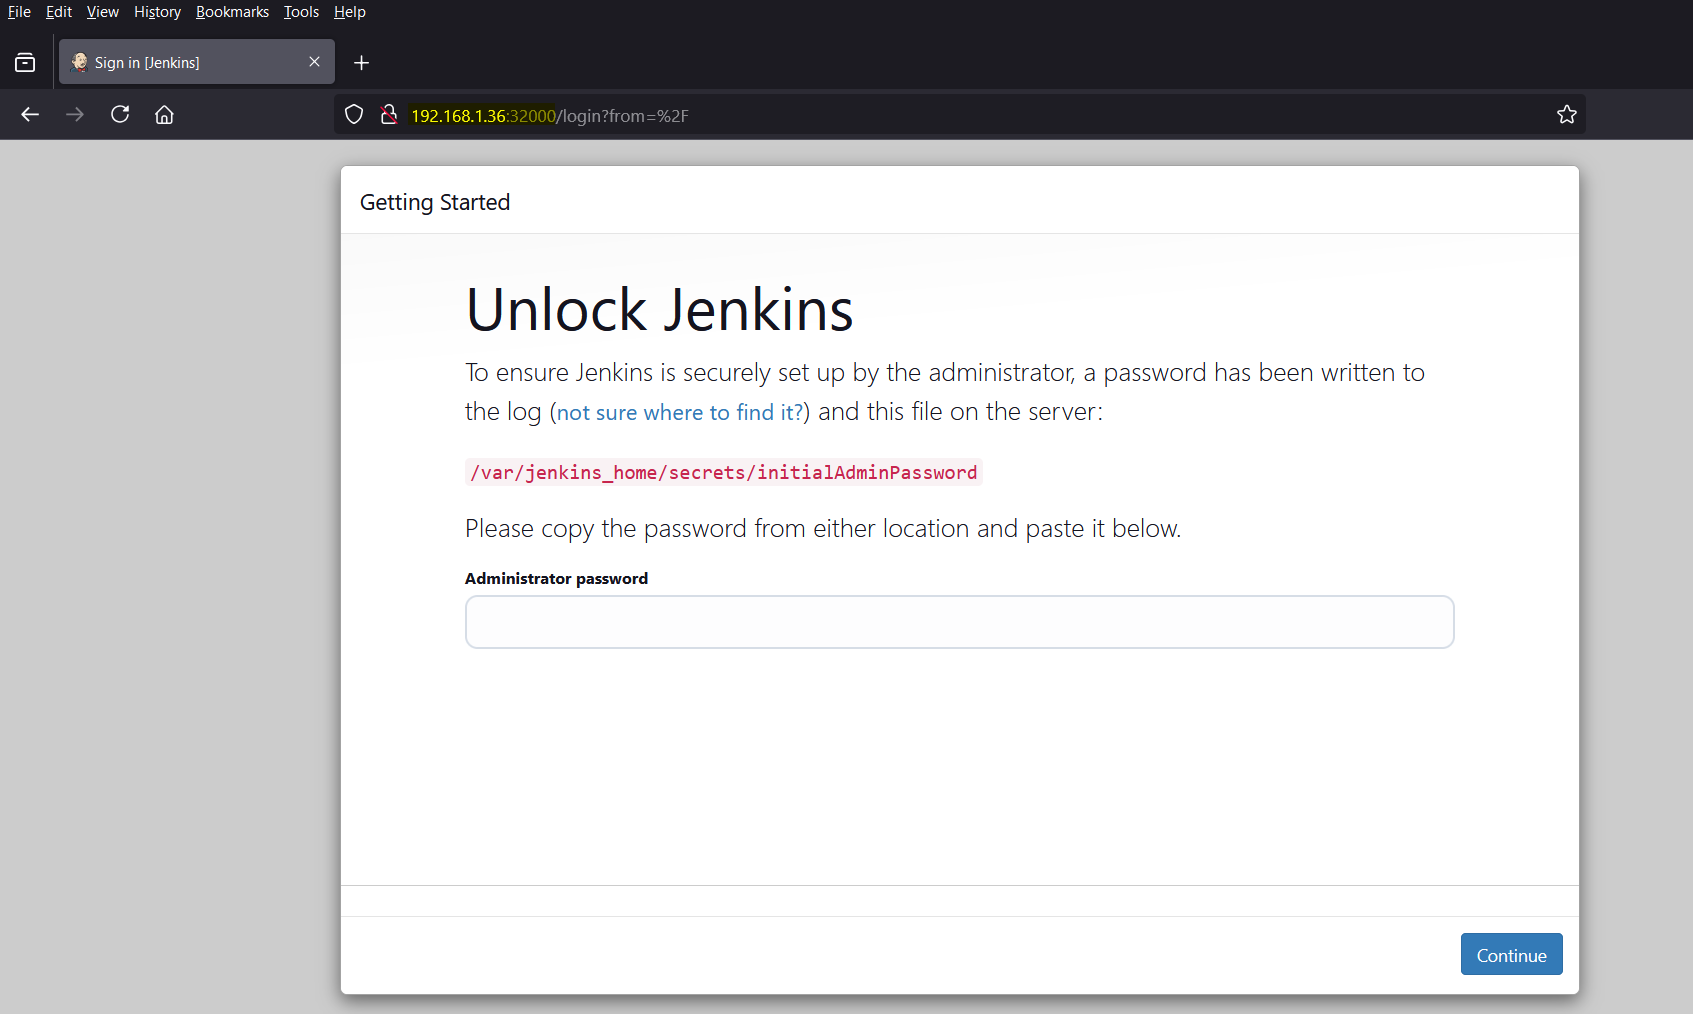
On the first login, Jenkins will prompt for the initial Admin password.
To retrieve it, first get the pod name and then execute the command in the pod ‘cat /var/jenkins_home/secrets/initialAdminPassword‘
$ kubectl get pods -n jenkins
$ kubectl exec -it <Jenkins-pod-name> cat /var/jenkins_home/secrets/initialAdminPassword -n Jenkins

Copy the password and paste it in ‘administrator password‘ field. and click on Continue.

Next choose “Install suggested plugins” and then it will automatically all the suggested plugins.

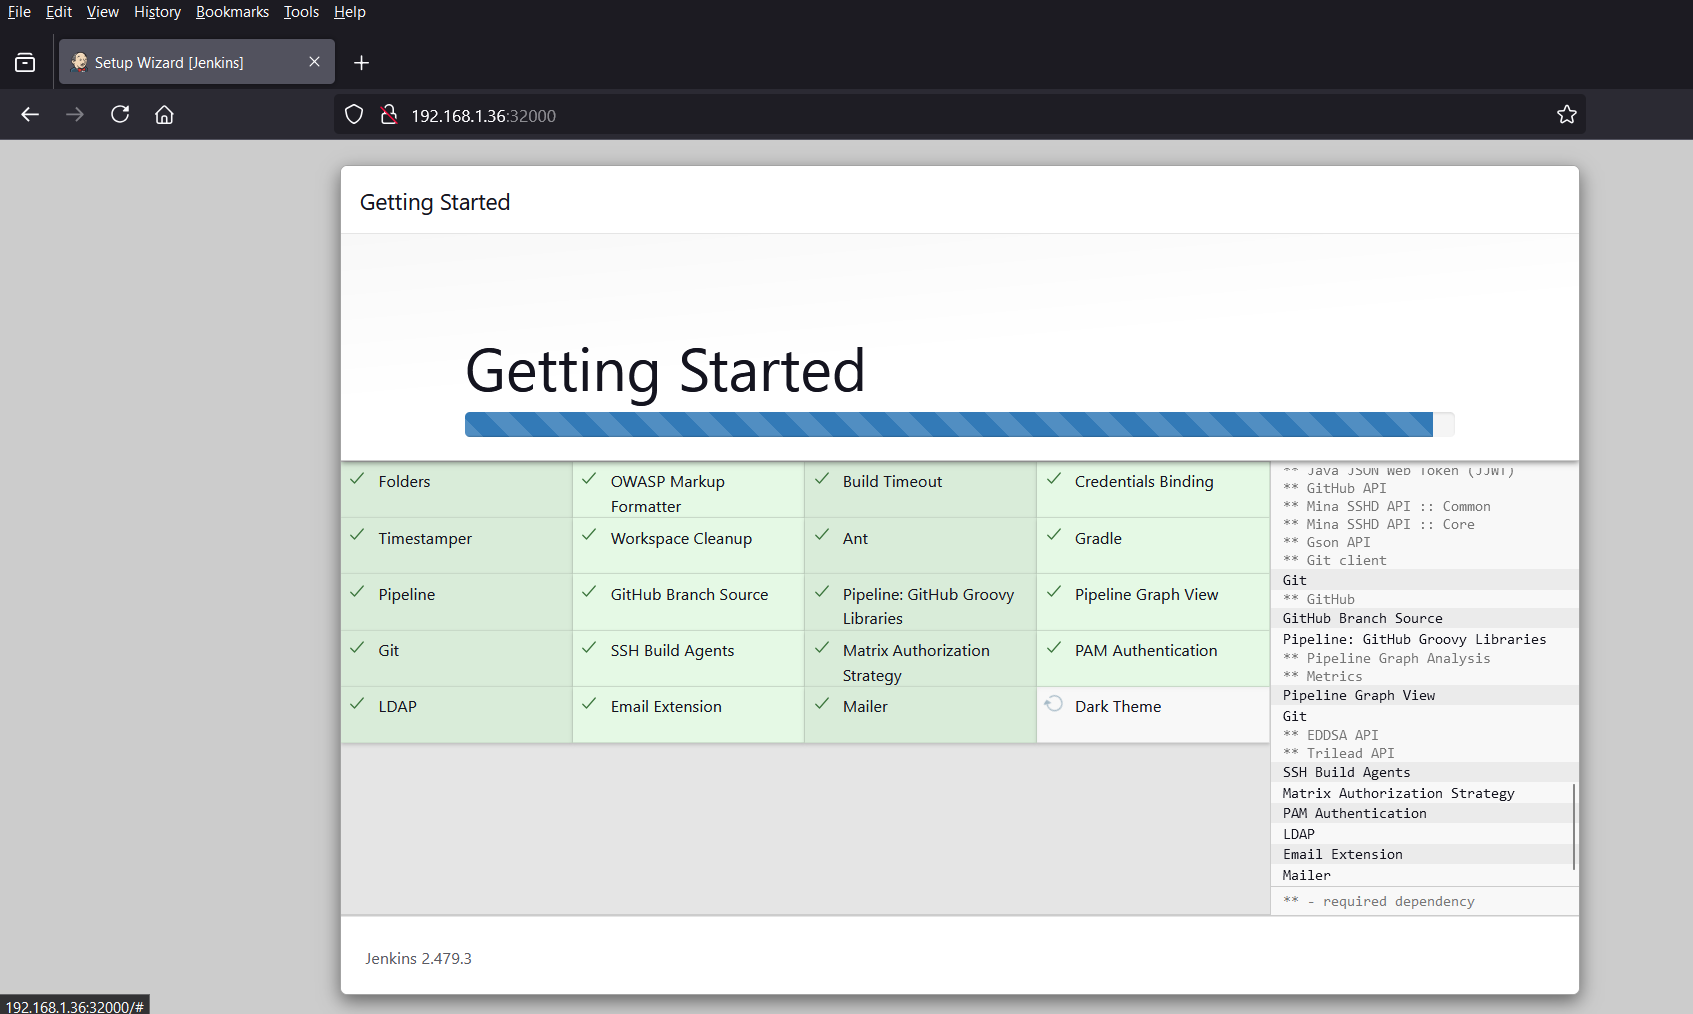
Once all the plugins are installed successfully, we will get the following screen. Create your first admin use as per your setup.
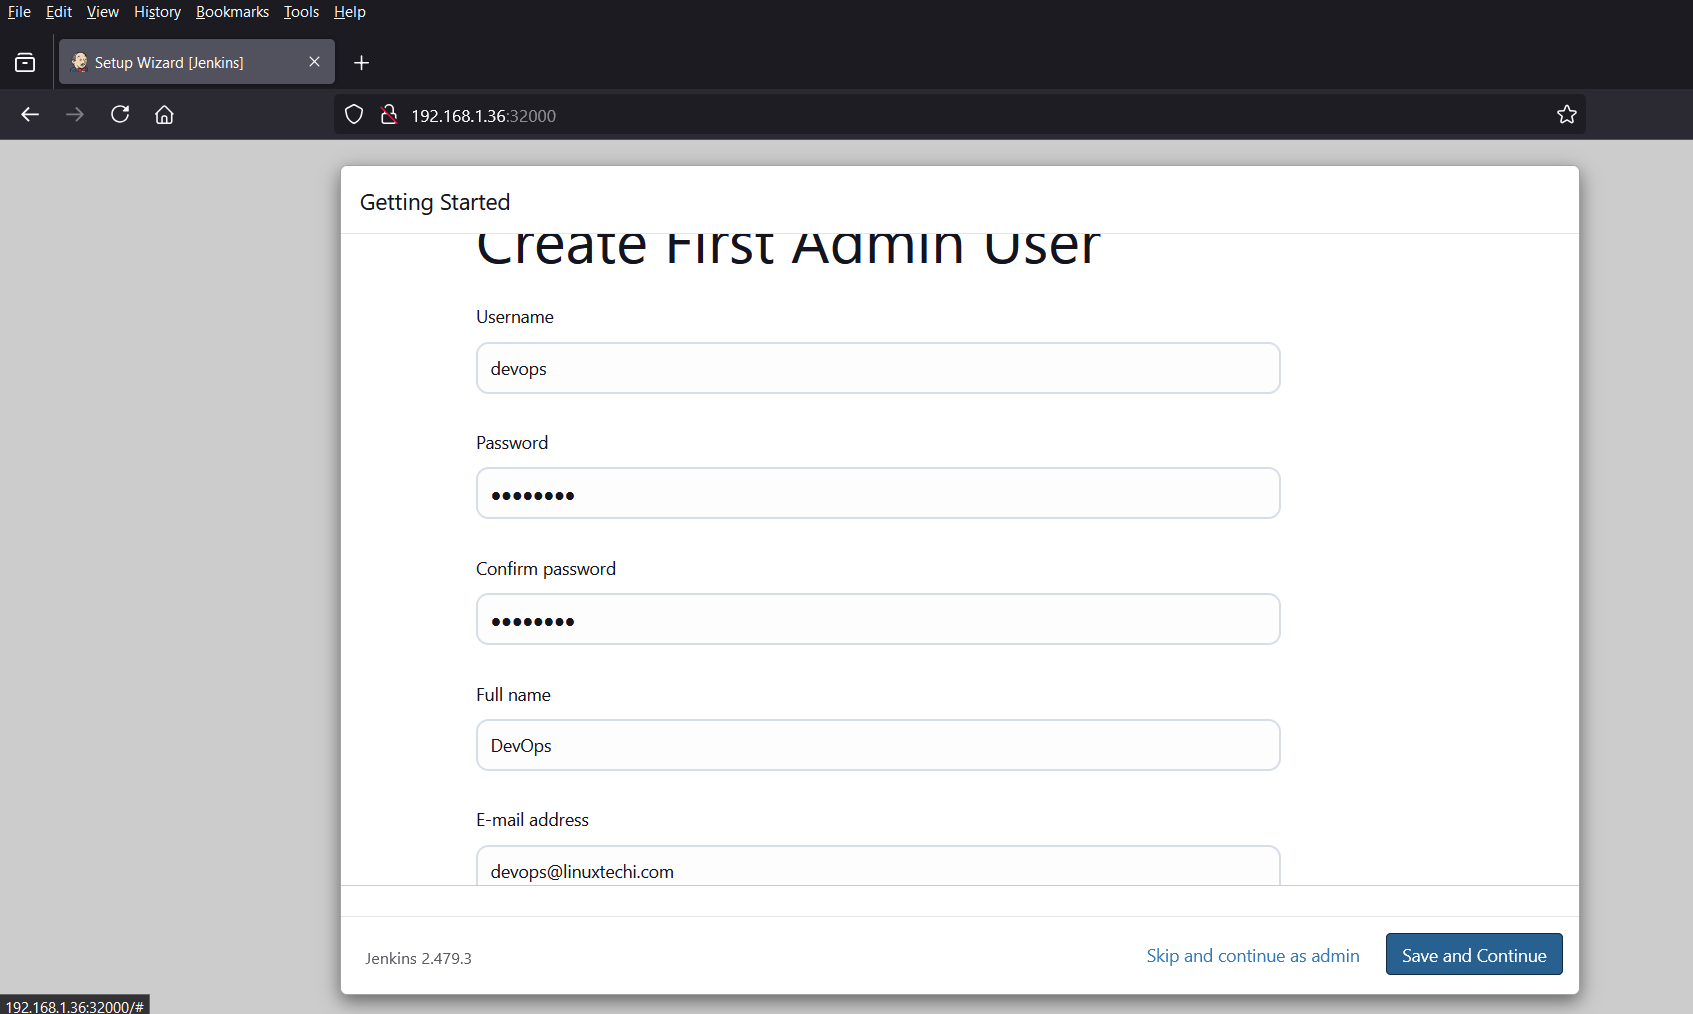
Click on Save and Continue to proceed further.
In the following screen, confirm your Jenkins URL, in our case it is worker node IP and node port (32000).

Click on “Save and Finish”, it will take us to following screen.
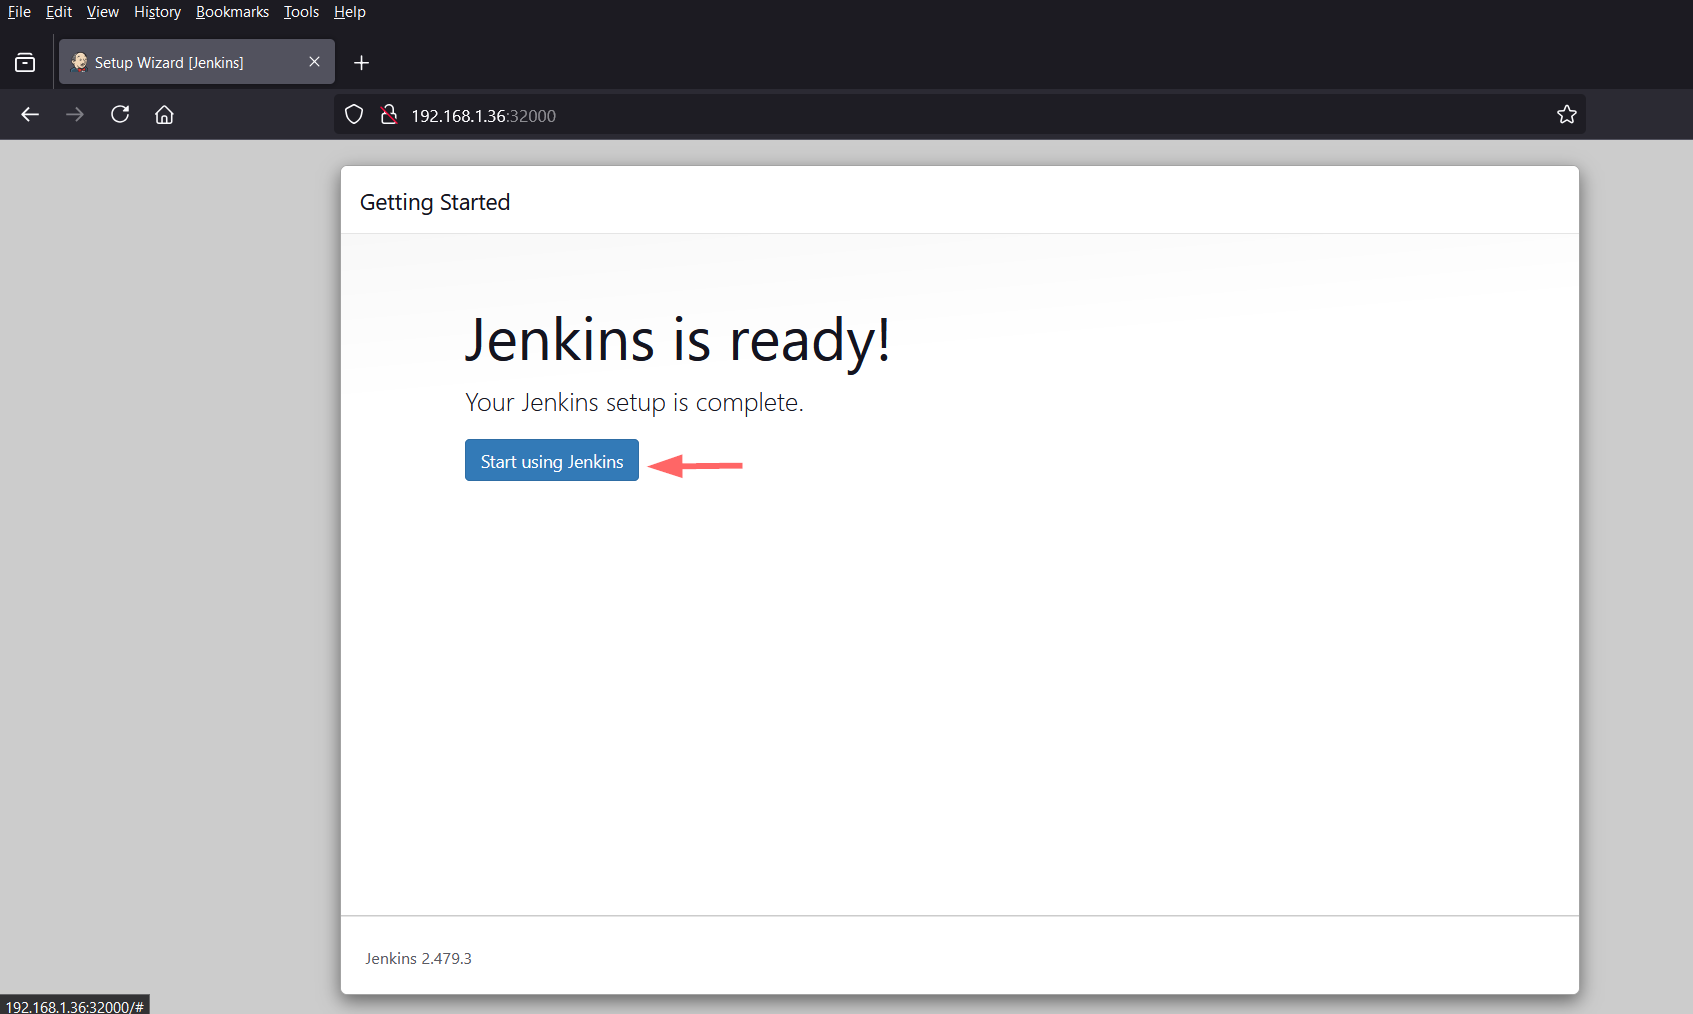
Click on “Start using Jenkins”, it will take us to Jenkins dashboard as shown below:
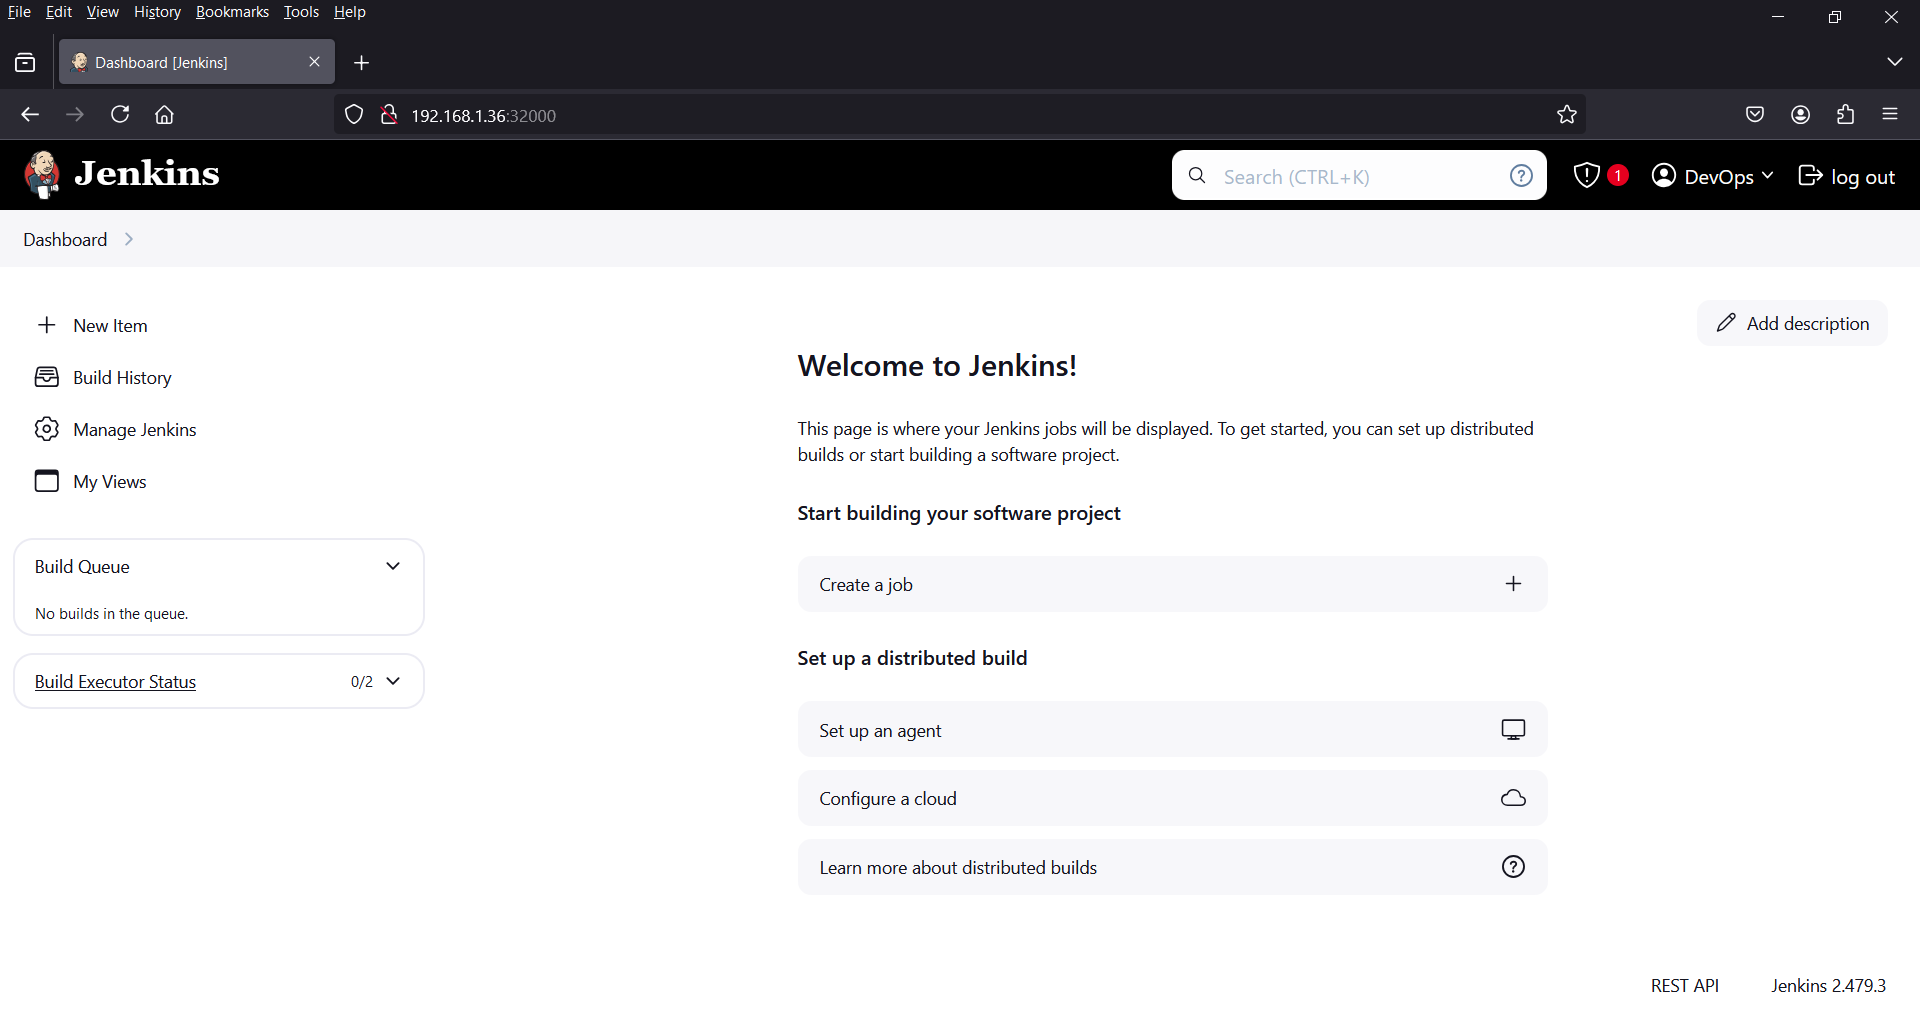
Perfect above screen confirms that we successfully installed Jenkins on Kubernetes cluster.
7) Test Jenkins Installation
To test Jenkins installations, create a demo job which will execute shell command, example is shown below.
That’s all from this guide. I hope you have found it useful and informative. Feel free to post your queries and feedback in below comments section.
Also Read: How to Setup Agent Node in Jenkins Step-by-Step