Installing DeepSeek on your local Ubuntu 24.04 system allows you to harness advanced AI capabilities directly from your machine, eliminating the need for cloud services.
This guide will explain how to install DeepSeek on Ubuntu 24.04 locally step-by-step and also cover how to setup Web UI for deepseek.
What is DeepSeek?
DeepSeek is an advanced open-source AI model designed for natural language understanding and generation. It offers powerful capabilities similar to ChatGPT, making it an excellent choice for developers, researchers, and AI enthusiasts who want to run a large language model locally without relying on cloud-based services.
Prerequisites:
- A running Ubuntu 24.04 Instance
- Stable Internet Connection
- Minimum 8GB RAM (recommended 16 GB RAM and Multi GPU)
- At least 20GB Free disk space
- Basic understanding of terminal
Without any further delay, let deep dive into Deepseek installation steps. Login to your Ubuntu 24.04 system and follow these steps.
1) Update Your System
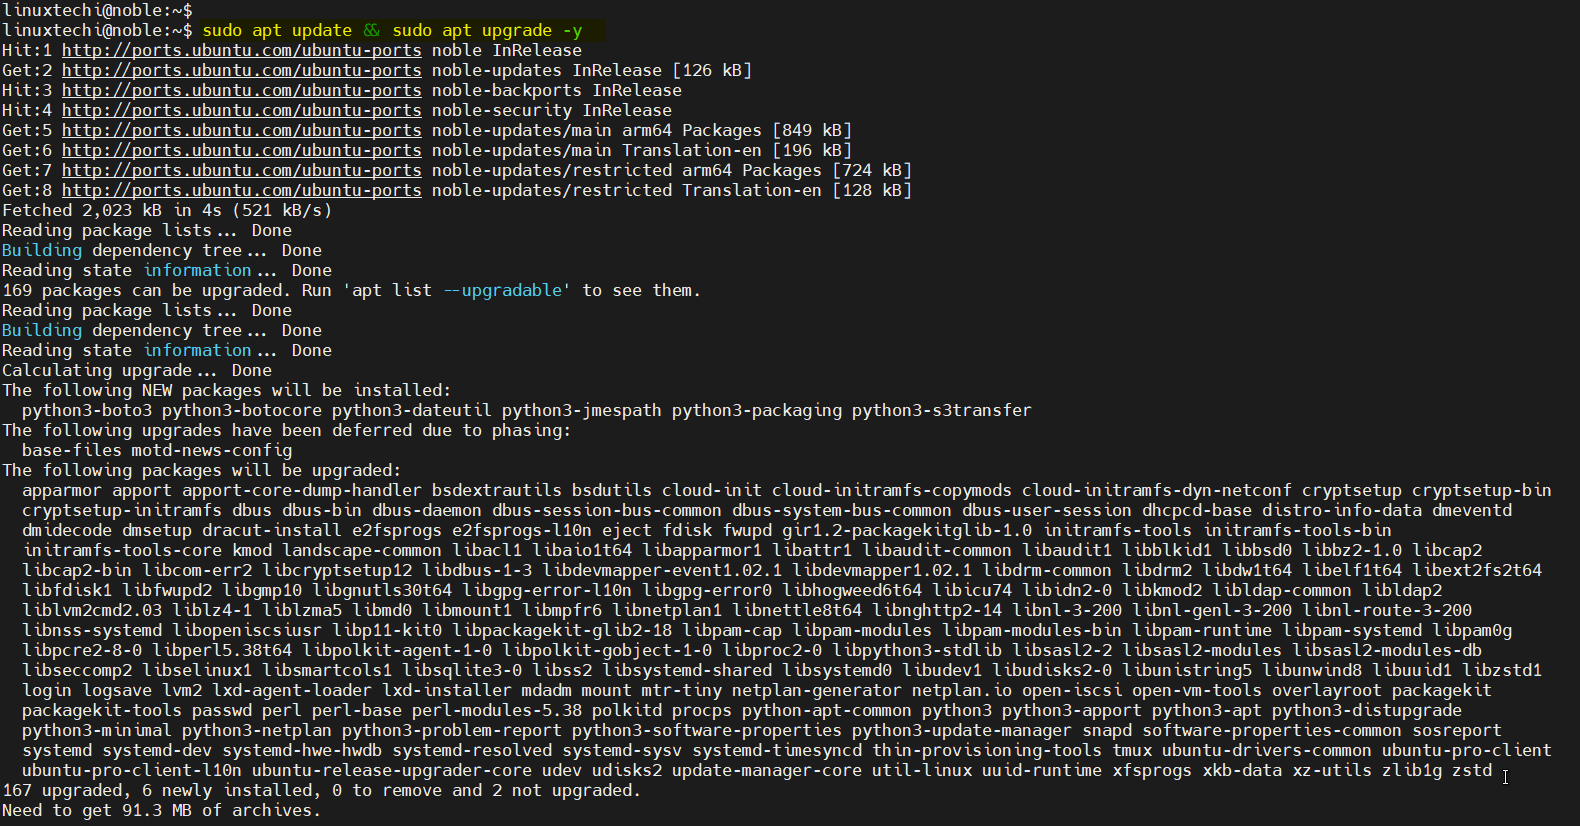
It is highly recommended to install all available updates on your Ubuntu system. Run the following apt commands.
$ sudo apt update && sudo apt upgrade -y
Once all the updates are installed, reboot your system using,
$ sudo reboot
2) Install Python and Git
We need Python 3.8 or higher for deepseek installation. Latest version of python 3.12 is available in the default apt repositories of Ubuntu 24.04, so it’s installation is straight forward, run following apt command.
$ sudo apt install python3 -y
Verify that Python 3.8 or higher is installed:
$ python3 --version

Install pip, the Python package manager:
$ sudo apt install python3-pip -y
$ pip --version
Install Git for cloning repositories:
$ sudo apt install git -y
$ git --version

3) Install Ollama
Ollama is a platform that simplifies running large language models locally. Install it using the following curl command:
$ curl -fsSL https://ollama.com/install.sh | sh
$ ollama --version

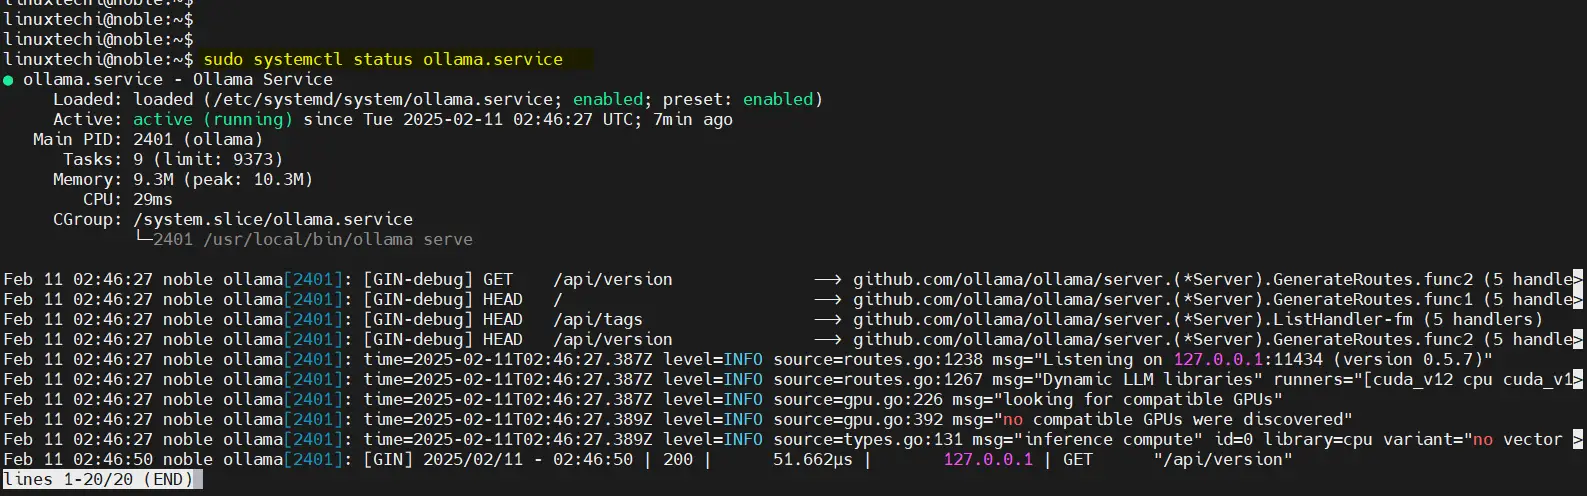
After installation, Ollama service will start automatically, you can verify the status using beneath command.
$ sudo systemctl status ollama.service
4) Download and Run the DeepSeek Model
With Ollama set up, download the DeepSeek model. There different models available based on your requirement you download them accordingly.
- DeepSeek-R1-Distill-Qwen-1.5B
- DeepSeek-R1-Distill-Qwen-7B
- DeepSeek-R1-Distill-Qwen-14B
- DeepSeek-R1-Distill-Qwen-32B
- DeepSeek-R1-Distill-Llama-8B
- DeepSeek-R1-Distill-Llama-70B
These models are based on two different model families:
- Qwen-based models (ranging from 1.5B to 32B parameters)
- Llama-based models (8B and 70B parameters)
To download R1- 7B model, run following ollama command.
$ ollama pull deepseek-r1:7b
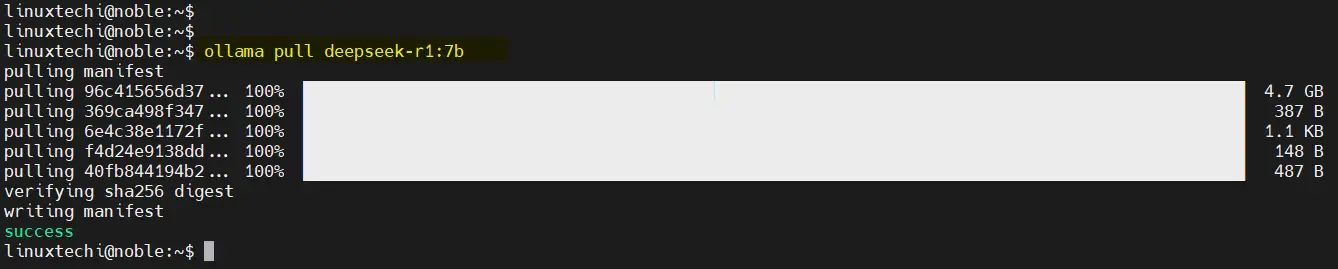
This command will download and run the 7B version of the DeepSeek model. The download size is approximately 4.7 GB, so the time taken will depend on your internet speed.
Similarly, if you would like to download R1 – 14B model, then run,
$ ollama pull deepseek-r1:14b

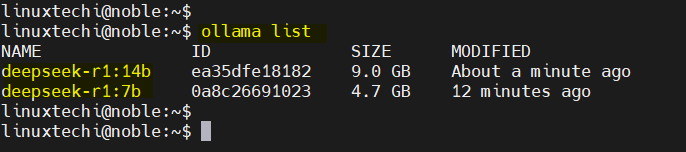
Once models are downloaded, you can list them by running the command.
$ ollama list
Now start specific model like 7b, run the command
$ ollama run deepseek-r1:7b
Enter your query and you will get your answer, examples is shown below:
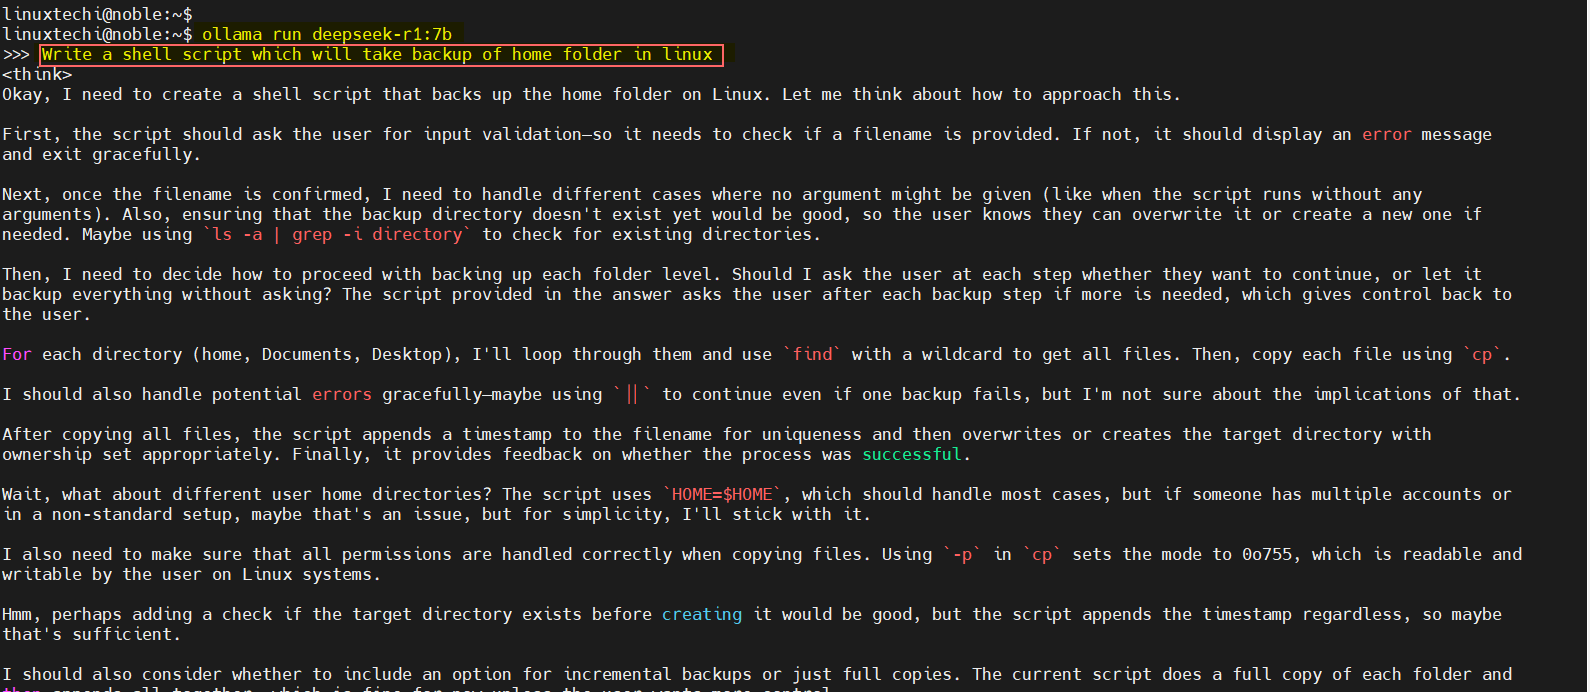
In order to come out from the model prompt, type ‘Ctrl+D’
5) Set Up the Web UI for DeepSeek
For a more user-friendly experience, you can interact with DeepSeek through a web interface. Follow these steps:
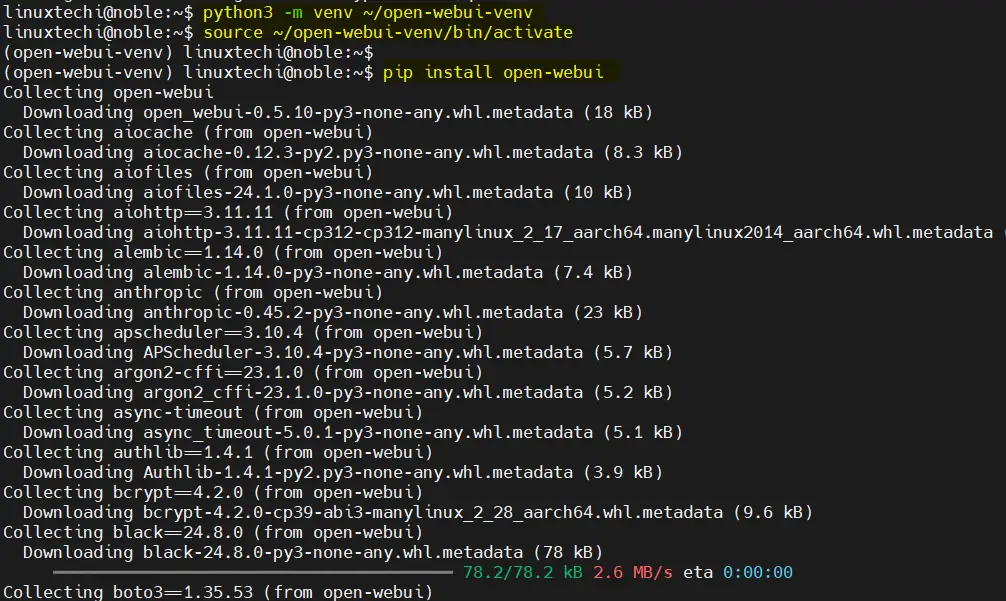
Create a Python Virtual Environment, run the following set of commands one after the another.
$ sudo apt install python3-venv -y
$ python3 -m venv ~/open-webui-venv
$ source ~/open-webui-venv/bin/activate
Next, Install Open WebUI using below pip command
$ pip install open-webui
Start the Open WebUI Server:
$ open-webui serve
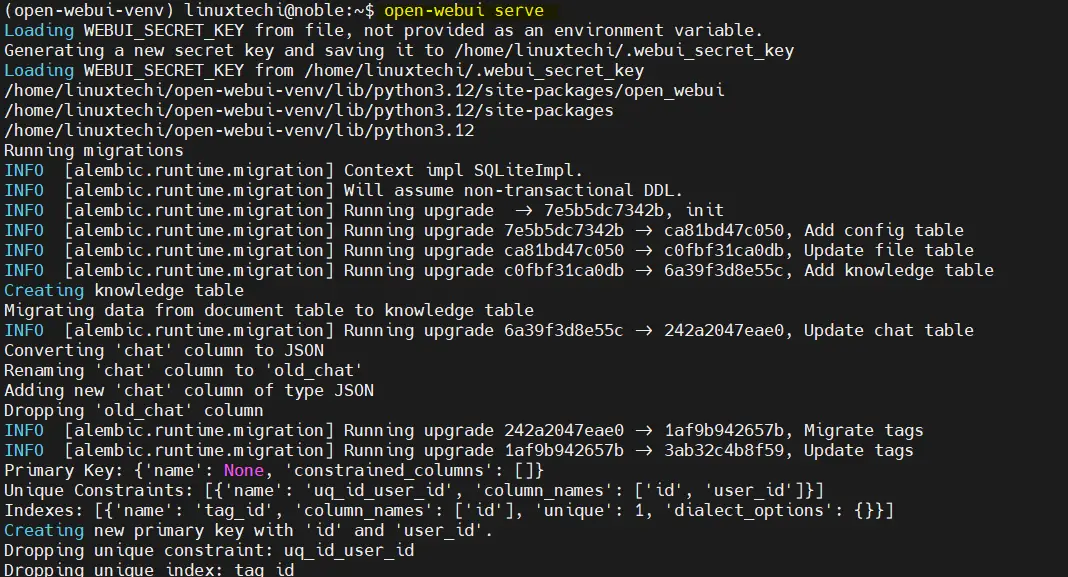
Open your browser and navigate to http://localhost:8080 to access the interface.
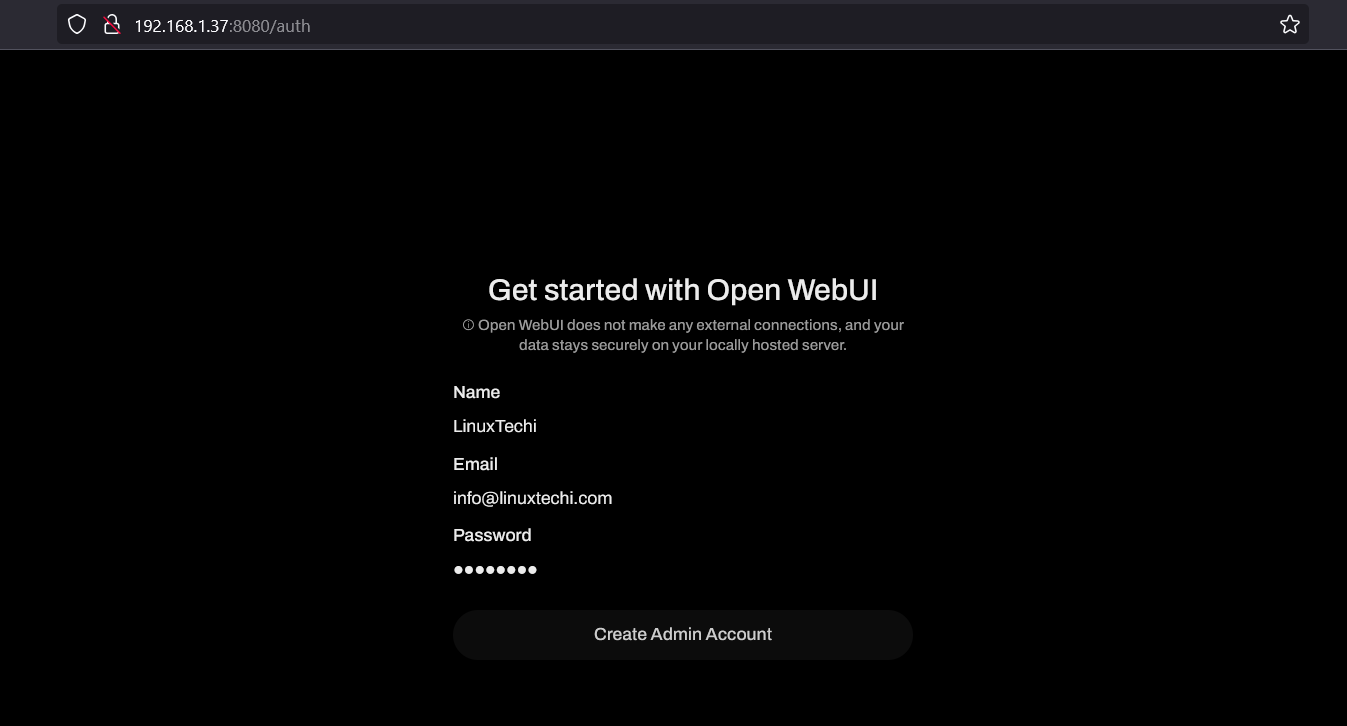
Create your admin account, it will take us to Web UI screen, select the DeepSeek model from the dropdown menu to start interacting with it.
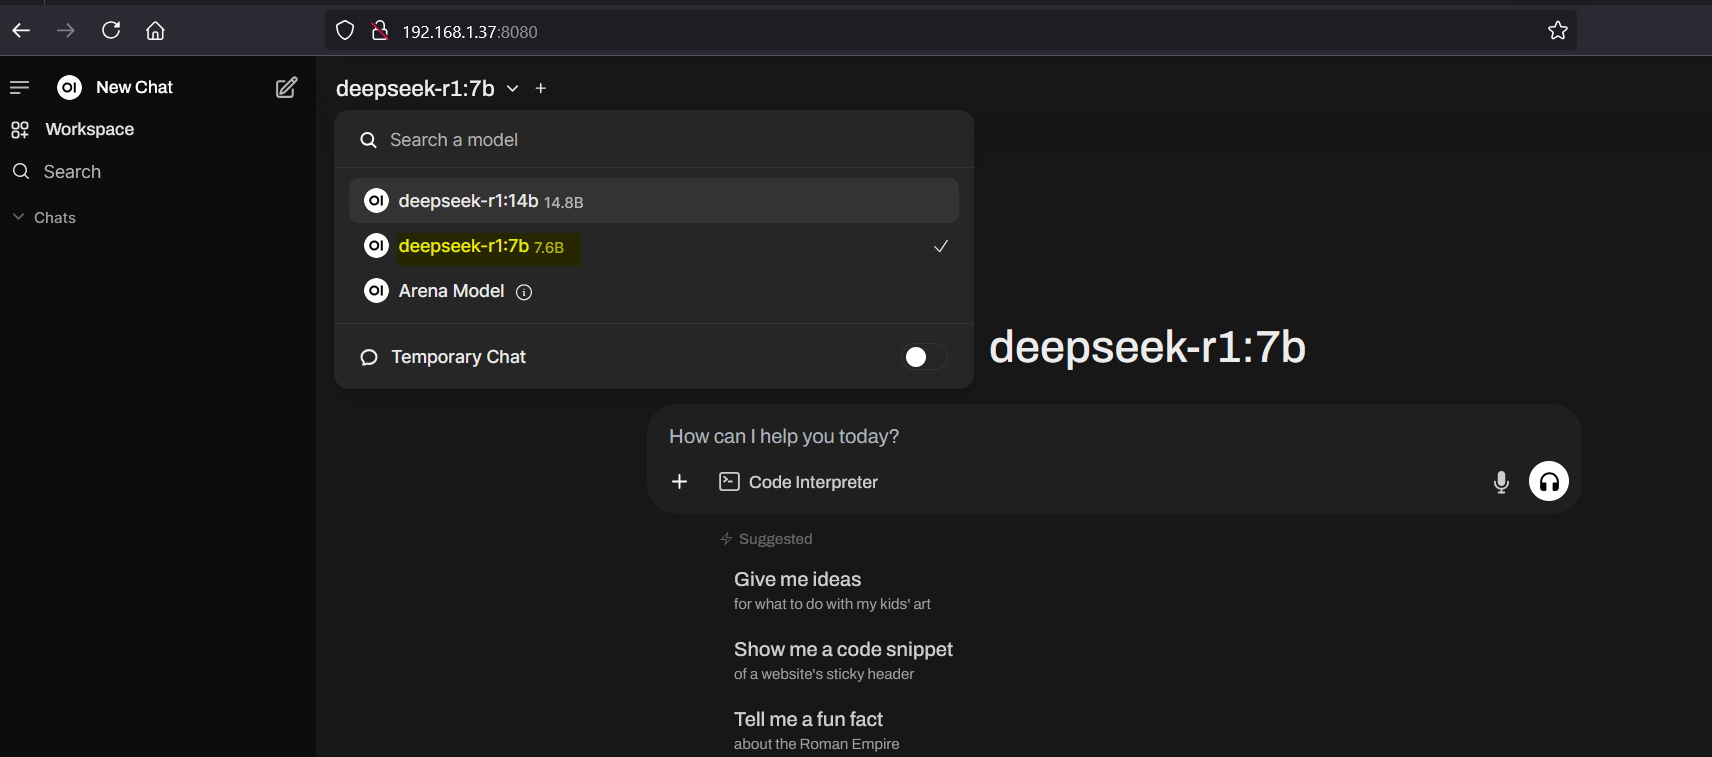
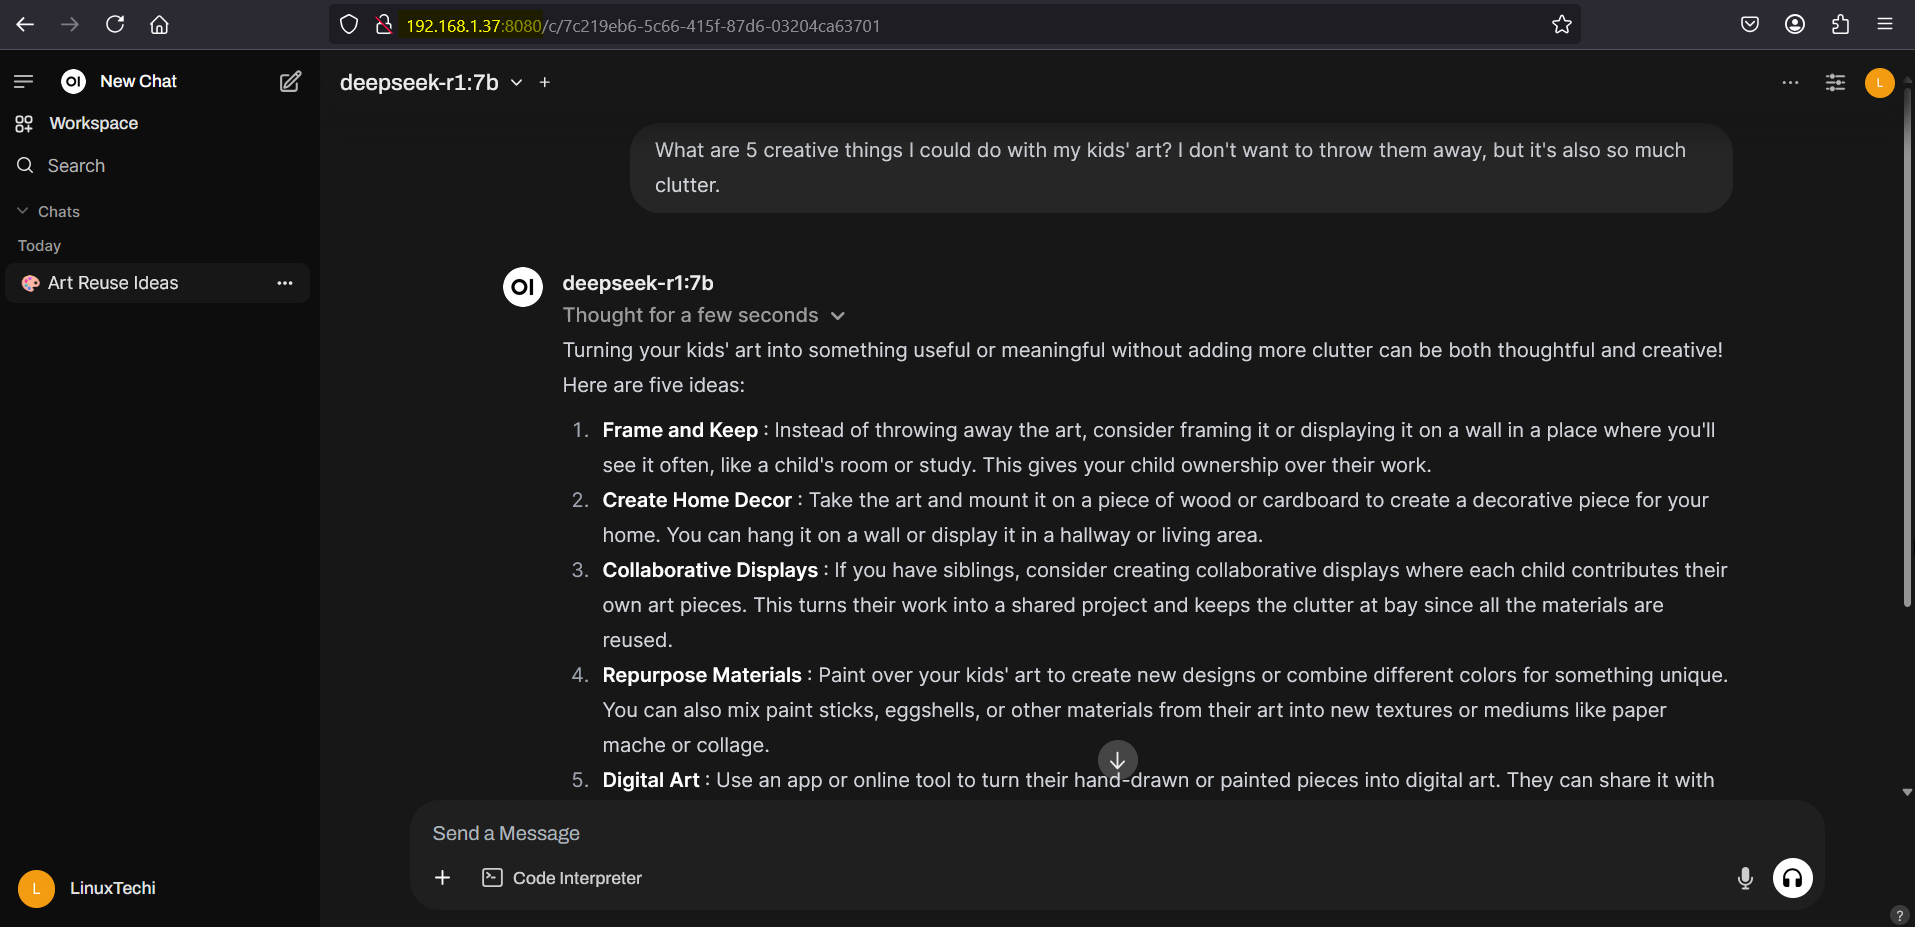
Now you can start interacting with DeepSeek via its Web UI.
Create a Systemd service for Web UI
To have Open WebUI start automatically on system boot, create a systemd service file.
$ sudo vi /etc/systemd/system/open-webui.service
Add the Following Content:
[Unit]
Description=Open WebUI Service
After=network.target

[Service]
User=linuxtechi
WorkingDirectory=/home/linuxtechi/open-webui-venv
ExecStart=/home/linuxtechi/open-webui-venv/bin/open-webui serve
Restart=always
Environment="PATH=/home/linuxtechi/open-webui-venv/bin:/usr/local/sbin:/usr/local/bin:/usr/sbin:/usr/bin:/sbin:/bin"

[Install]
WantedBy=multi-user.target
Replace linuxtechi with your actual username and reload systemd & enable the service:
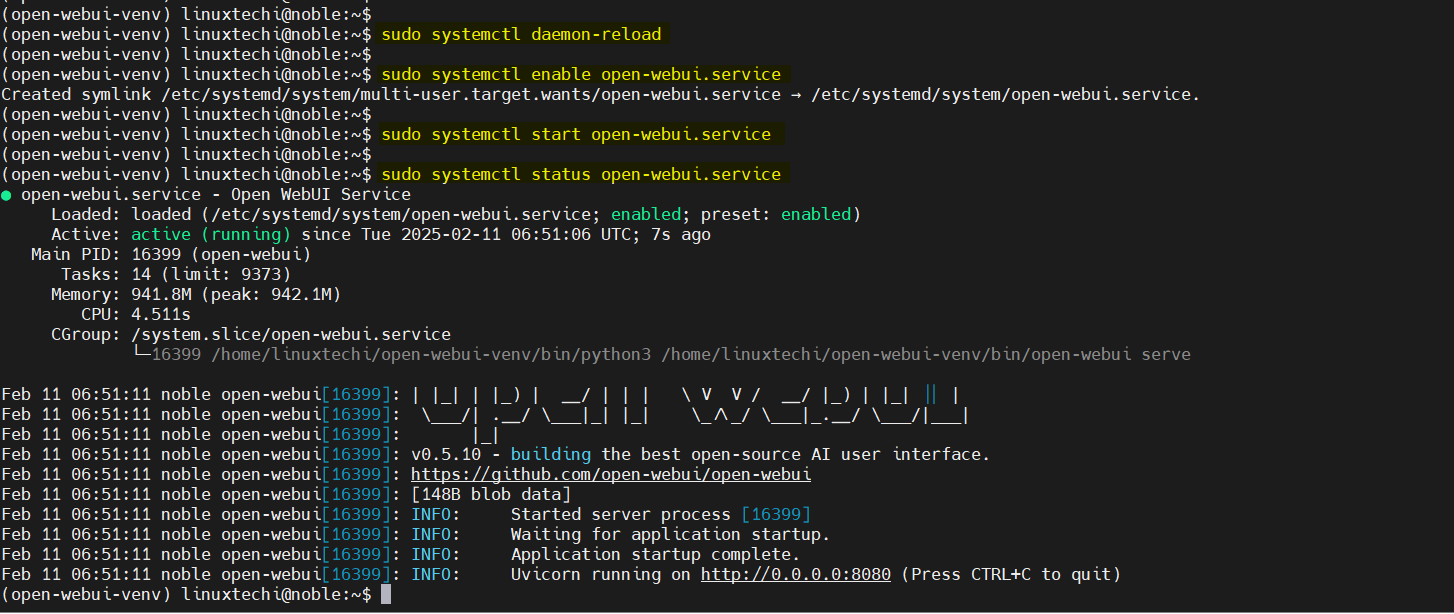
$ sudo systemctl daemon-reload
$ sudo systemctl enable open-webui.service
$ sudo systemctl start open-webui.service
You can check the status of the service with:
sudo systemctl status open-webui.service
Now you can access the deepseek webui from your system’s browsers using the following URL:
http://<Your-Ubuntu-System-IPAddress>:8080
By following these steps, you’ve successfully installed DeepSeek on your Ubuntu 24.04 system and set up a convenient web interface for interaction. This setup allows you to explore advanced AI capabilities locally, providing both privacy and control over your data.
That’s all from this post, feel free to post your queries and feedback in below comments section.


Where is the Deepseek llm stored physically on the Ubuntu server.
When I run the ollama rm – does it physically delete the file as well.
Deepseek LLM models stored by **Ollama** are typically located in the directory:
~/.ollama/modelsWhen you run:
ollama rm model_nameIt removes the model from Ollama’s local storage. However, depending on your system configuration, some residual data may still exist, such as cached files. If you want to ensure complete removal, you can manually check and delete the contents of `~/.ollama/models/`.