In this guide, we will show you how to upgrade Linux Mint 21.3 to Linux Mint 22 step by step.
Linux Mint 22 is a long-term support (LTS) release that will get support and updates until 2029. It is based on Ubuntu 24.04 LTS and packs with numerous improvements and enhancements such as :
- New Linux Kernel 6.8
- GNOME 46
- Themes updated to support GTK4
- Better language support
- New updated desktop backgrounds
- All apps migrated to libsoup3 from libsoup2
- The default sound server switched to Pipewire
- Better HiDPI support in Plymouth and login screen
Prerequisites
- Local User with sudo rights
- 20 GB or more free disk space of root file system.
- Stable Internet Connectivity
Note: You can’t directly upgrade Linux Mint 21.1 or 21.2 to Linux Mint 22. First you need to upgrade your system to reach 21.3. Run following commands to reach 21.3
$ sudo apt update
$ sudo apt upgrade
Once your system is on the version 21.3 then refer the following steps.
Upgrade Linux Mint 21.3 to Linux Mint 22
Back up your files
Before you get started with upgrading your system, it’s highly recommended that you backup all your files and folders so that you will be in a safe place should the upgrade fail. Additionally, you can backup and restore the entire system using the TimeShift utility. Once you have backed up all your files, you can safely proceed to upgrade your system.
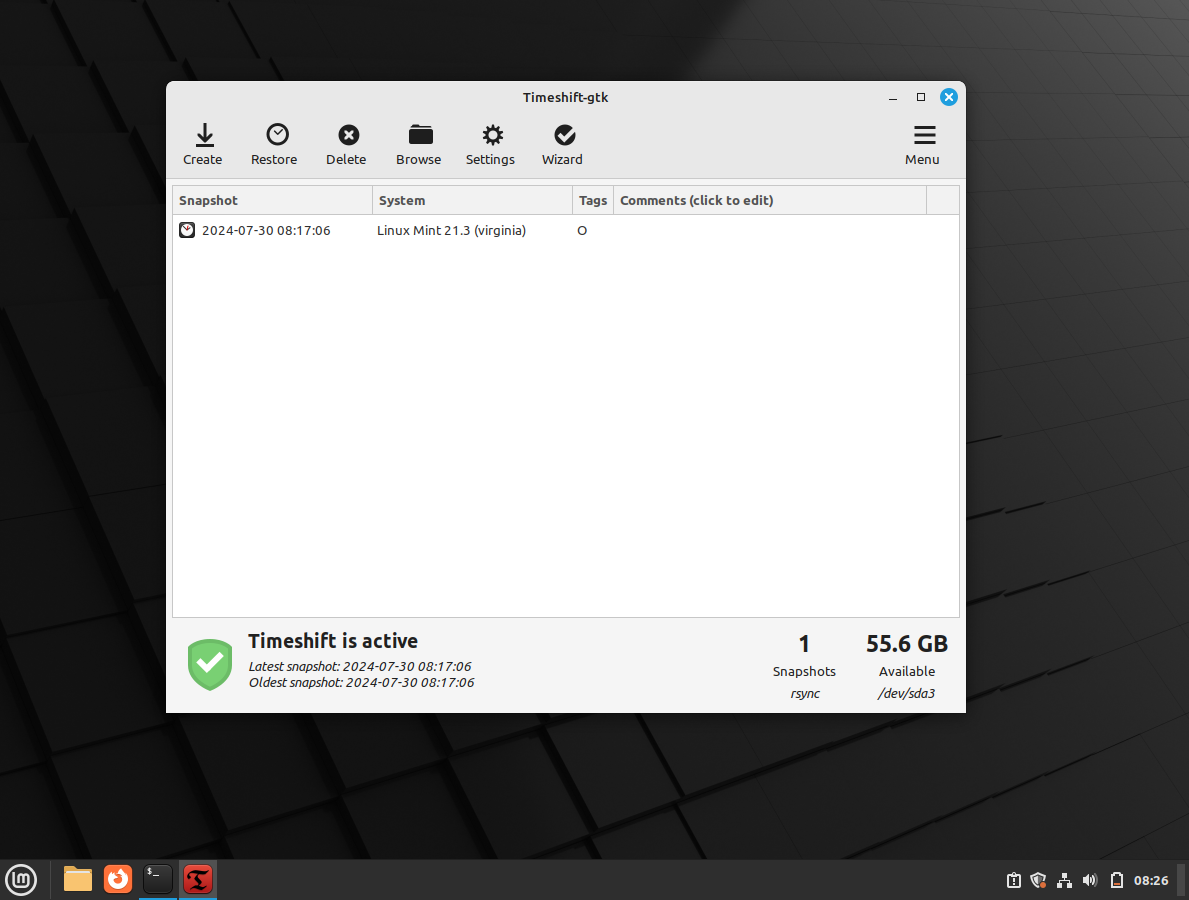
For the smooth upgrade, we would be using mintupgrade utility.
1) Install Updates
Open the terminal and run following command to install all available updates,
$ sudo apt update
$ sudo apt upgrade -y
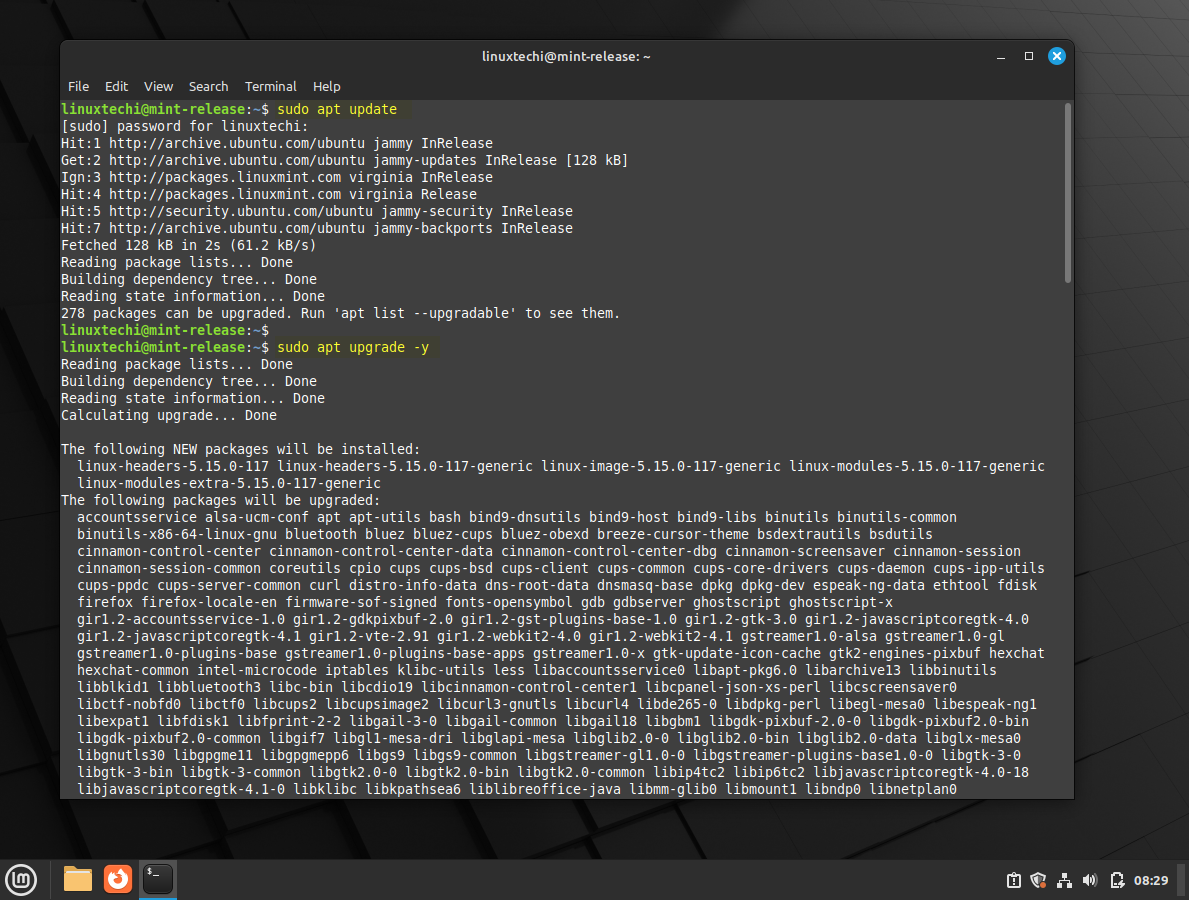
Reboot the system, once all the updates are installed.
$ sudo reboot
2) Install Mintupgrade Utility
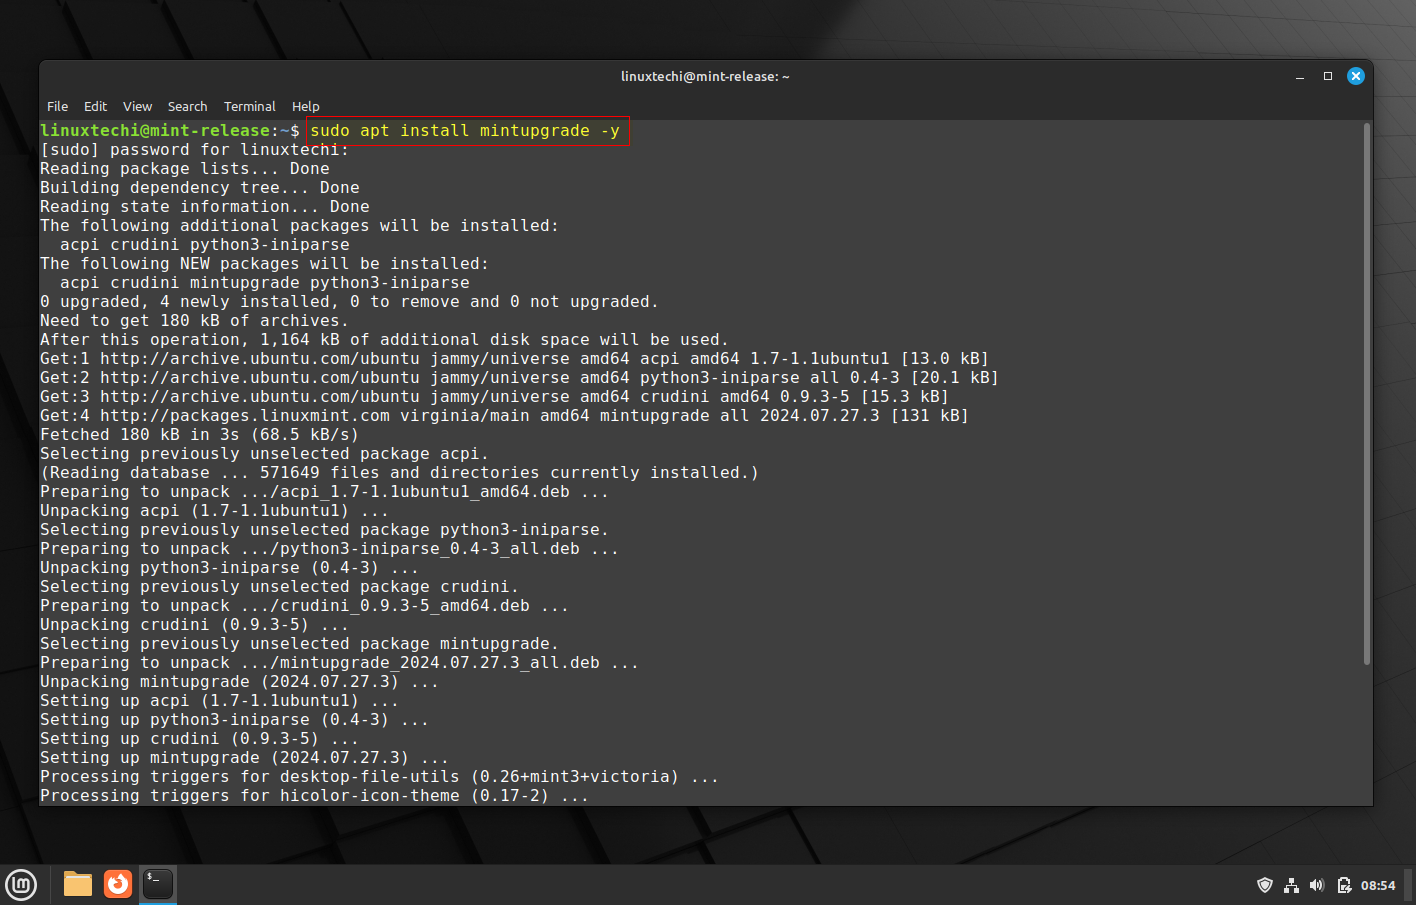
Post reboot, open the terminal and type following apt command to install mintupgrade utility.
$ sudo apt install mintupgrade -y
3) Check for Linux Mint 22 Upgrade
Run the following mintupgrade command, it will start the GUI of Upgrade tool.
$ sudo mintupgrade
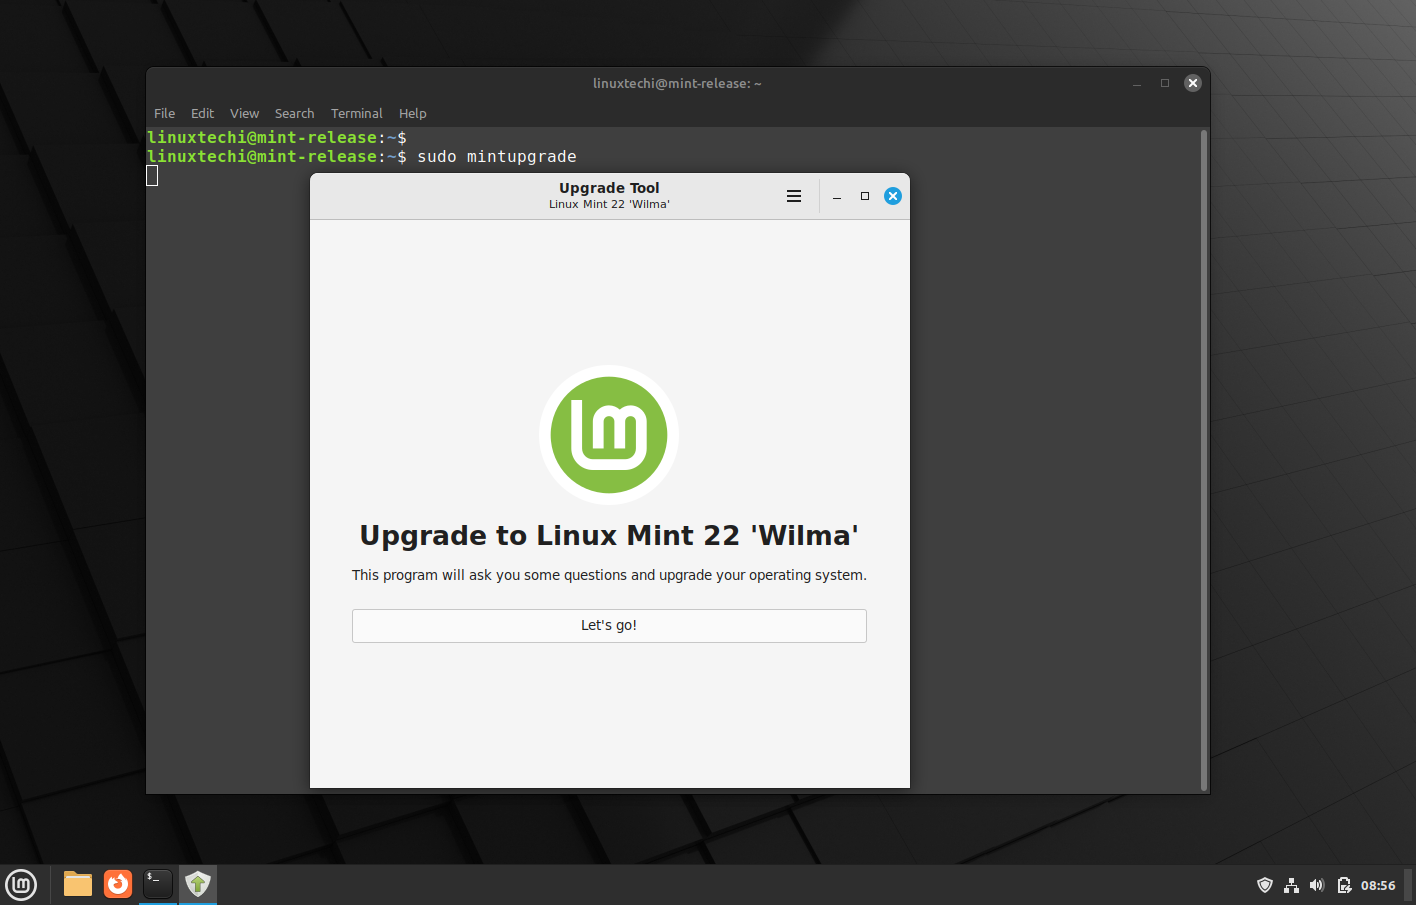
As you can see above, upgrade to Linux Mint 22 is available. Click on ‘Let’s go!‘ option to proceed.
4) Begin Upgrade Process
Preparation is the first phase of Upgrade, in this is phase multiple tests will be performed.
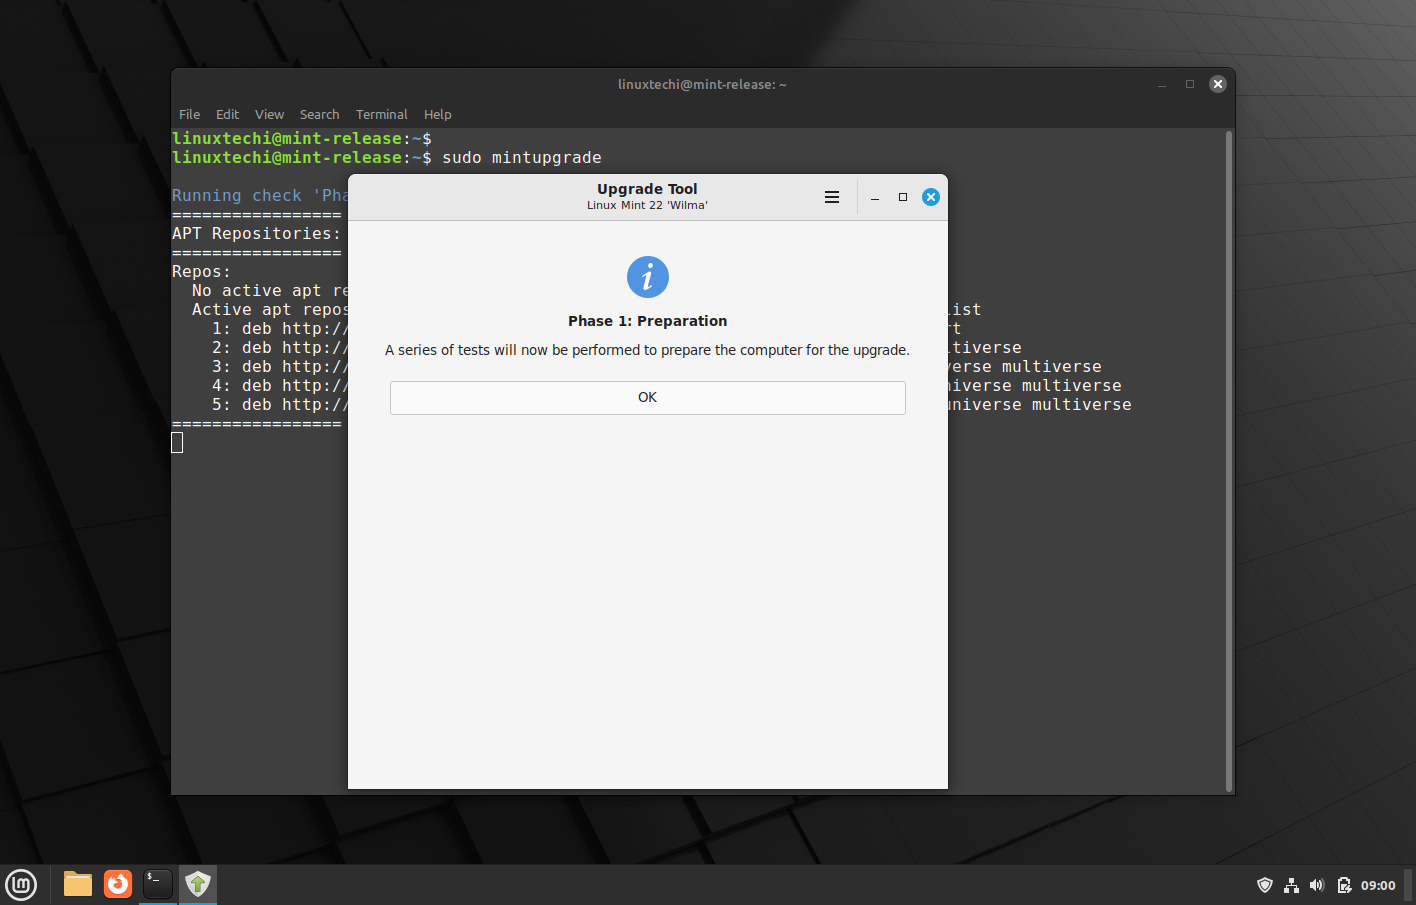
click on OK
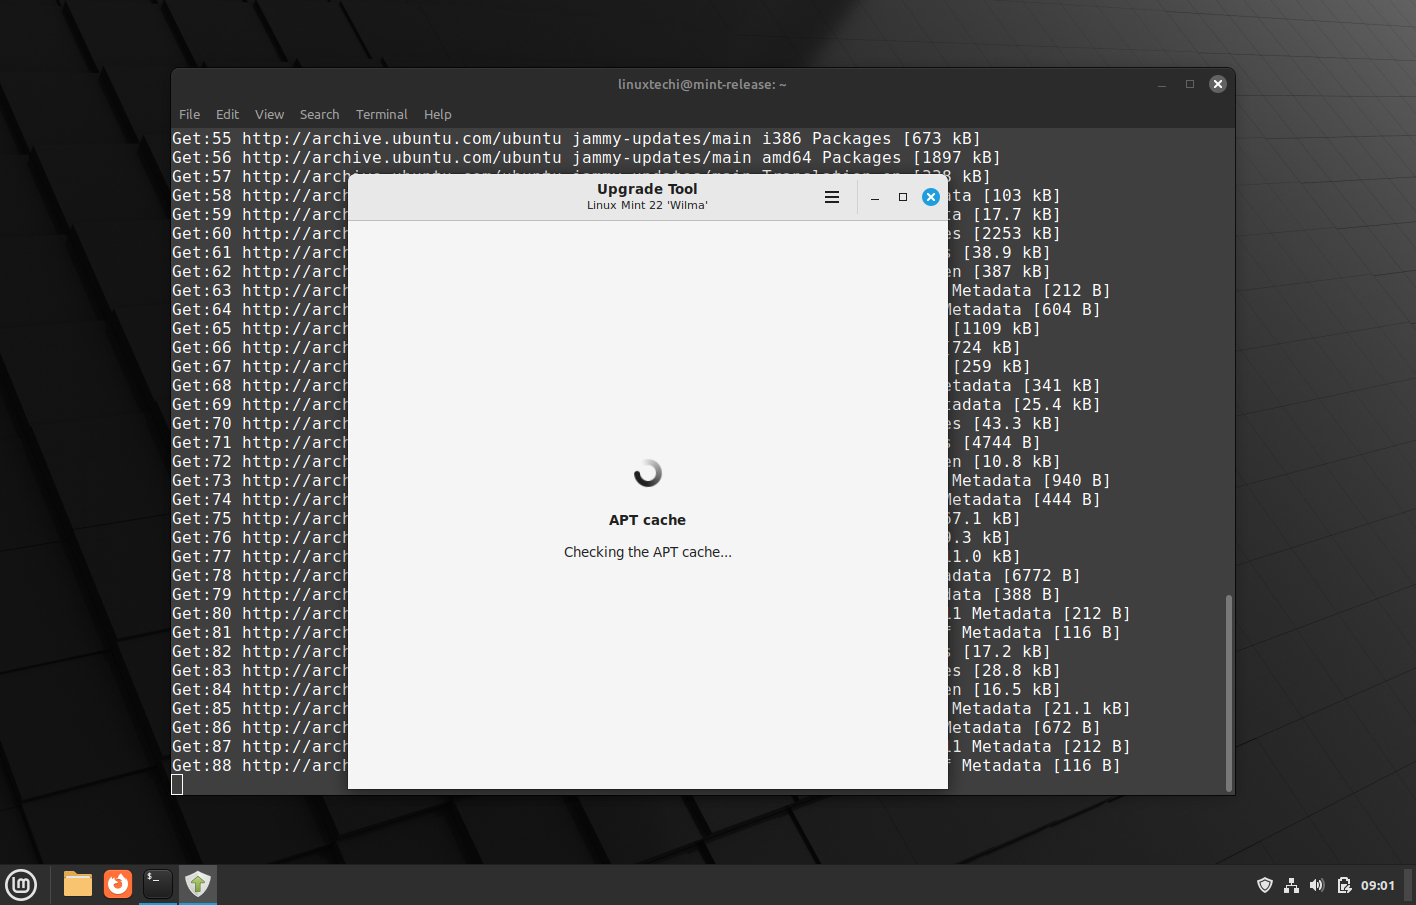
In phase 1, system snapshots will be checked along with package repositories. If the system snapshots not found, then it will prompt you to take the snapshot using timeshift tool. Once all the tests are completed successfully then you will get Phase 2 screen.
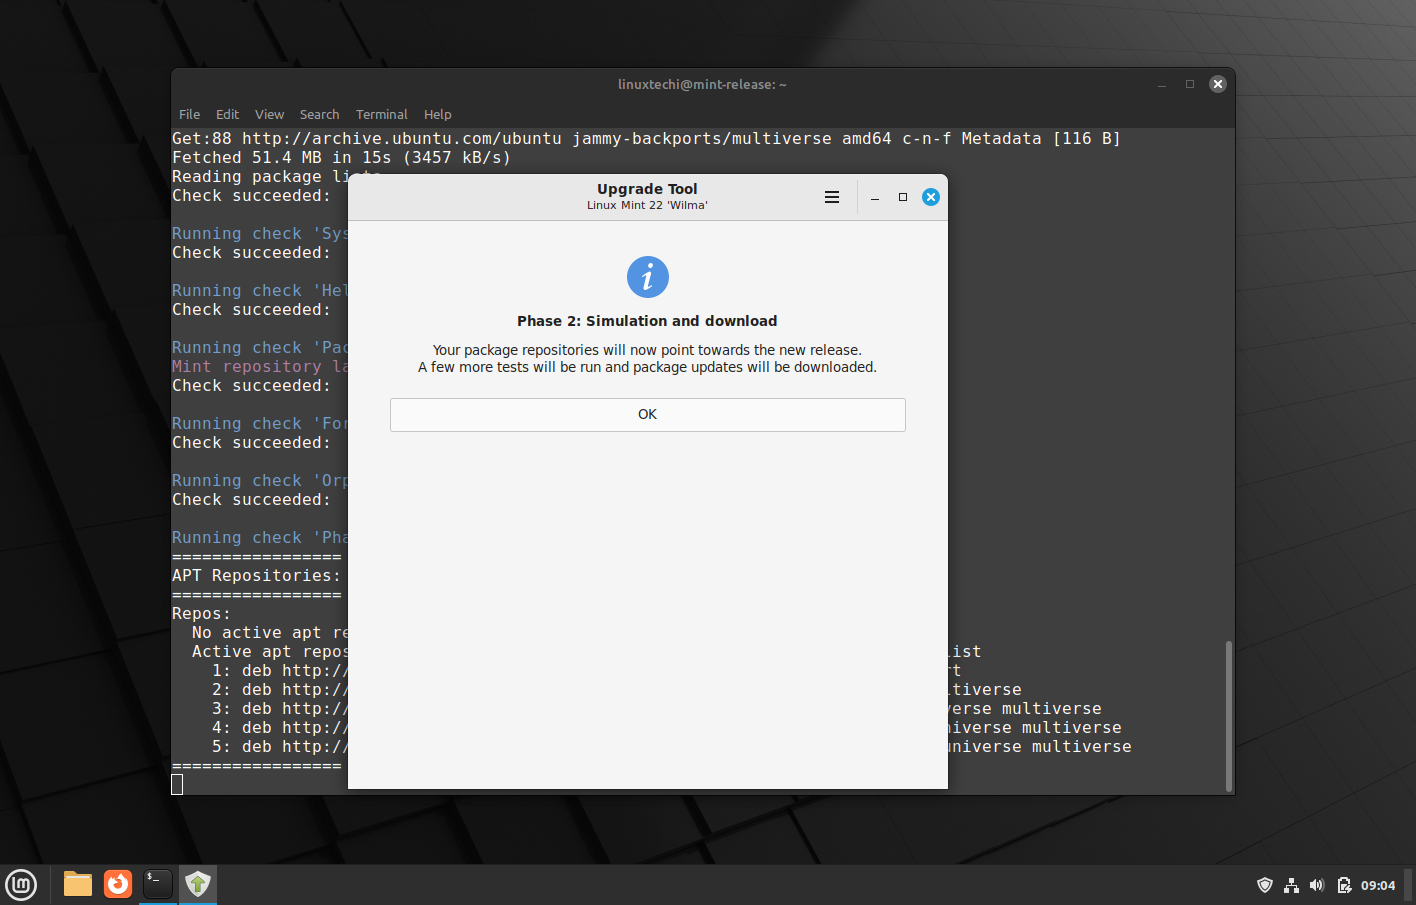
Click on OK to proceed further. In phase 2, all the package updates will be downloaded.
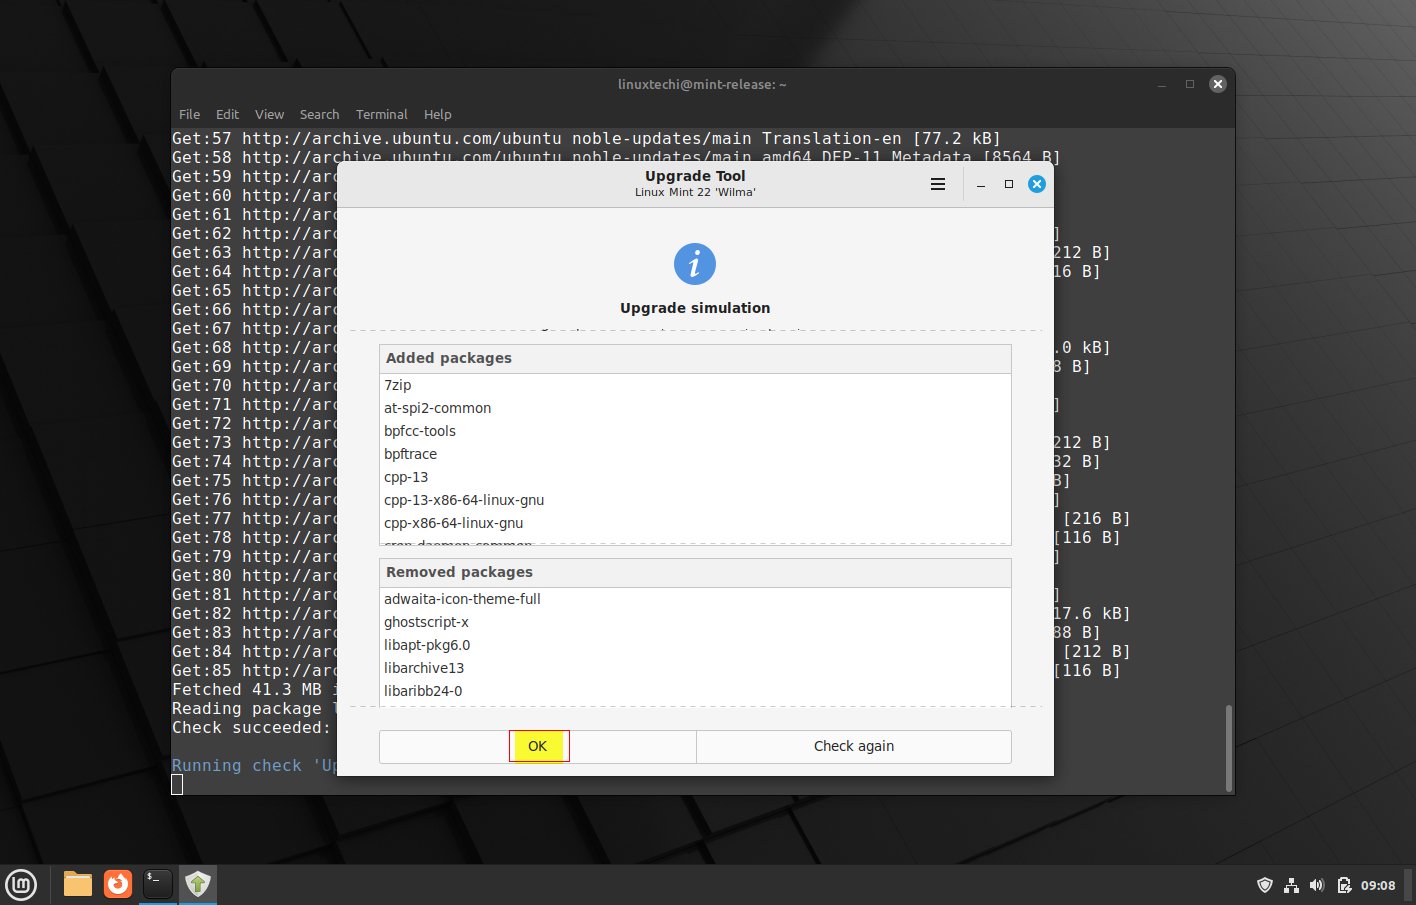
Choose OK to start downloading the packages required for upgrade.
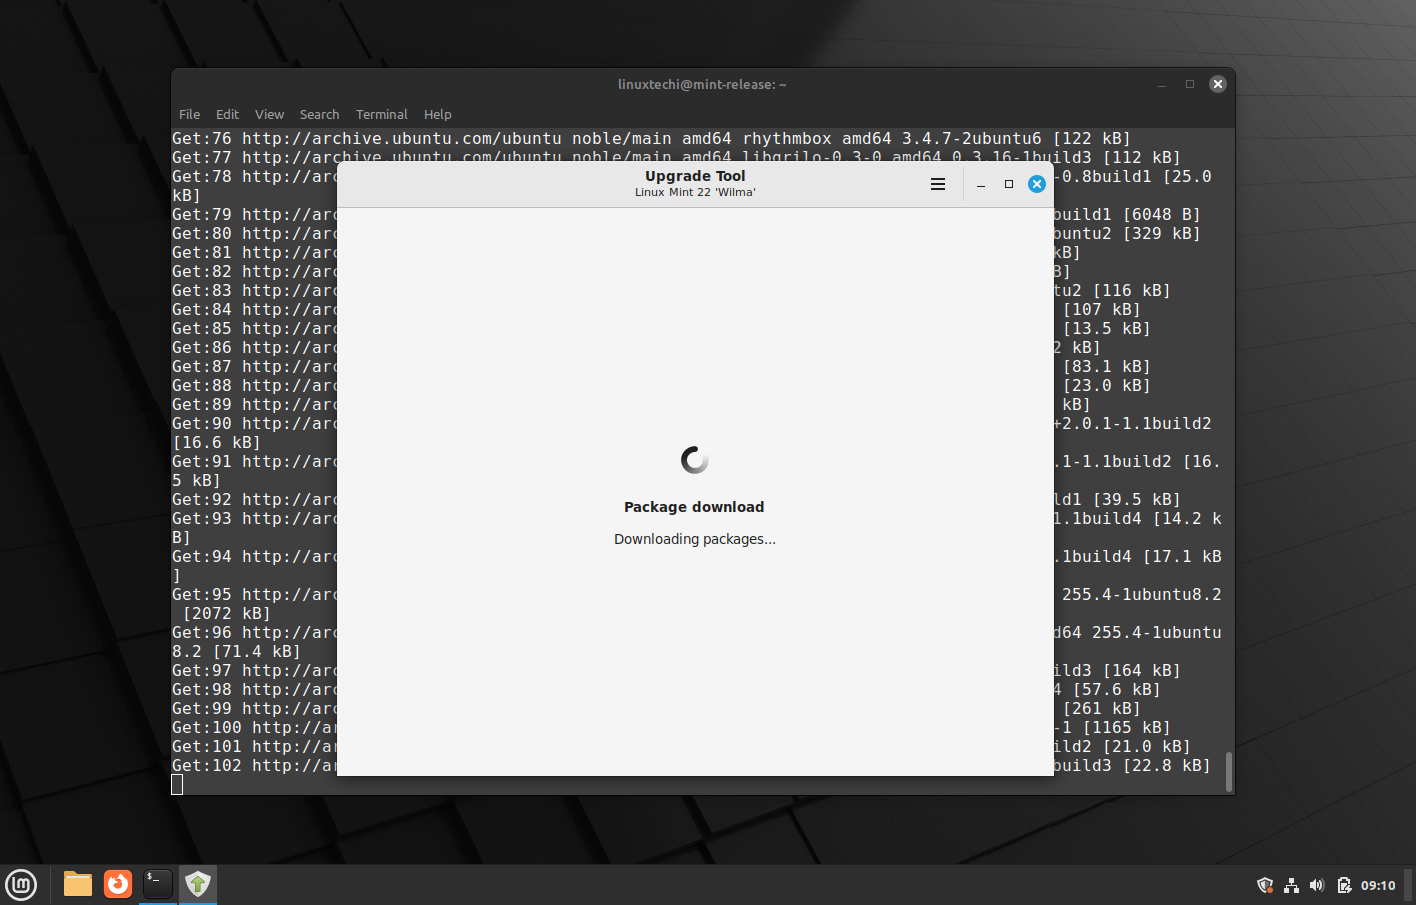
It may take twenty minutes or so depending upon your internet speed.
Once all the packages are downloaded then we will be presented following phase 3 screen, where package installation and upgrade will start.
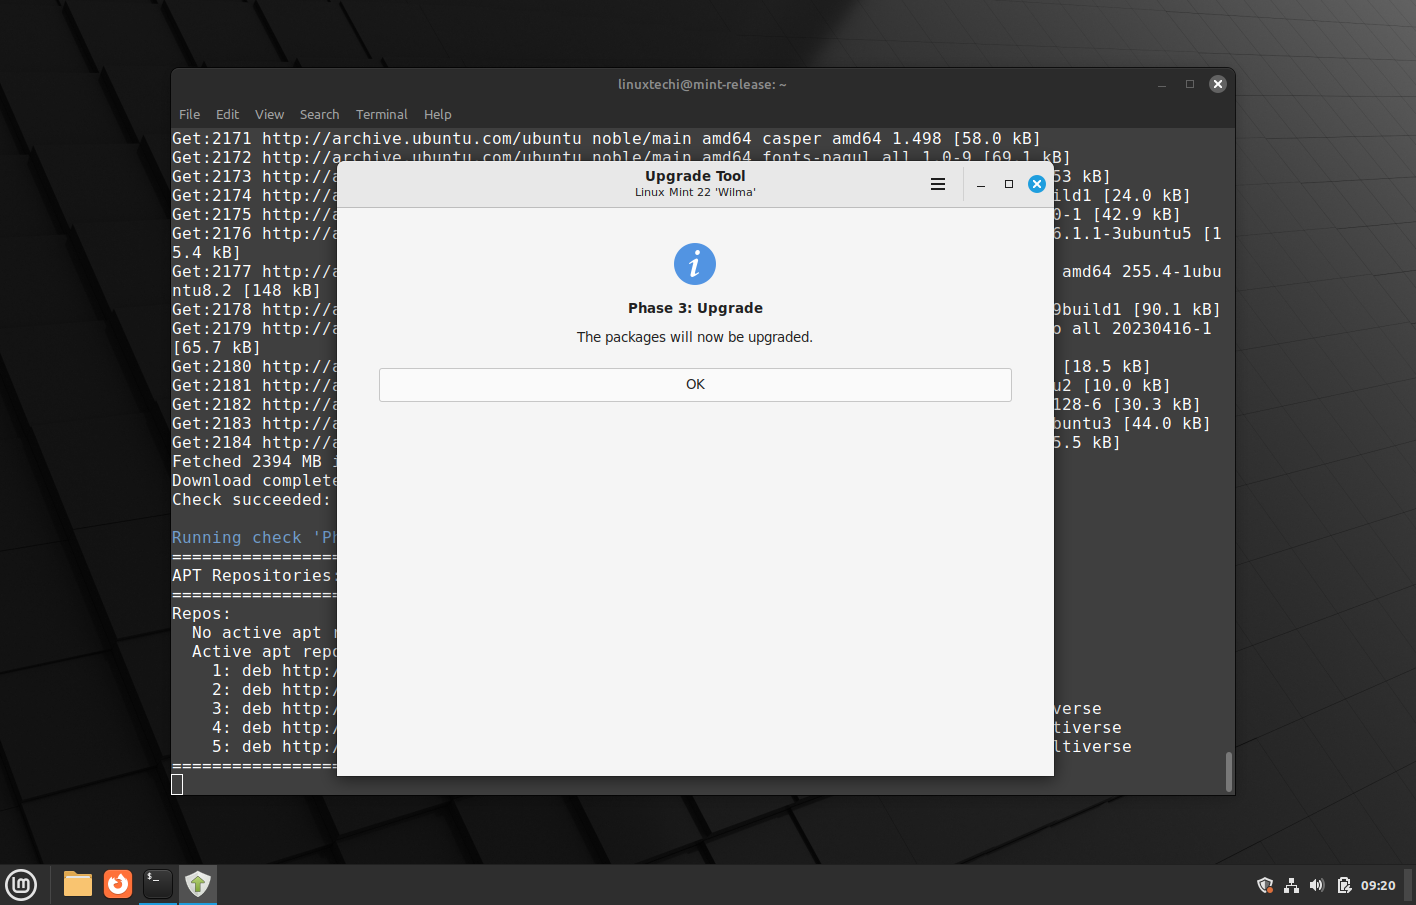
Click OK to start actual system upgrade!
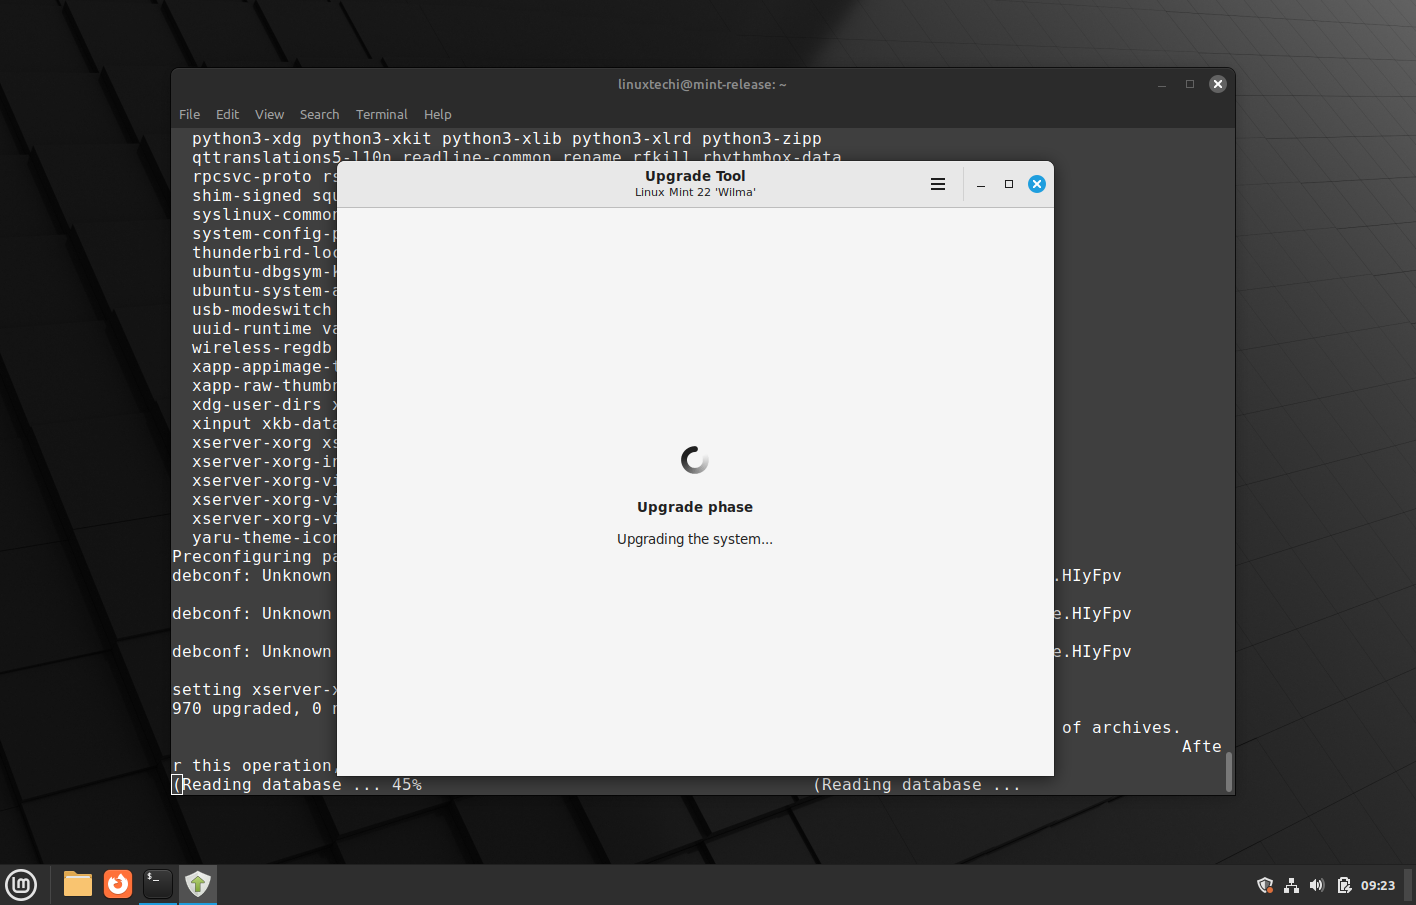
During the upgrade phase, you will be prompted to downgrade the foreign packages.
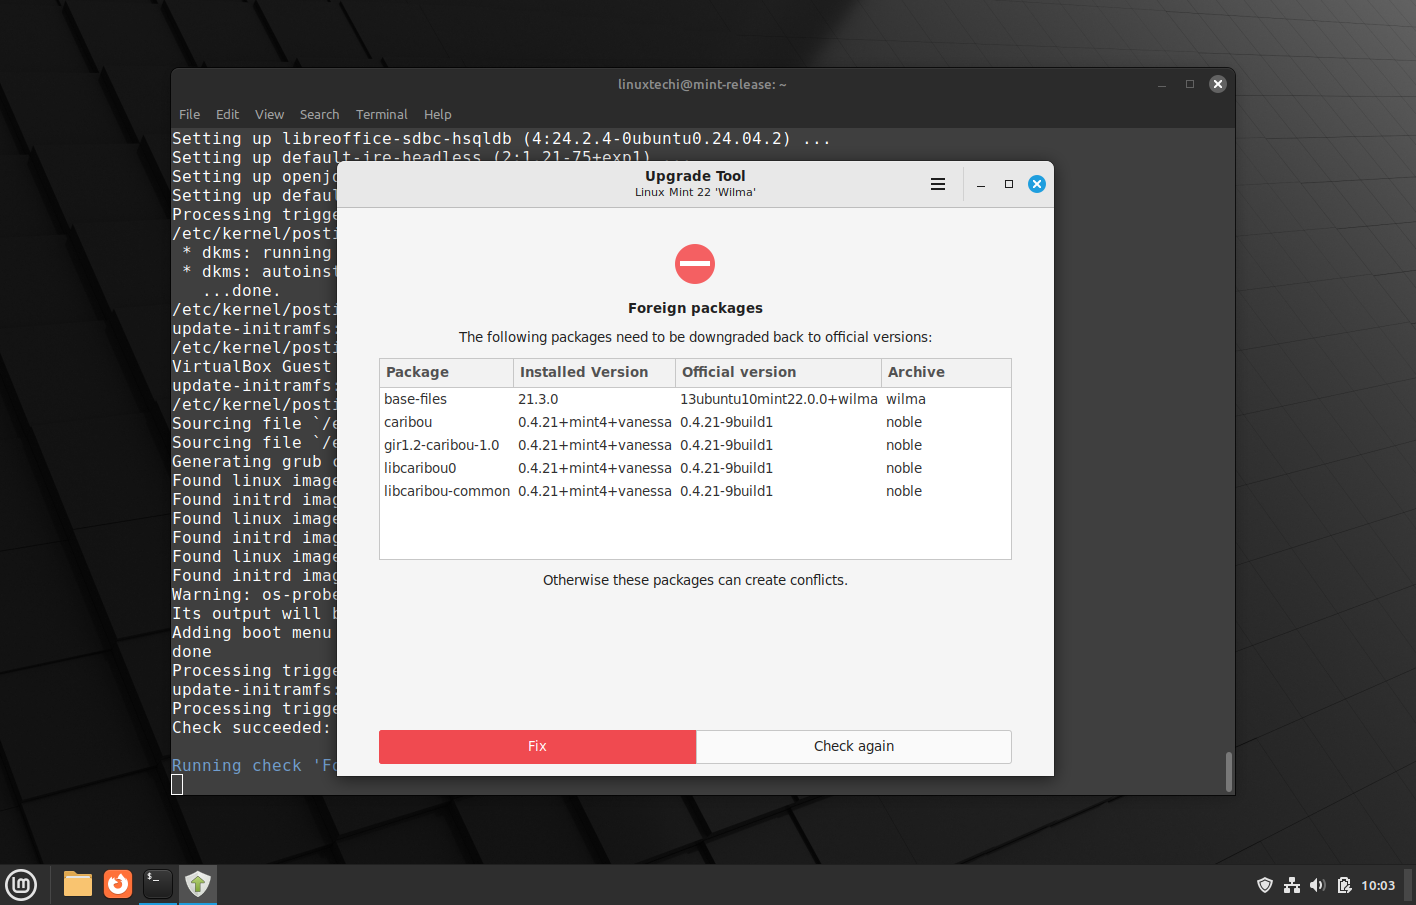
Click on “Fix” in order to downgrade packages back to official versions.

When the upgrade is completed successfully, we will get the following screen,
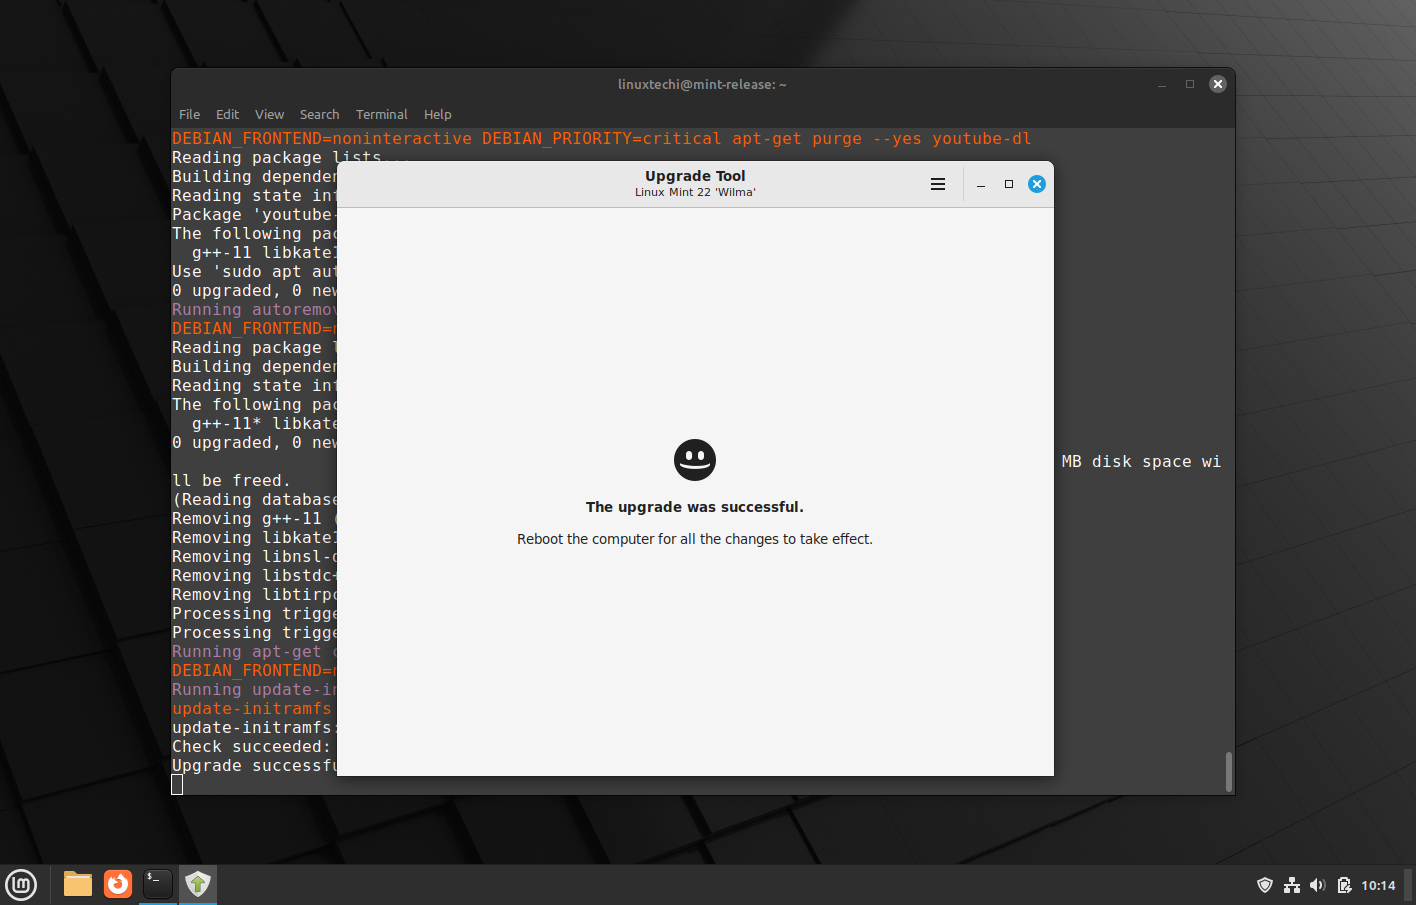
Perfect, above screen confirms that upgrade was successful. Now, reboot the system for all changes to take effect.
$ sudo reboot
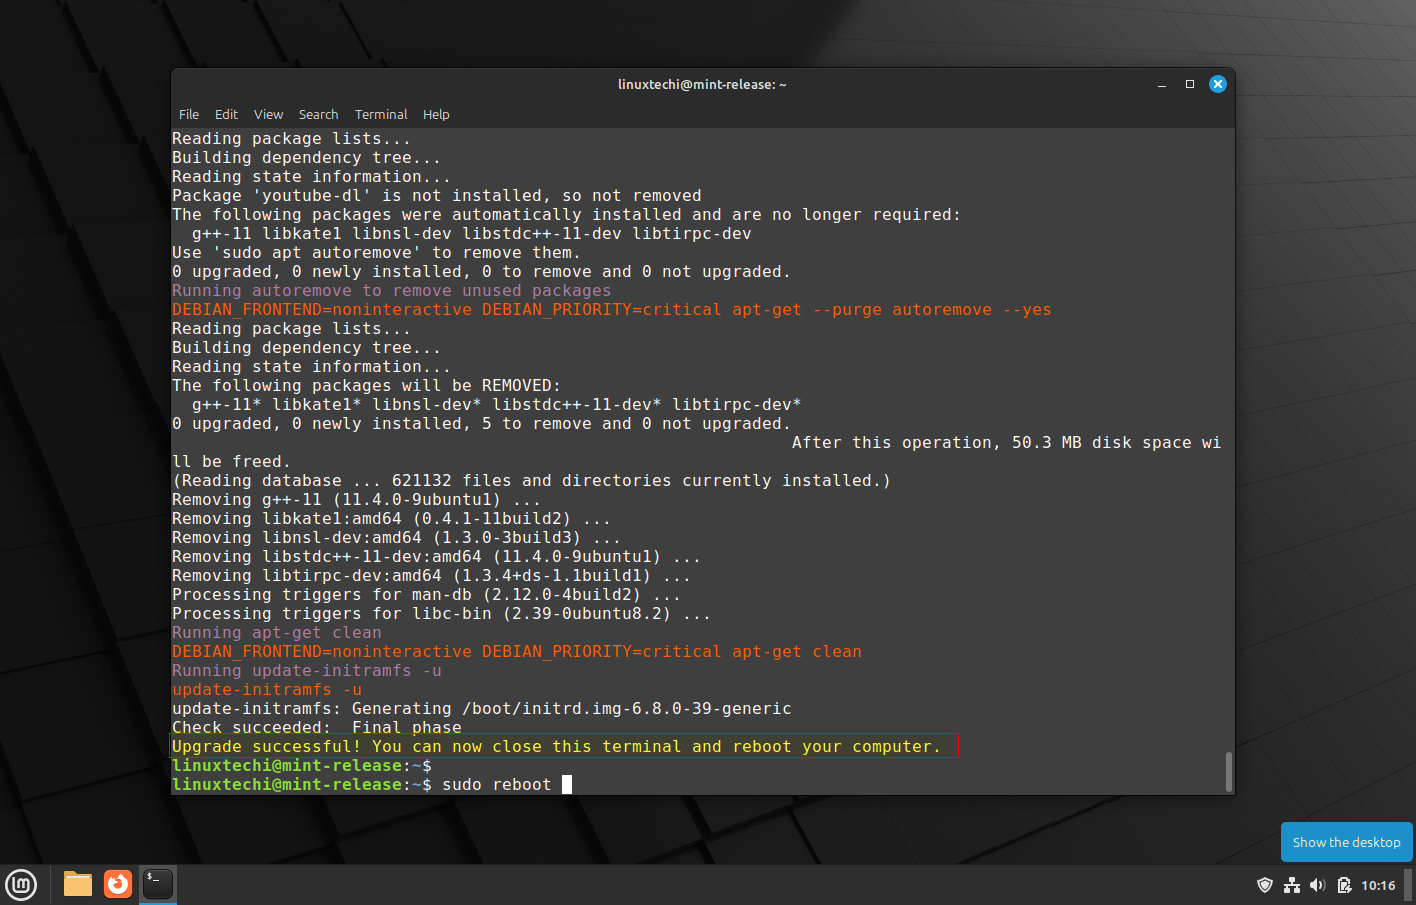
When the system boots up after the upgrade, open the terminal and run neofetch command to view the system details.
$ neofetch
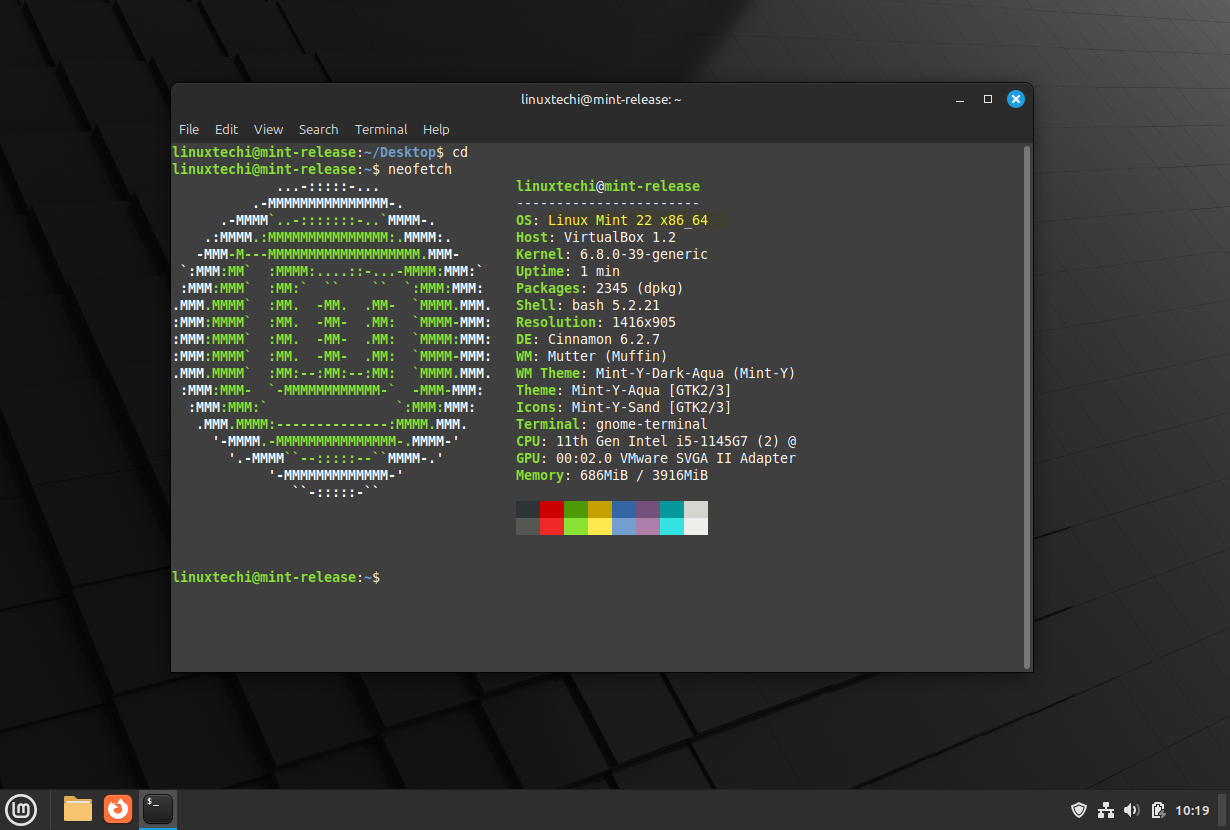
If you have come this far, you have successfully upgrade Linux Mint 21.3 to Linux Lint 22. You can enjoy the look and feel and tons of enhancements and improvements that come with the new release.
Feel free to post your queries and feedback in below comments section.


Presumably just a cosmetic detail, but I noticed this process leaves at least one legacy artifact behind. Makes me wonder what else may need a manual assist. Example: mintwelcome (/usr/lib/linuxmint/mintwelcome/mintwelcome.py
Two more minor probs:
1) I had to manually uninstall firewalld and reinstall gufw (python3-firewall appears to be gone)
2) this basic command now triggers apt command usage: sudo apt –fix-broken install
I’m very happy with the upgrade, though. Thanks for providing such a simple work-around.
I changed a few additional apt configs, removed and reinstalled firewalld, then addressed a small number of broken packages via the synaptic package manager. With the sole exception of “apt –fix-broken install”, everything is now happily working, including mintwelcome.
This worked for me flawlessly. Thanks!
You need to discuss upgrading into an encrypted drive. That does not work with these instructions.
So easy even a caveman can do it!
Thanks!
Perfect guide, thank you !
If you have crypted your 19.3, make sure to apt install –reinstall cryptsetup cryptsetup-bin cryptsetup-initramfs cryptsetup-run dmeventd libdevmapper-event1.02.1 liblvm2app2.2 liblvm2cmd2.02 libreadline5 lvm2. If you fail, you will need to do this: ‘https://feeding.cloud.geek.nz/posts/recovering-from-unbootable-ubuntu-encrypted-lvm-root-partition/’ (and while chrooting, reinstall those).
Worked great, thanks!
sudo vim /etc/apt/sources.list.d/official-package-repositories.list ….. should be sudo xed /etc/apt/sources.list.d/official-package-repositories.list
either way it worked perfect !!
This solution works fine (several hours took me the upgrade on an i7/3.5GHz with 32GB RAM).