In this blog post, we will show you how to upgrade to Fedora 40 from Fedora 39 using GUI and Command Line (CLI).
Fedora project has released its much awaited OS Fedora 40, this release comes with GNOME 46, Linux Kernel 4.6 and lot of improvements.
Prerequisites
- Pre Install Fedora 39
- Local User with sudo rights
- Internet Connectivity
- Backup of Fedora 39 system
Upgrade to Fedora 40 from Fedora 39 via GUI
If you want to instantly upgrade from Fedora 39 to Fedora 40 workstation without any wait, then you definitely need to go by the graphical user interface (GUI) method. It is pretty much simple and takes only a few minutes to get you started with Fedora 39 workstation.
1) First check Fedora version before starting the upgrade.
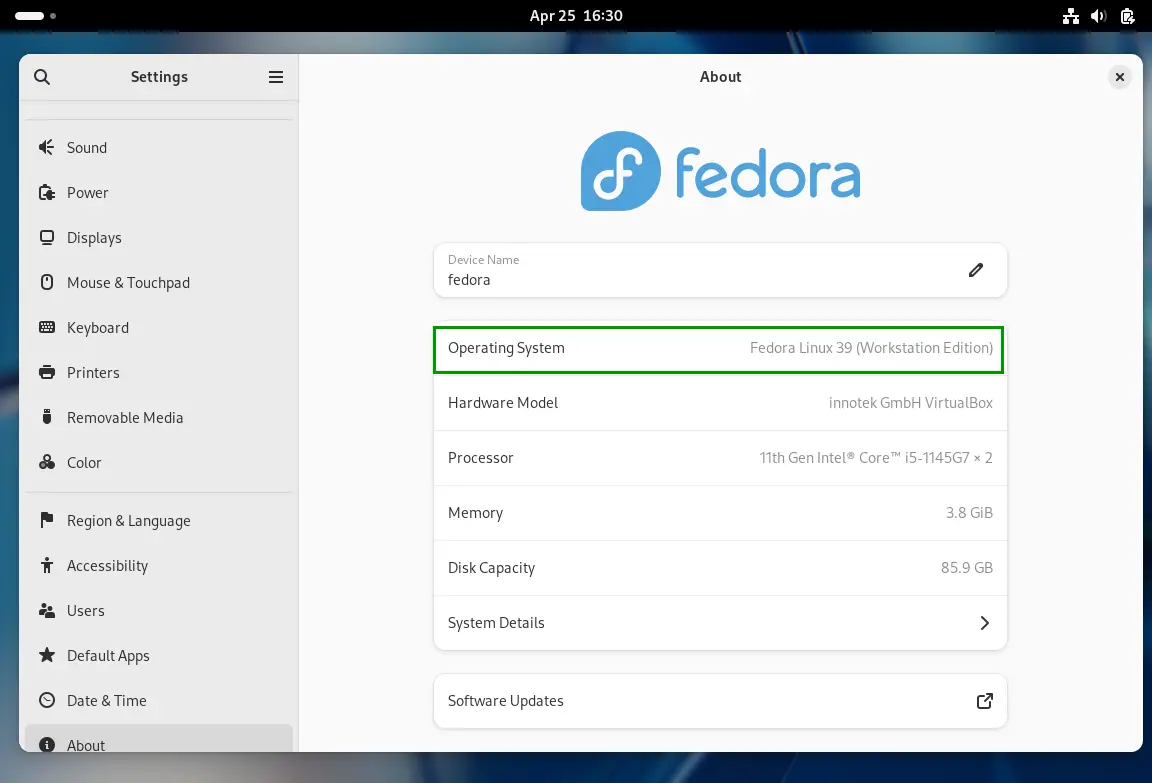
2) Open the GNOME Software and go to the Updates Tab as show below:
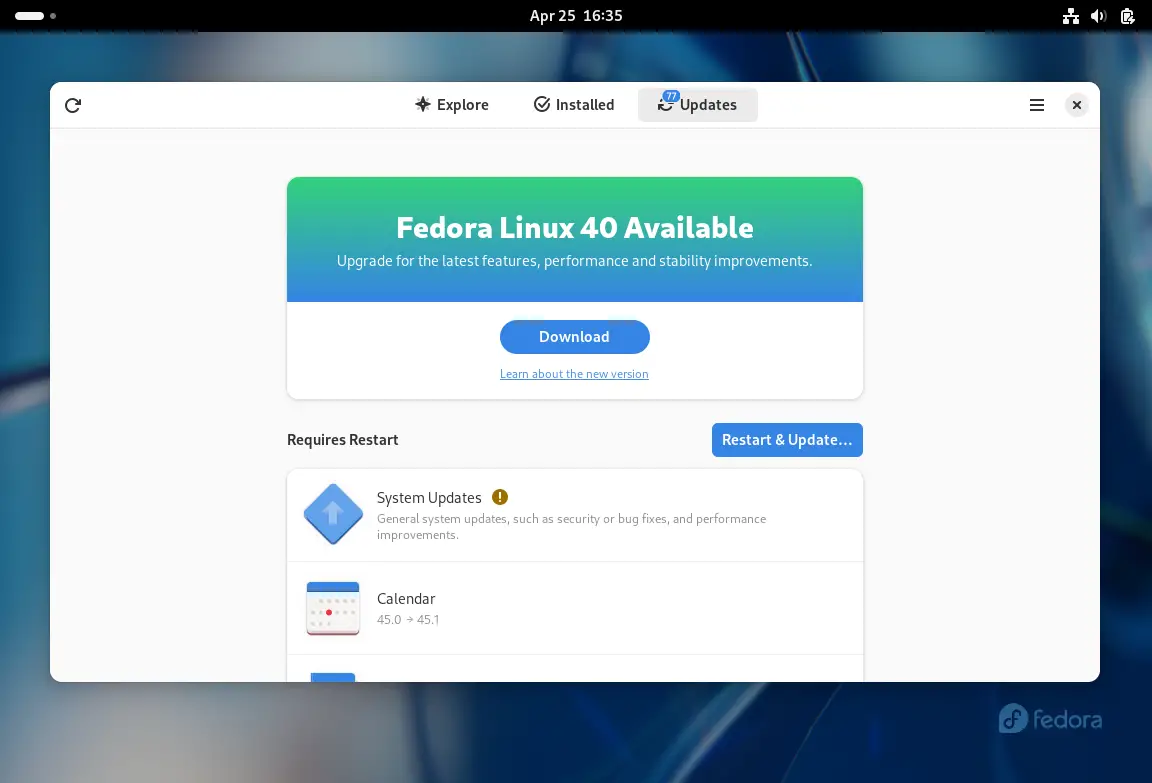
Before starting the upgrade, first install all the available updates, click on “Restart & Update” option.
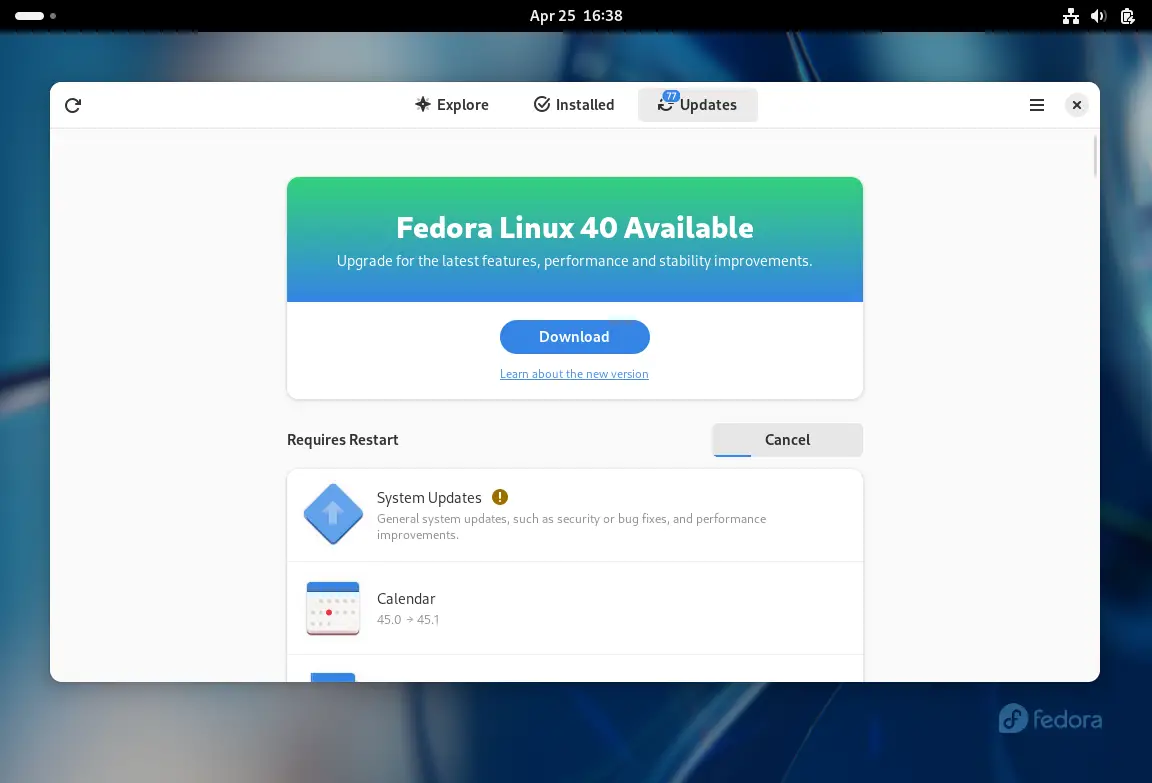
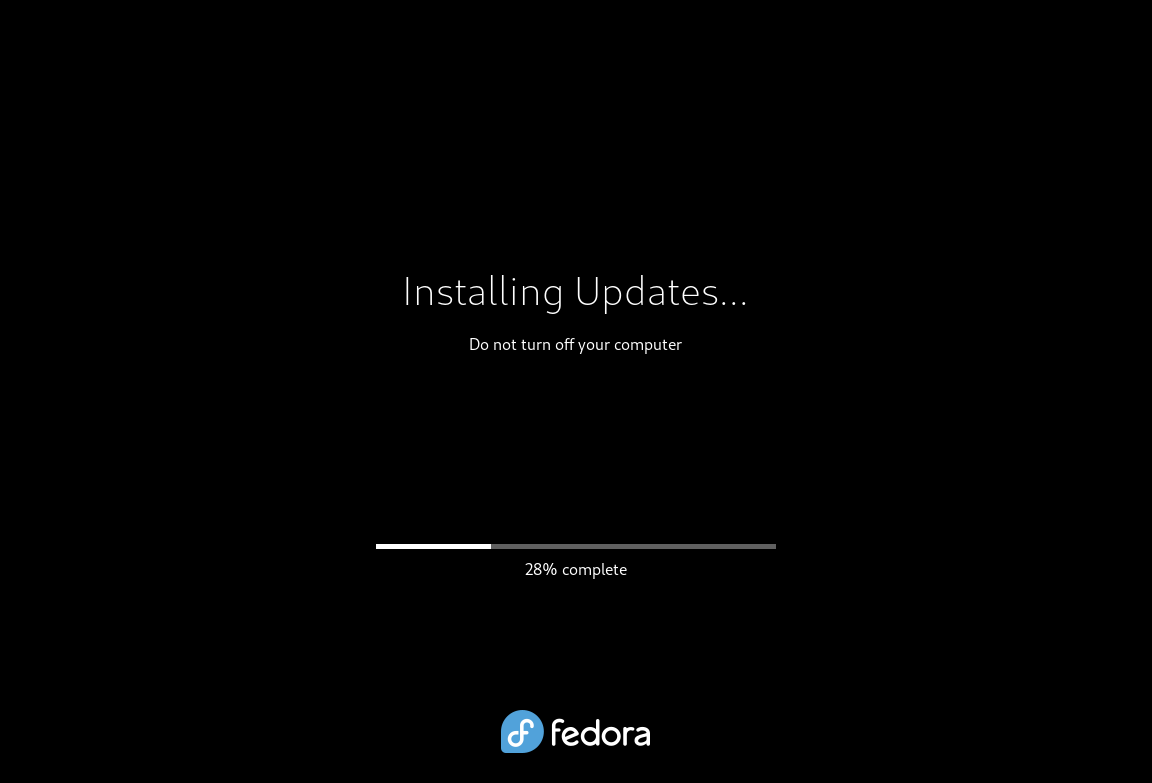
It will prompt you to restart once all the updates are downloaded and will start installing updates as shown below:
Once the system boots up after installing, start GNOME Software and go Updates Tab. You should now see a message that “Fedora 40 Now Available” as below:
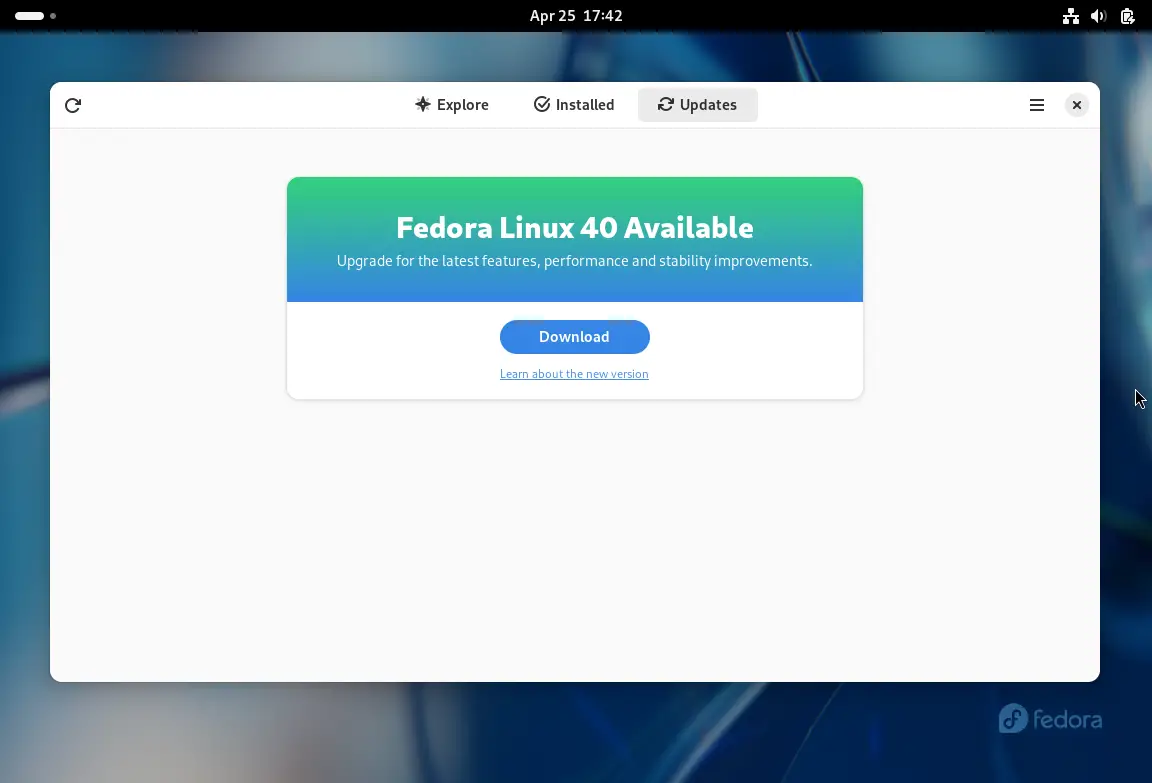
3) Click Download “Fedora Linux 40”
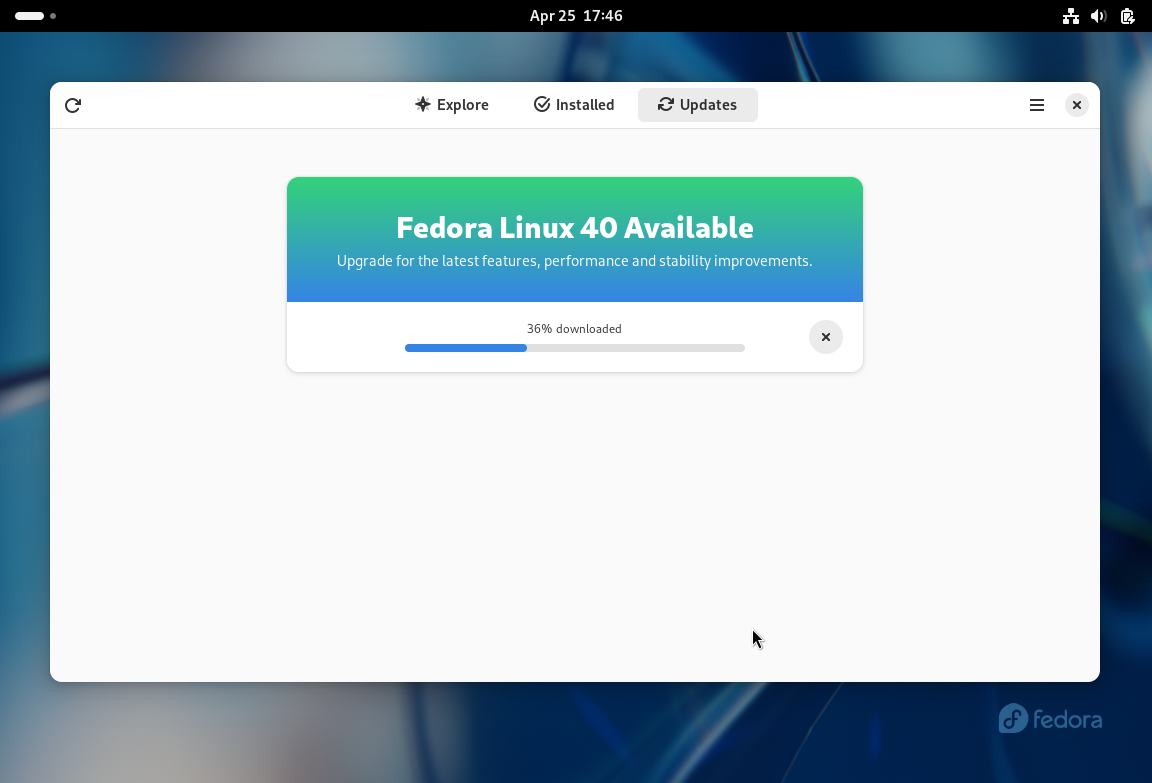
4) Once downloaded is completed, click on “Restart & Upgrade”
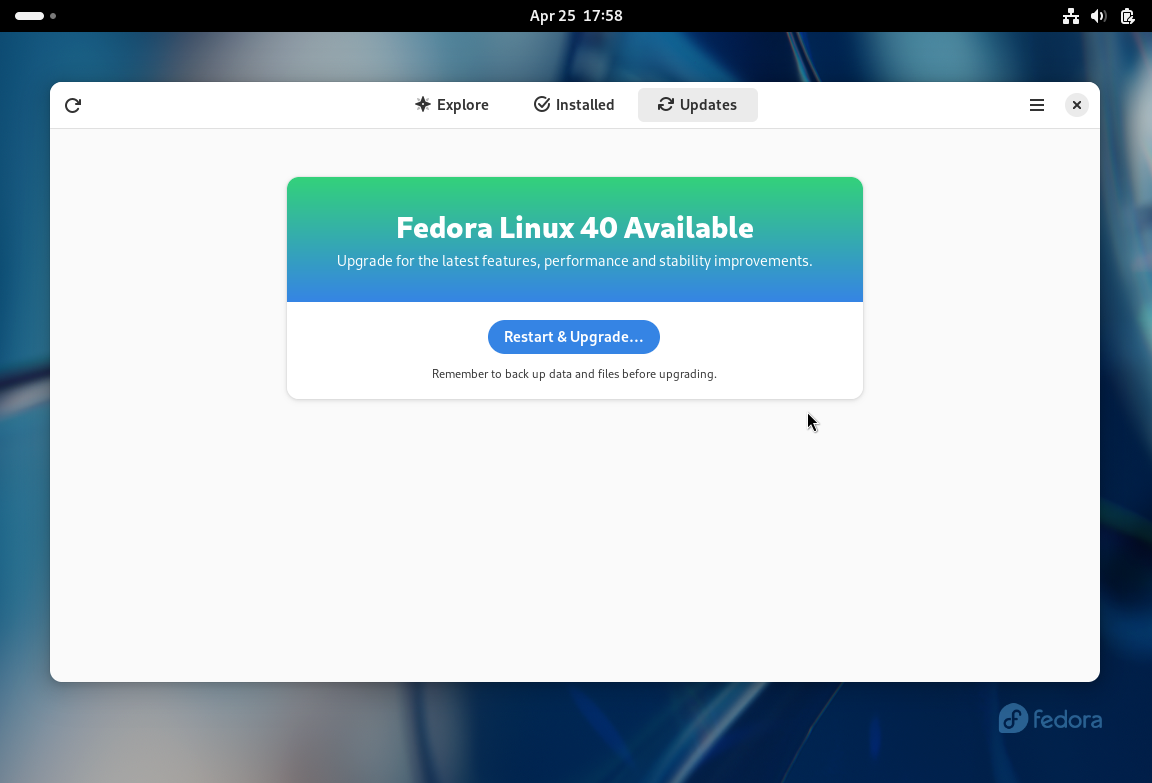
After the restart, it will start upgrading process automatically.
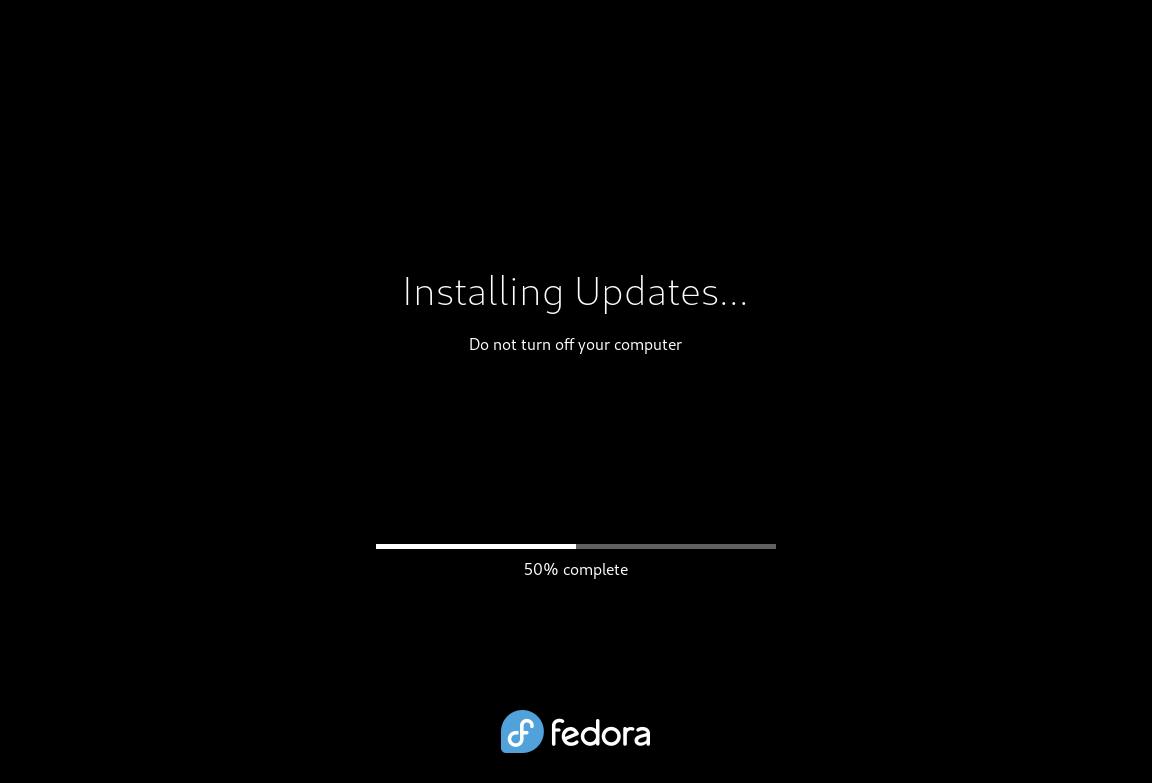
Now sit back, relax and have a cup of coffee and the in the meantime the upgrade should have been completed. Once the upgrade is completed, check fedora version.
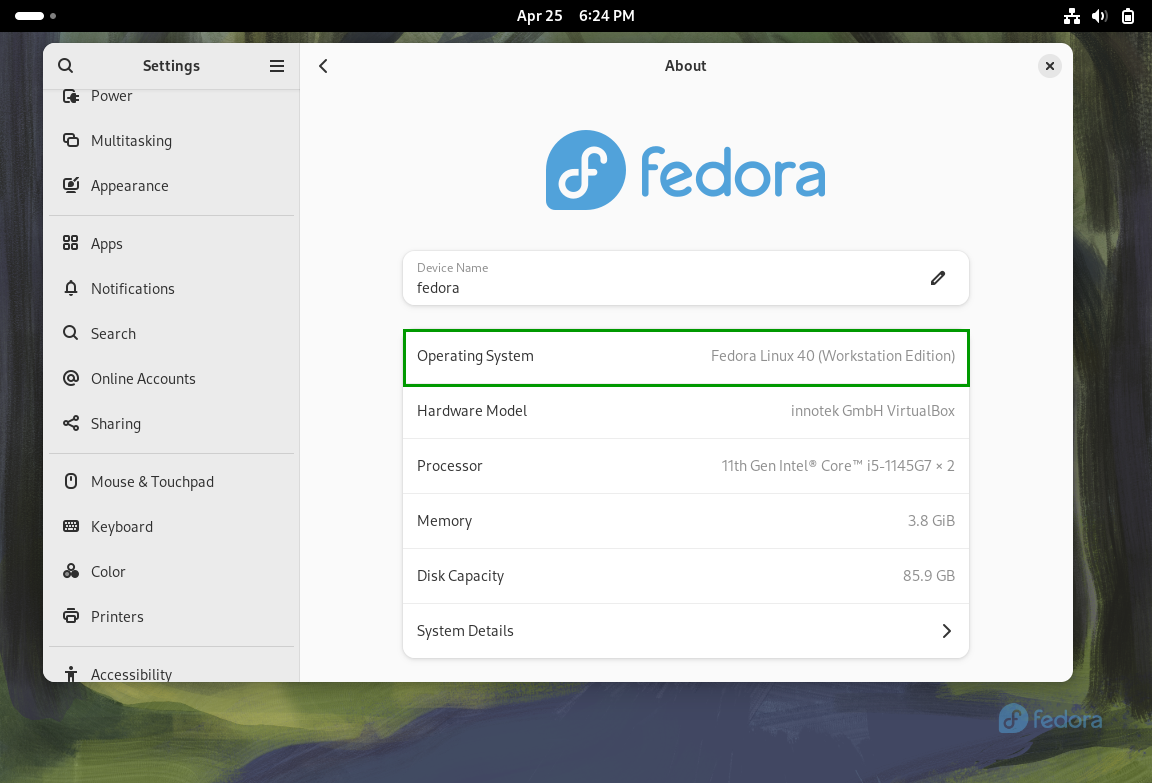
Perfect, output above confirms it has been updated to Fedora 40.
Upgrade to Fedora 40 from Fedora 39 via Command Line
If you want to take control of the upgrade process, then you should definitely go by the command line method, as it gives you more visibility over the upgrade process, whereas in the GUI method, everything takes place in the background. Let’s take a look at the steps involved in upgrading from Fedora 26 to Fedora 27 workstation using the command line method:
1) Take a Backup of your System
It is always recommended to a take a backup before installing any major application into your system. Try to take a backup of the important personal and system data and run tests to see if your hardware will not cause any problems with the new upgrade
2) Install All Updates on Fedora 39
Make sure you have the latest version of Fedora 39 and if not, enter the following command in a terminal to have it updated
$ sudo dnf upgrade --refresh -y
3) Install the DNF Plugin
Next step is to have the DNF upgrade plugin installed in your system
$ sudo dnf install dnf-plugin-system-upgrade -y
4) Prepare for the Upgrade
Now it’s time to start downloading Fedora 40 packages for the upgrade. To start the download process enter the following command:
$ sudo dnf system-upgrade download --releasever=40 --allowerasing
You could run into certain issues regarding dependencies, packages not upto date or any retired packages. If you face such issues, add the –allowerasing flag in the command above, so the DNF plugin will remove all packages that could block the upgrade process. Be careful to check what packages it removes as it could cause issues in some of your applications.

5) Start Fedora Upgrade
Now it’s time to start the actual upgrade process. Reboot the system and start the upgrade process using the following command:
$ sudo dnf system-upgrade reboot
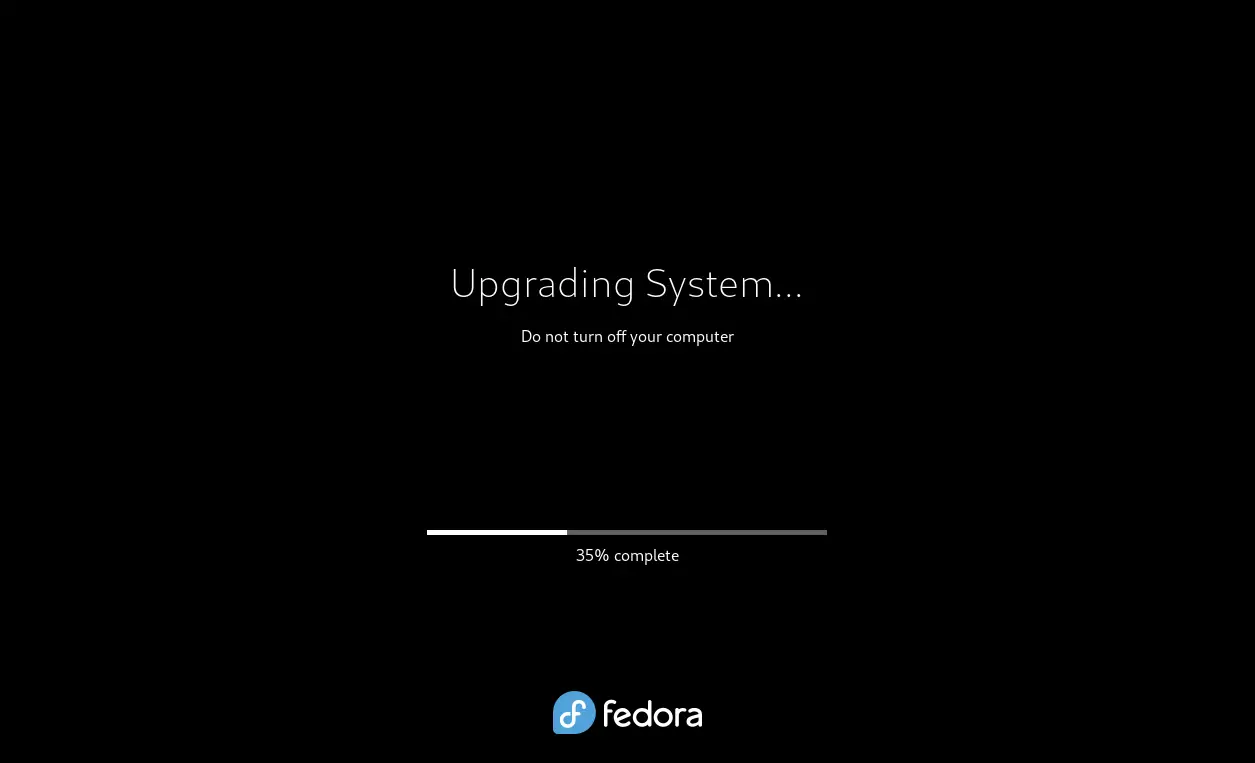
And that’s it, sit back, relax and have a cup of coffee, your upgrade process will complete in a few minutes, once the upgrade process completed successfully then it will reboot our machine and will get the new Fedora 40 Login Screen.
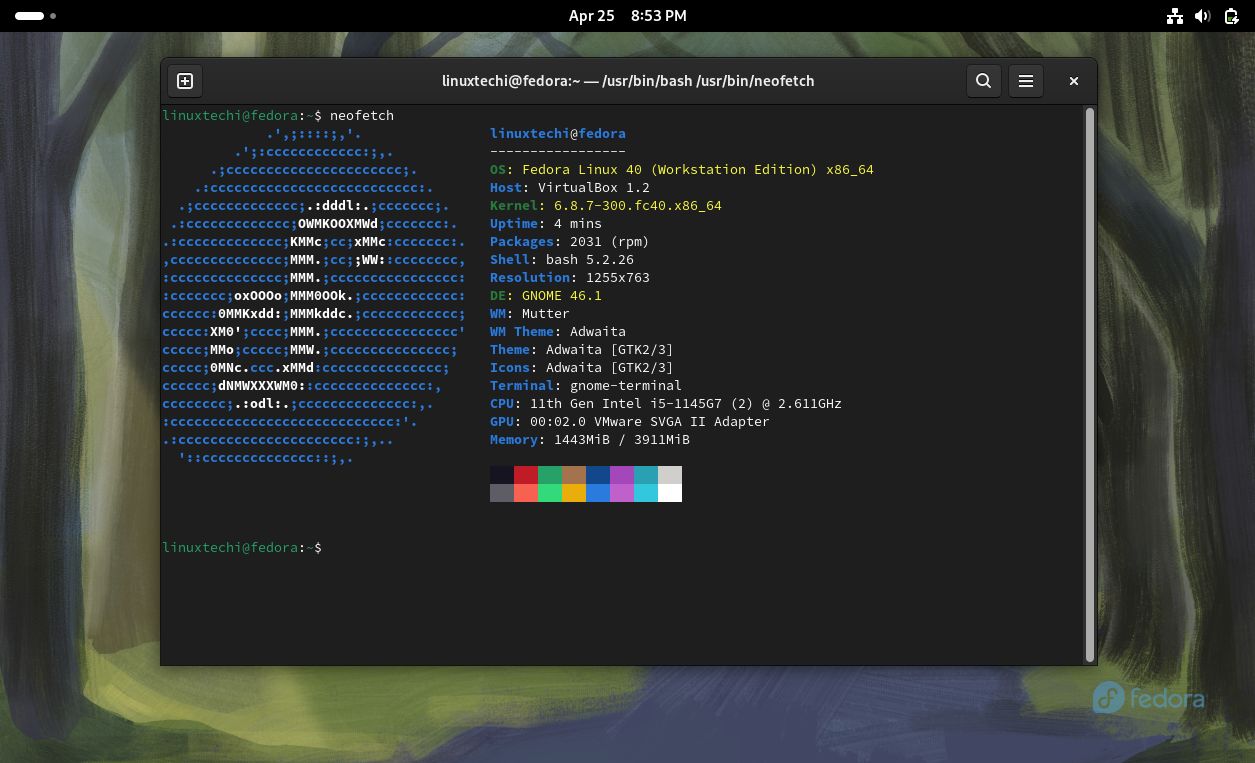
That’s all from this blog post, I hope you have found this informative and useful. Feel free to post your queries and feedback in below comments section.
