Katello is an open source content management software. Katello is the alternate of Red Hat Satellite Server 6.1 and 6.2. Apart from the content management katello can also perform provisioning and configuration task using foreman. In other words we can say Katello is the open source version of Red Hat Satellite Server which can push updates to its register Linux Servers or clients.
Following are the different components in Satellite Server :
- Katello – It manage all contents or repository and Software Development Life Management (SDLC )
- Foreman – It performs provisioning of physical and virtual servers using methods like kickstart and PXE, It also allows us to automate our tasks using puppet modules.
- Candlepin – It is a service within katello which is responsible for handling subscription management.
- Pulp – It is a service within the katello which handles repositories and it’s content
- Capsule Server – It acts as proxy server for some of the katello services like repository storage, DNS, DHCP and Puppet server configurations
In this article we are going to install Katello 3.14 on CentOS 7.x Server. I am assuming minimal CentOS 7.x is already install on your system.
Beneath are the minimum recommendation for Katello Server :
- Minimum of 8 GB RAM
- Minimum 2 CPU Cores
- 20 GB in / file system
- Separate and maximum Size of /var/ because all the OS repositories will be synced under /var/lib/pulp, ideally allocate 30 GB space for each OS repositories. let’s assume i will sync repositories of three OS then size of /var would be 90 GB.
Installation Steps of Katello on CentOS 7
Step:1 Set Hostname and update the Server
Use the hostnamectl command to set the hostname
[root@localhost ~]# hostnamectl set-hostname "katello.example.com"
Update the /etc/hosts file in case you don’t have your own DNS Server
[root@katello ~]# echo "192.168.1.12 katello.example.com" >> /etc/hosts
Use the below yum command to update the server and then reboot
[root@katello ~]# yum update -y ; reboot
Step:2 Set the firewall rules for katello
Run the below command to open the ports in OS firewall for katello setup.
[root@katello ~]# firewall-cmd --permanent --add-port="80/tcp" --add-port="443/tcp" --add-port="5646/tcp" --add-port="5647/tcp" --add-port="5671/tcp" --add-port="5672/tcp" --add-port="8140/tcp" --add-port="9090/tcp" --add-port="53/udp" --add-port="53/tcp" --add-port="67/udp" --add-port="68/udp" --add-port="69/udp"
Step:3 Set the required repositories for katello
Run the beneath commands one after the other to set the required repositories for katello setup.
[root@katello ~]# yum -y localinstall https://fedorapeople.org/groups/katello/releases/yum/3.14/katello/el7/x86_64/katello-repos-latest.rpm
[root@katello ~]# yum -y localinstall https://yum.theforeman.org/releases/1.24/el7/x86_64/foreman-release.rpm
[root@katello ~]# yum -y localinstall http://yum.puppetlabs.com/puppet-release-el-7.noarch.rpm
[root@katello ~]# yum -y localinstall https://dl.fedoraproject.org/pub/epel/epel-release-latest-7.noarch.rpm
[root@katello ~]# yum -y install foreman-release-scl
Now again update your system as we have added new repositories.
[root@katello ~]# yum -y update
Step:4 Install Katello Package and start the installation
Run the following yum command to install katello packages.
[root@katello ~]# yum -y install katello
Before starting the Installation , Sync Time of Your Server with NTP Server and set the time zone with respect to your location
[root@katello ~]# timedatectl list-timezones  | grep -i Asia/Kol
Asia/Kolkata
[root@katello ~]# timedatectl set-timezone "Asia/Kolkata"
[root@katello ~]#
[root@katello ~]# yum install chrony -y
[root@katello ~]# chronyd -q 'server in.pool.ntp.org iburst'
Note: In case Chronyd service is already running then first stop the service and run above command to sync the time
Read Also : How to Sync Time in Linux Server using Chrony
Start the Katello Installation now using below foreman-installer command
[root@katello ~]# foreman-installer --scenario katello --foreman-admin-username admin --foreman-admin-password <Specify_Password>
Once the Installation is completed , we will get output something like below :

Note : In case your server is running behind the proxy server then run the below command
[root@katello ~]# foreman-installer --scenario katello --katello-proxy-url http://<Proxy-Server_Name_or_IP> --katello-proxy-port <Proxy-port> --foreman-admin-username admin --foreman-admin-password <Specify_Password>
Step:5 Access the Katello Admin Dashboard
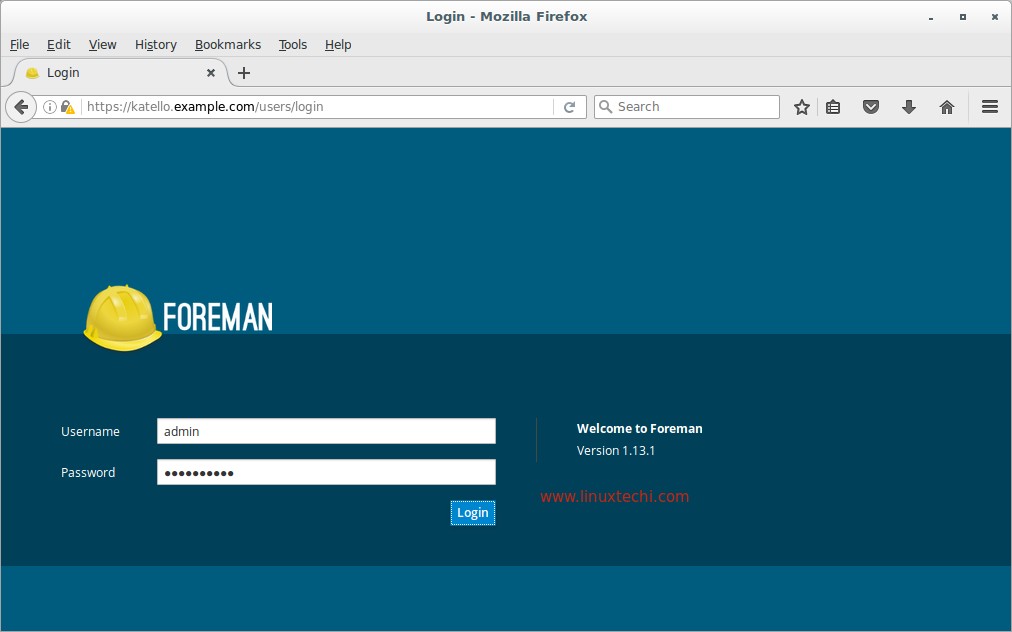
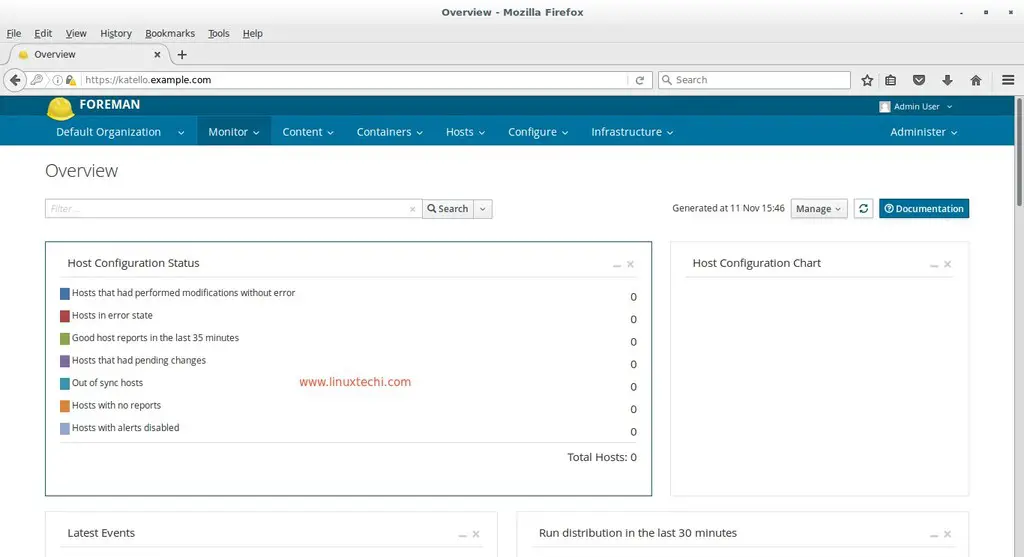
Open the Web Browser and type the url “https://katello.example.com/” , Use the username as admin and password that we specify in the above step.
That’s all for this article. Please share your valuable feedback and Comments. Refer the below URL for downloading Yum Repositories and Register Clients for patching in Katello setup.
How to Download Yum Repositories and Register clients in Katello


Hello
I do have almost all servers as amazon Linux. Can we manage Amazon Linux using Katello. If yes how do we manage it.
Thanks
Santosh Garole
Yes, You can manage your Amazon Linux Servers via Katello, You have to Configure Katello on CentOS 7/ RHEL 7 server then register all your Linux servers via activation keys.
Great article and I was able to install onto CentOS 7.7. Two updates though, step 3(Setup required repos)… I found that I had to install the foreman-release rpm before the katello rpm; katello rpm install failed if that commands ran first. Step 4(Starting Katello)… –foreman-admin commands are now –foreman-initial-admin so now it is…. foreman-initial-username –foreman-admin-password
Hi all,
i am trying install Katello on to RHEL 7 but i end with:
foreman-installer –scenario katello
Executing: foreman-maintain packages is-locked –assumeyes
and still waiting for output. Any idea?
Worked like a charm…mostly. The installer did not let me change the password on the fly. It did not recognize the user portion. I ran it without and then changed the password the old fashioned way (AKA manually). Onto the configuration!