In this guide, we will walk you through the process on How to install Git on RHEL 9 or Rocky Linux 9.
Git is a powerful version control system that is widely used by developers, DevOps and system admin for managing source code changes. Whether you are setting up a development environment or simply need Git for your project, this guide will cover all the steps you need.
Prerequisites
Before we start, make sure you have:
- A system running RHEL 9 or Rocky Linux 9
- Sudo or root privileges to install software packages.
- Internet Connectivity
Without any delay, let’s dive into the installation process!
Method 1: Installing Git on RHEL 9 or Rocky Linux 9 Via DNF
The easiest way to install Git on RHEL 9 or Rocky Linux 9 is by using the default package manager, `dnf`.
1) Update Your System
Before installing any new software, it’s a good practice to update your system packages to the latest versions:
$ sudo dnf update -y
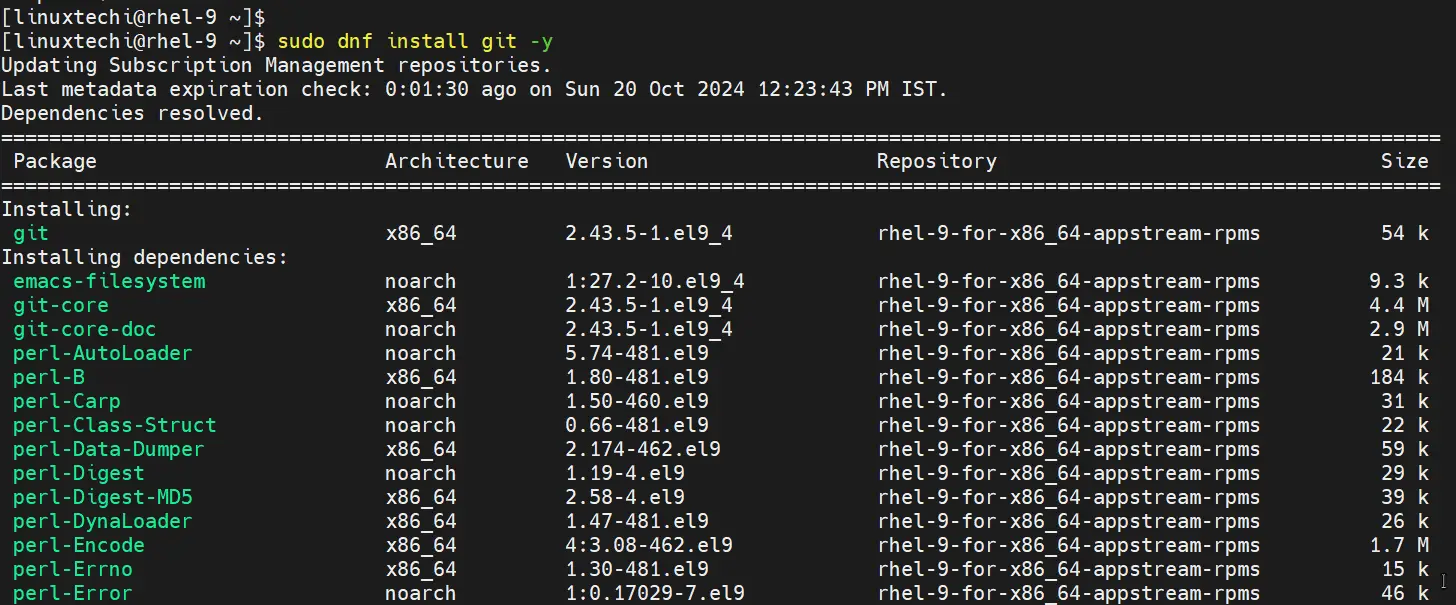
2) Install Git
Now, install Git using the following dnf command:
$ sudo dnf install git -y
3) Verify the Installation
To check if Git was installed successfully, use the following command to verify the version:
$ git --version
You should see output similar to:
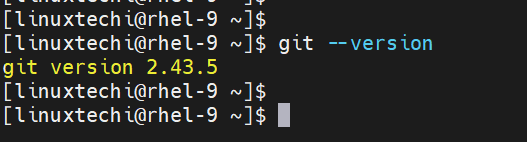
Above output shows that you have successfully installed Git ( 2.43.5) using the package manager.
Method 2: Installing Git on RHEL 9 or Rocky Linux 9 from Source
Installing Git from source is another method that allows you to get the latest version or a specific version of Git. This approach is useful if the version available through the package manager is outdated.
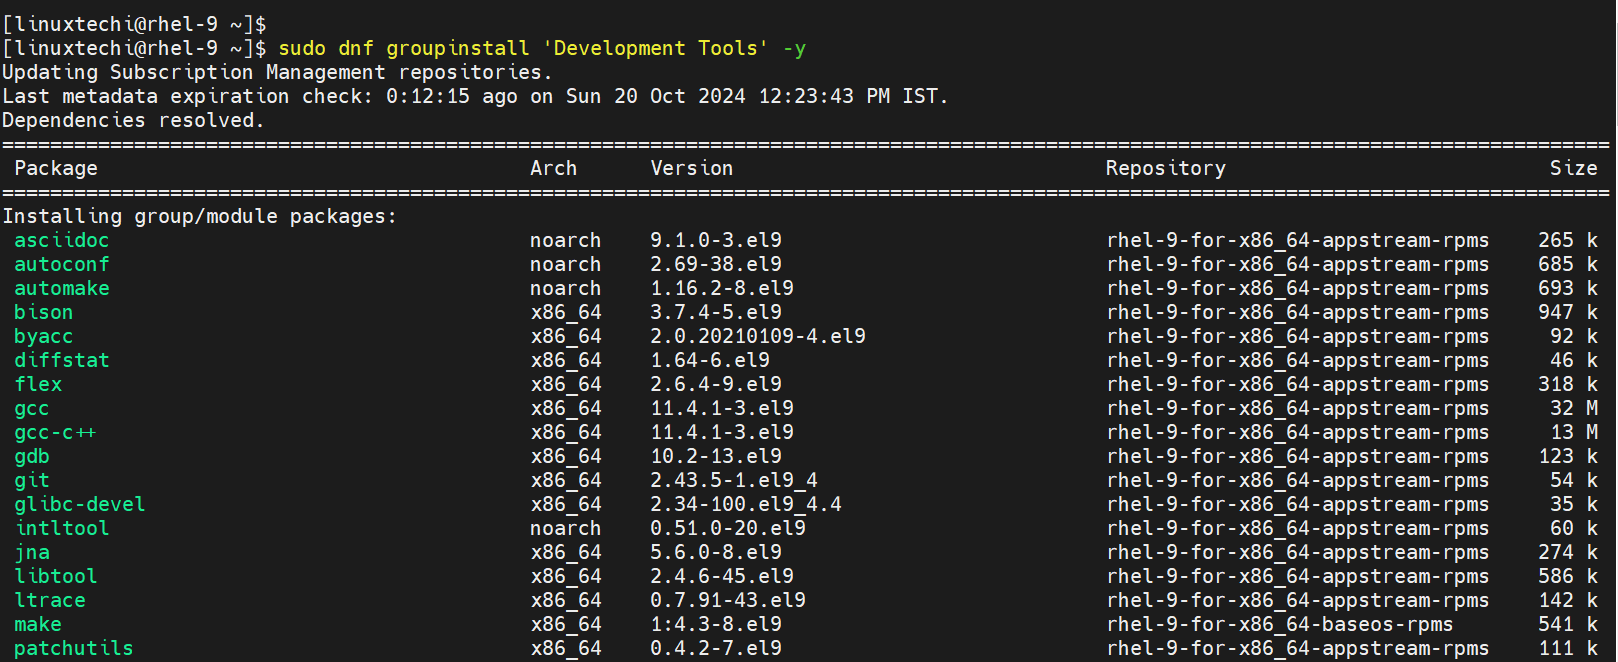
1) Install Development tools
Before you can build Git from source, you need to install development tools using following dnf command.
$ sudo dnf groupinstall 'Development Tools' -y
It will install the development tools required to build git from the source.
Next, install other required dependencies using beneath command,
$ sudo dnf install wget curl-devel perl-ExtUtils-MakeMaker gettext openssl-devel zlib-devel curl-devel expat-devel -y
2) Download the Latest Git Source Code
Visit the “https://mirrors.edge.kernel.org/pub/software/scm/git/” to find the latest version.
Alternatively, you can download it directly using the command below:
$ wget https://mirrors.edge.kernel.org/pub/software/scm/git/git-2.47.0.tar.gz
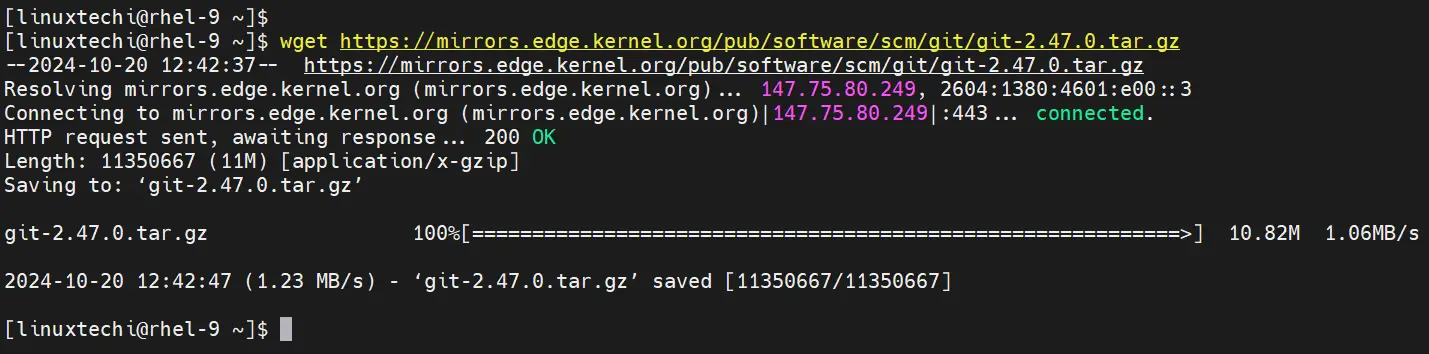
Note: At time of writing this post, latest version of Git 2.47.0 is available.
3) Extract the Downloaded Archive
Extract the tar file using the `tar` command:
$ tar -xf git-2.47.0.tar.gz
$ cd git-2.47.0
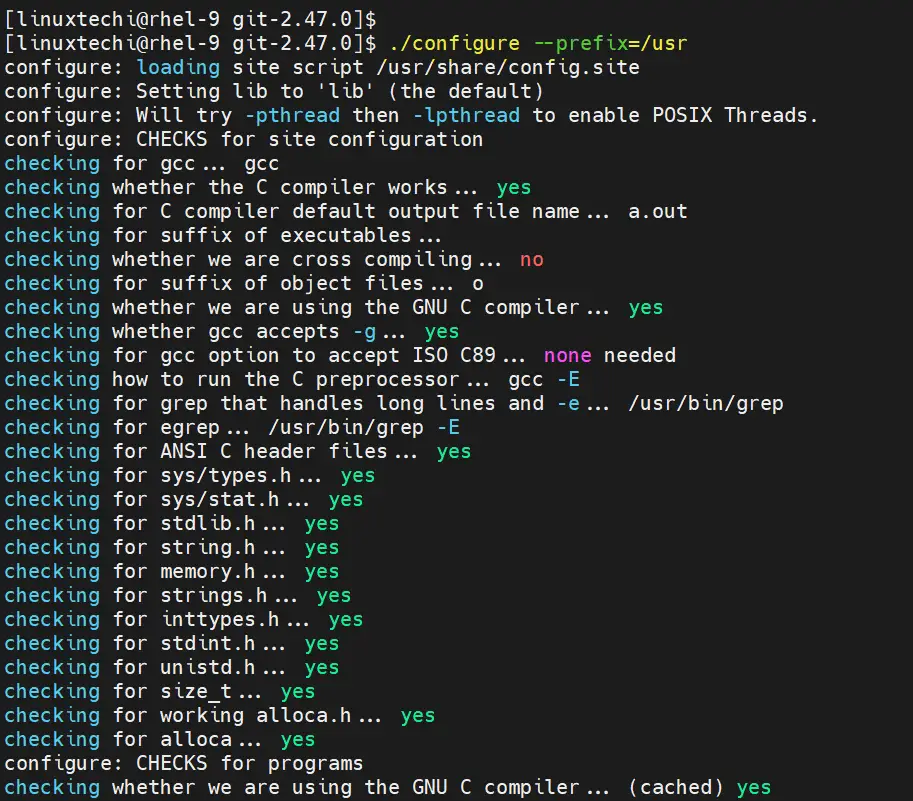
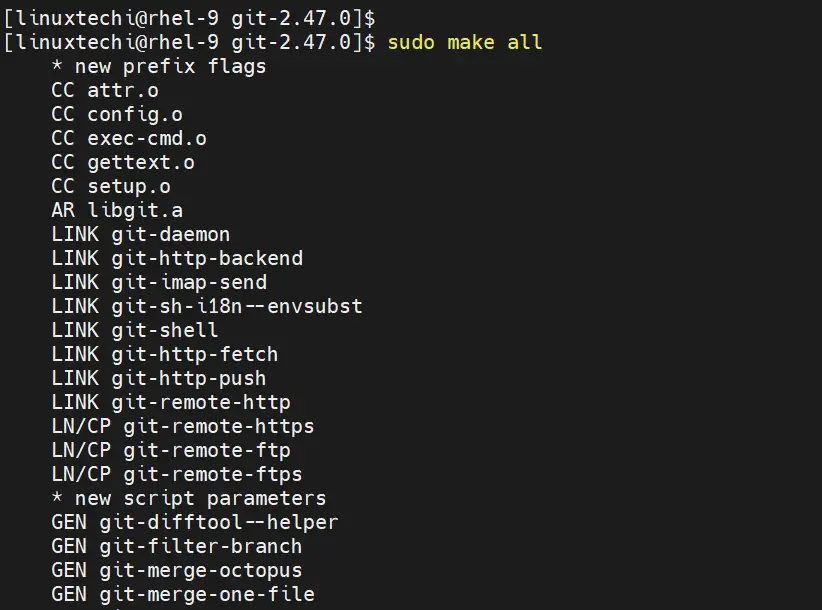
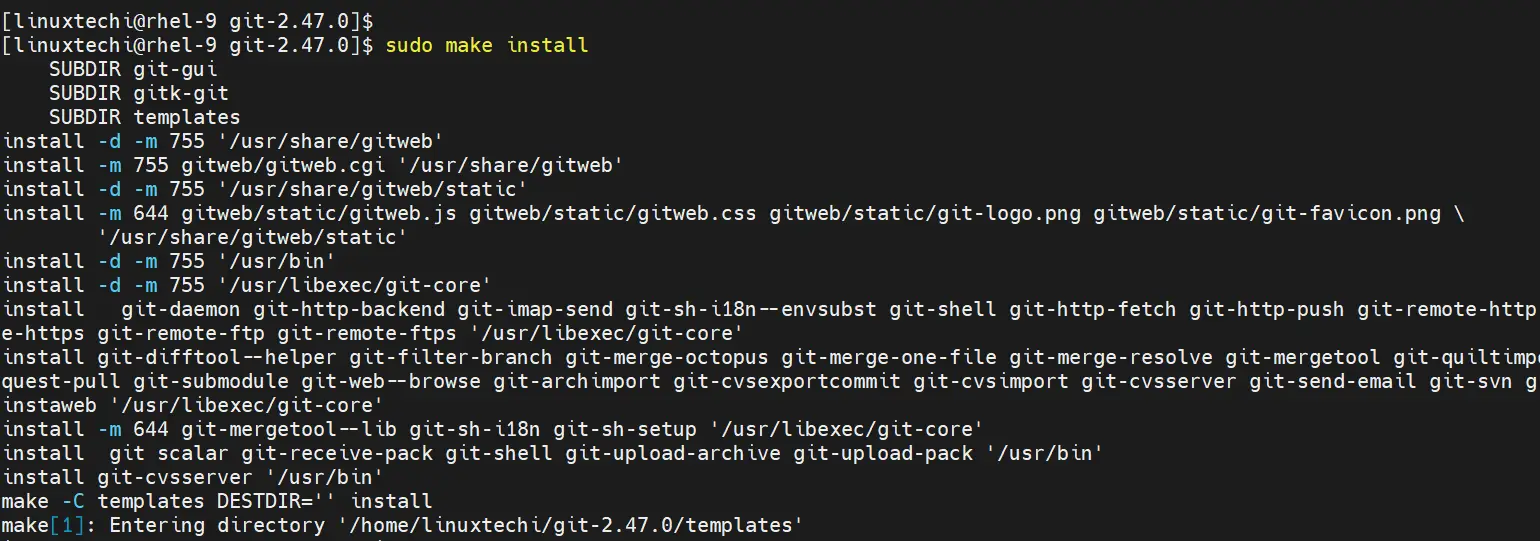
4) Compile and Install Git
Compile the Git source code with the following commands:
$ make configure
$ ./configure --prefix=/usr
$ sudo make all
$ sudo make install
5) Verify the Installation
Once the installation is complete, verify the installed Git version:
$ git --version
You should see the latest Git version installed.

Perfect, output above shows that you have installed latest version of git.
Configuring Git on RHEL 9 | Rocky Linux 9
After installing Git, it’s essential to set up your username and email address. This information will be associated with your commits.
1) Set Your Username
$ git config --global user.name "Pradeep Kumar"
2) Set Your Email Address
$ git config --global user.email "info@linuxtechi.com"

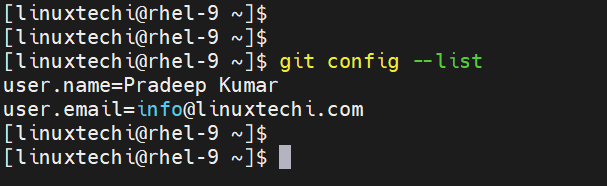
3) Verify the Configuration
Check your Git configuration with the following command:
$ git config --list
You should see your username and email listed in the output.
That’s all from this guide, you have successfully learned how to install Git on RHEL 9 and Rocky Linux 9 using both the package manager and the source code method.
If you have any questions or face issues during the installation process, feel free to leave a comment below!