Good News for Fedora Users that “Fedora 23” has been released recently. Fedora 23 released in three different editions :
- Fedora Workstation – Used at Desktop Level
- Fedora Server – Used for Server Installation and Management
- Fedora Cloud – Fedora Cloud images can be used in OpenStack & EC2 and can be directly launched.
In this article we will discuss Fedora 23 Workstation Installation steps with Screenshots. Below are few new features that are introduced in this release.
- New Kernel 4.2
- Gnome 3.18
- Improved Wayland – It is a GUI Server that will replace X org in Fedora 24.
- New Calender & To Do application
- LibreOffice 5
- Firmware Updates – Firmware update service is included in Software application , which will notify us when there is new firmware update is available for your hardware.
Step:1 Download the Fedora 23 Workstation ISO file.
Download ISO file as per your system architecture( 32-bit & 64-bit) from Fedora Official site “https://getfedora.org/en/workstation/download/”

Burn the downloaded ISO file into DVD or in USB flash drive and boot your system with bootable DVD or USB.
Step:2 Fedora 23 Installation Screen.
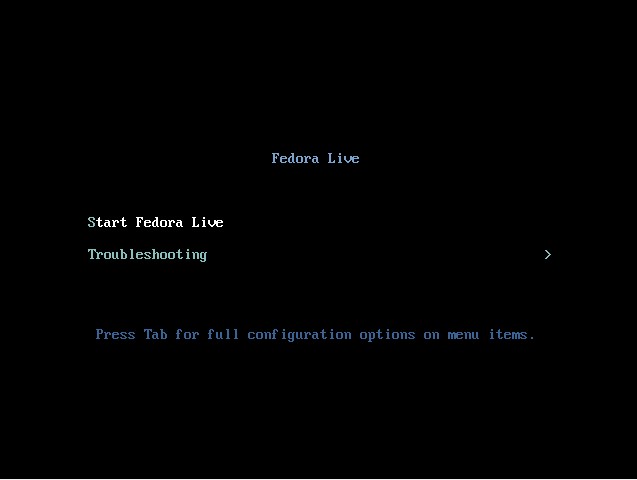
Select “Start Fedora Live” and press Enter.
Step:3 Select “Install to Hard Drive” option
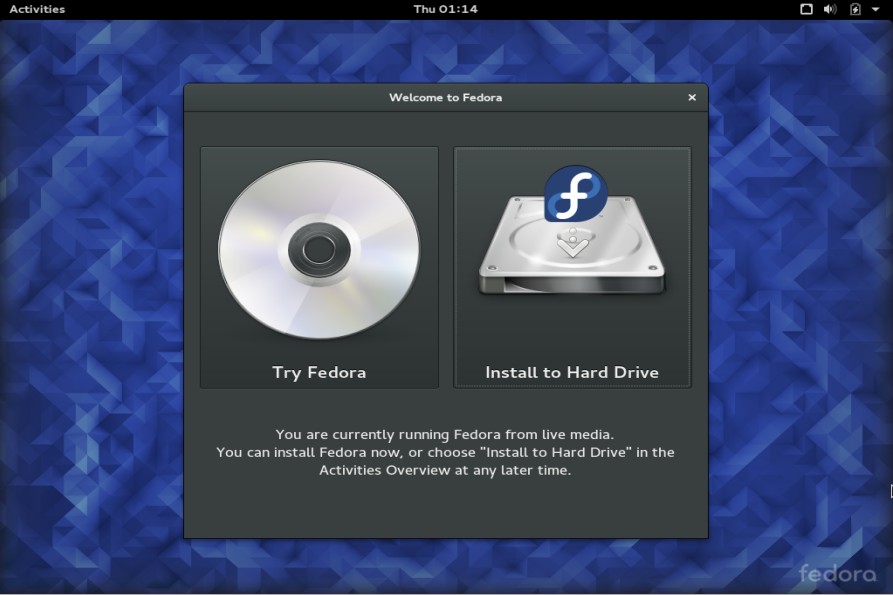
Step:4 Select the Language that will be used during installation
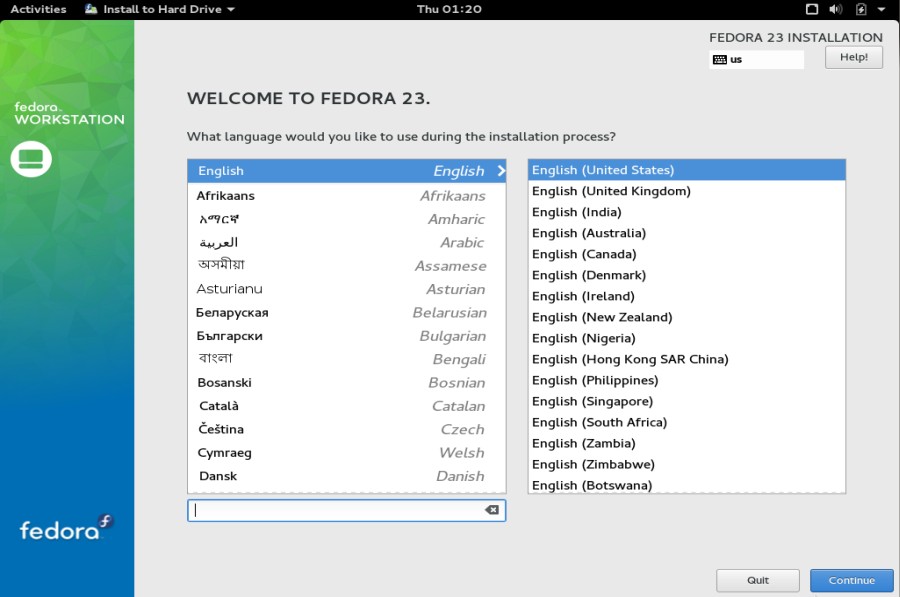
Click on Continue…
Step:5 When we click on Continue then the following screen appear.
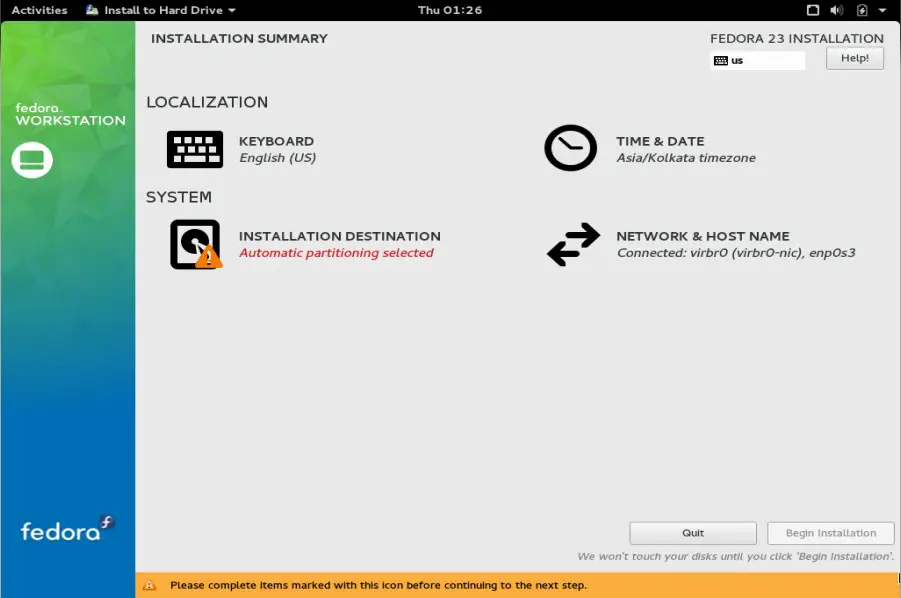
Define the Keyboard Layout , Date & time zone , Network & hostname and Partition scheme by selecting the respective options. In my case i will be using customize partition scheme.
As i have around 40 GB Hard disk and going to create following partitions on it.
- /boot – 500 MB ( ext4 File System)
- /var – 12 GB ( ext4 File System)
- /home – 15 GB ( ext4 File System)
- / – 10 GB ( ext4 File System)
- swap – Double of Your RAM
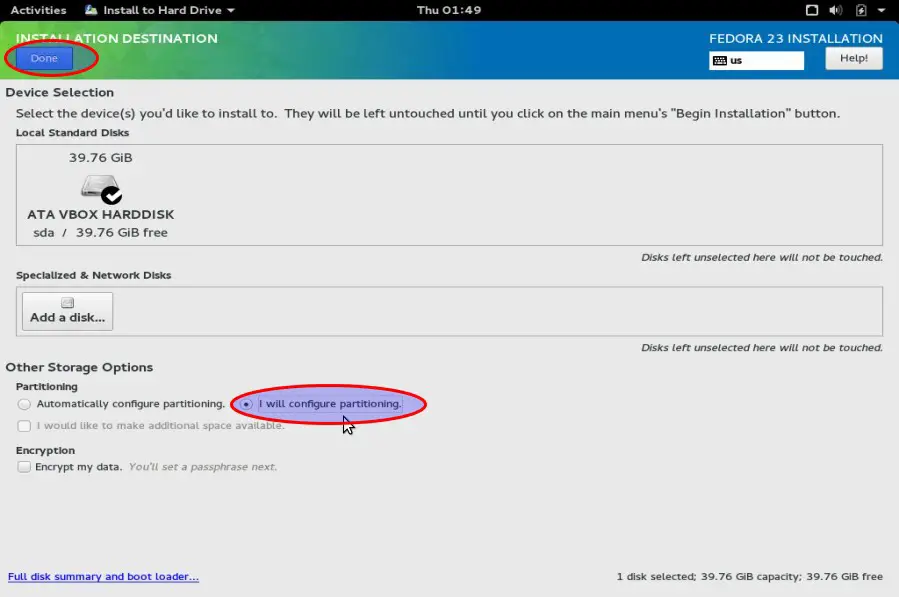
Click on “Installation Destination” then below screen will appear , select “i will configure Partitioning” and then Click on “Done”
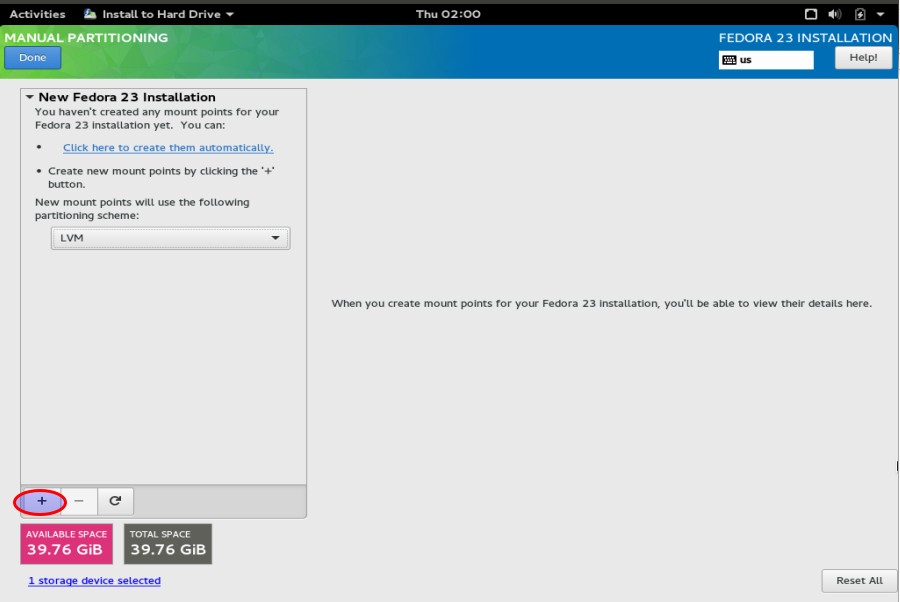
Click on ‘+’ option & Create /boot partition.
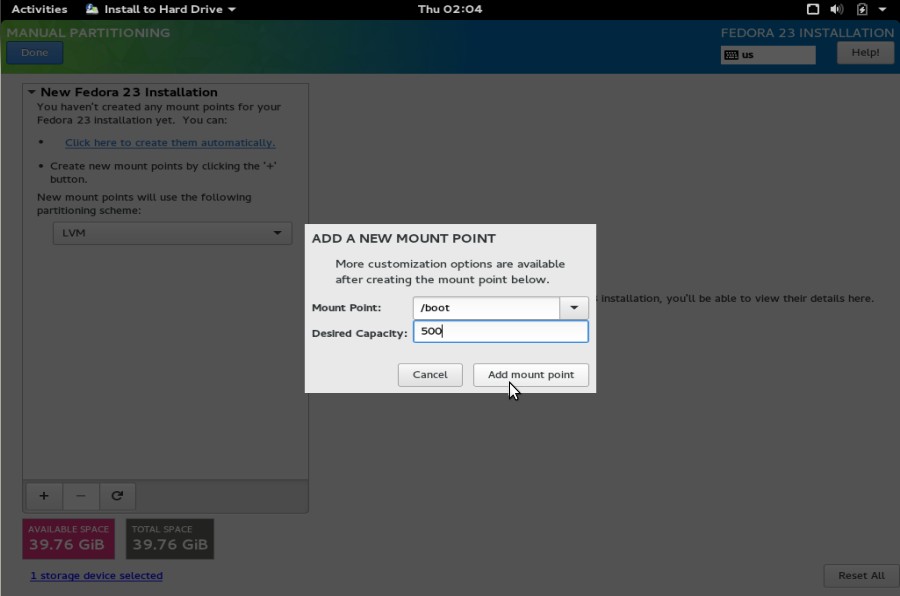
Click on Add mount point.
Create /var partition
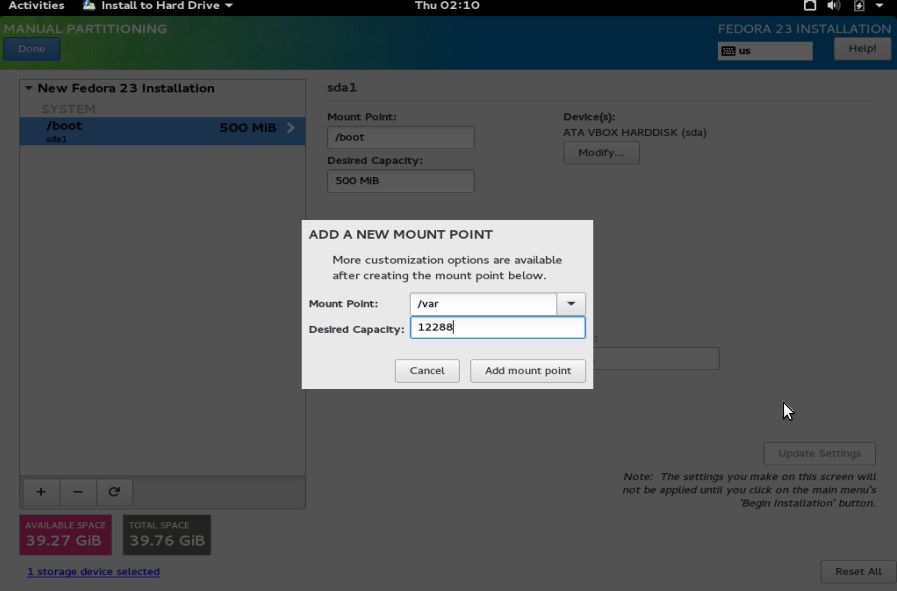
Click on Add mount point.
Similarly Create other two partitions as well with their respective size.( /home & / ).
Create Swap Partition.
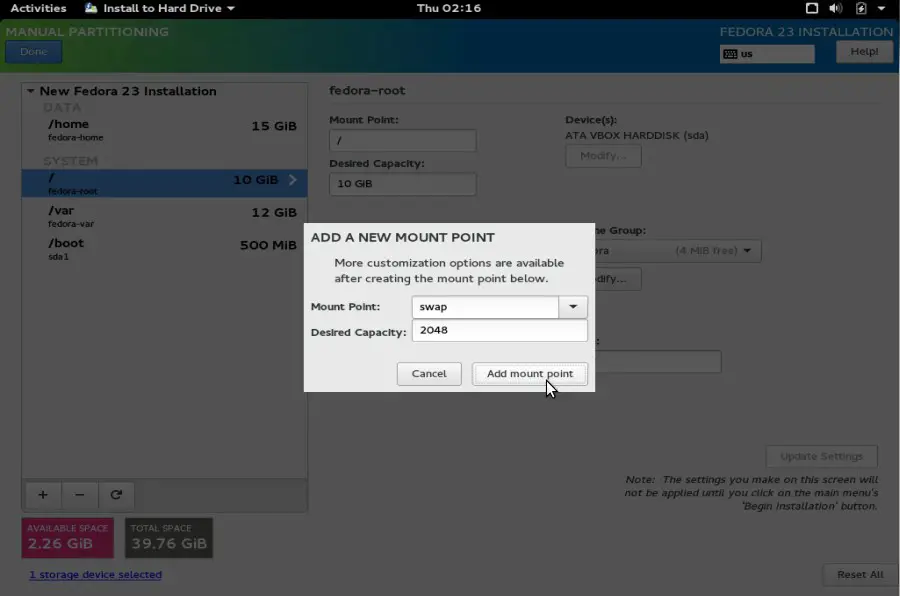
Click on Add mount point
Now Click on Done when your done with Partitioning.
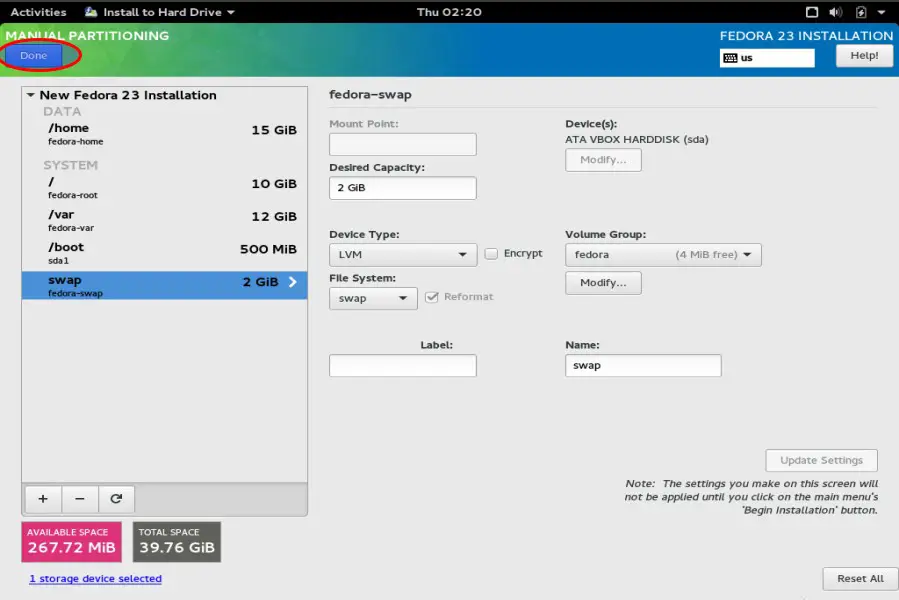
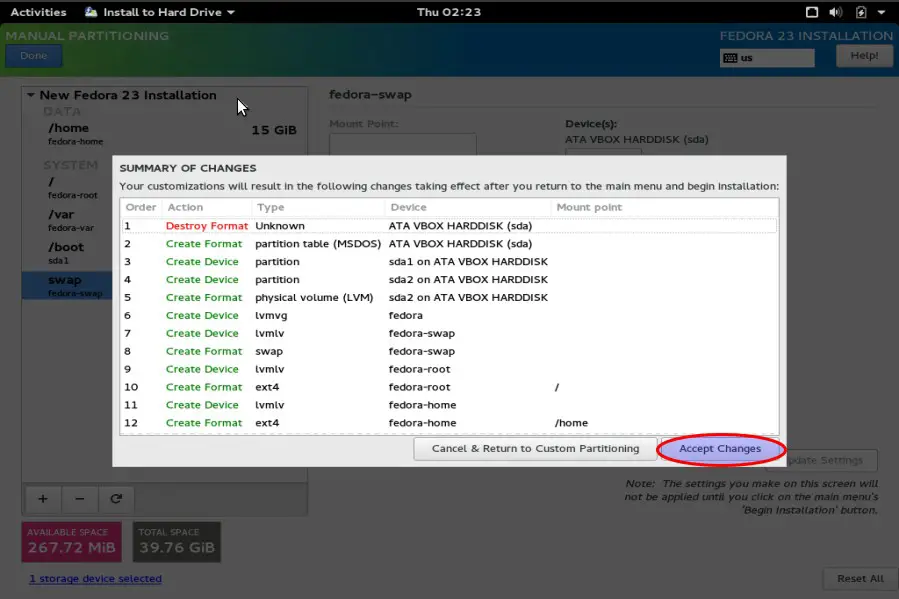
Select “Accept Changes”
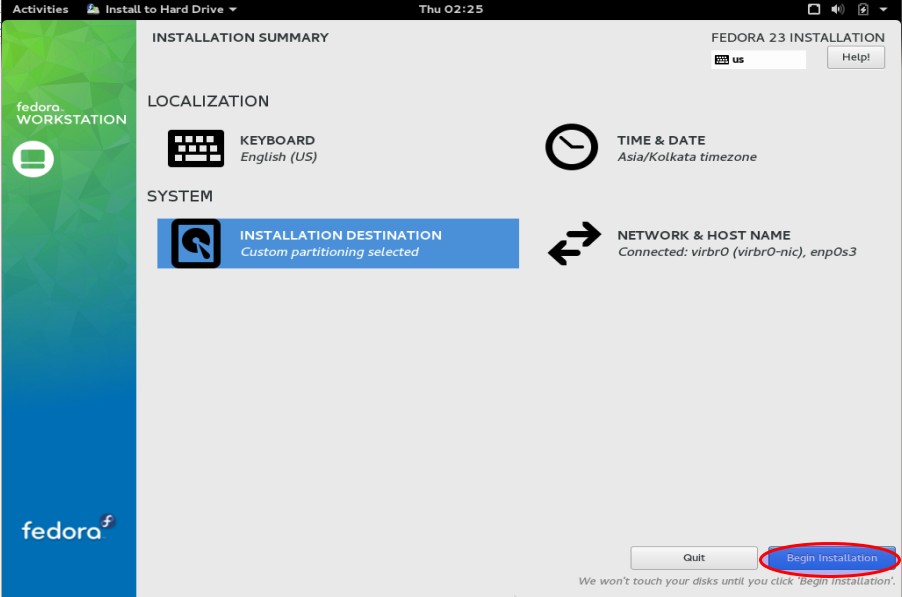
Click on “Begin Installation”
Step:6 Define Root password and Create a New User
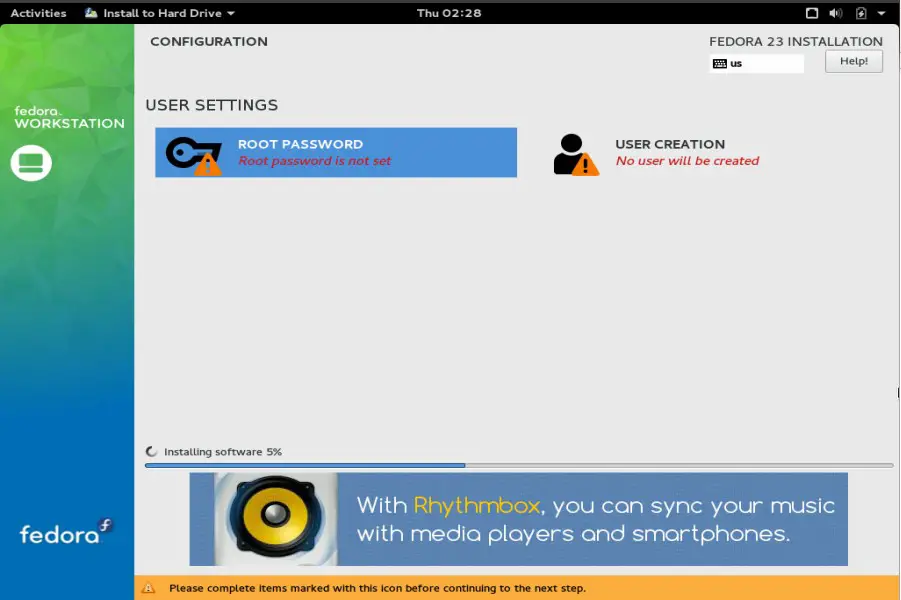
Select Root Password Option and set the root password.

Click on Done.
Select User Creation, Create a new user and set its password.
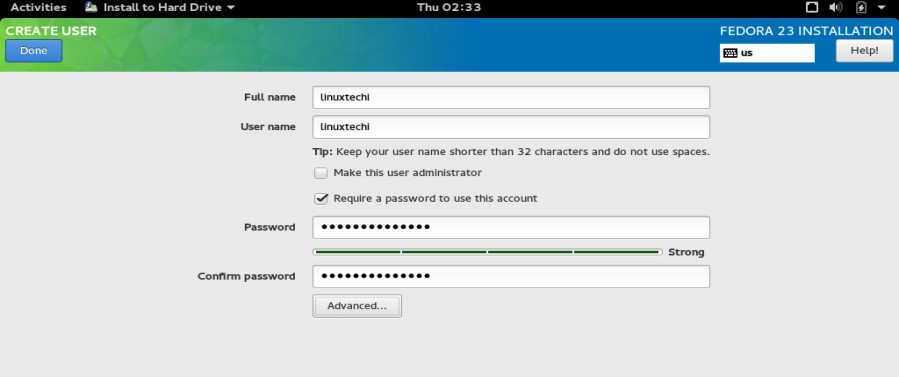
Click on Done.
As you we can see now installation is in Progress.
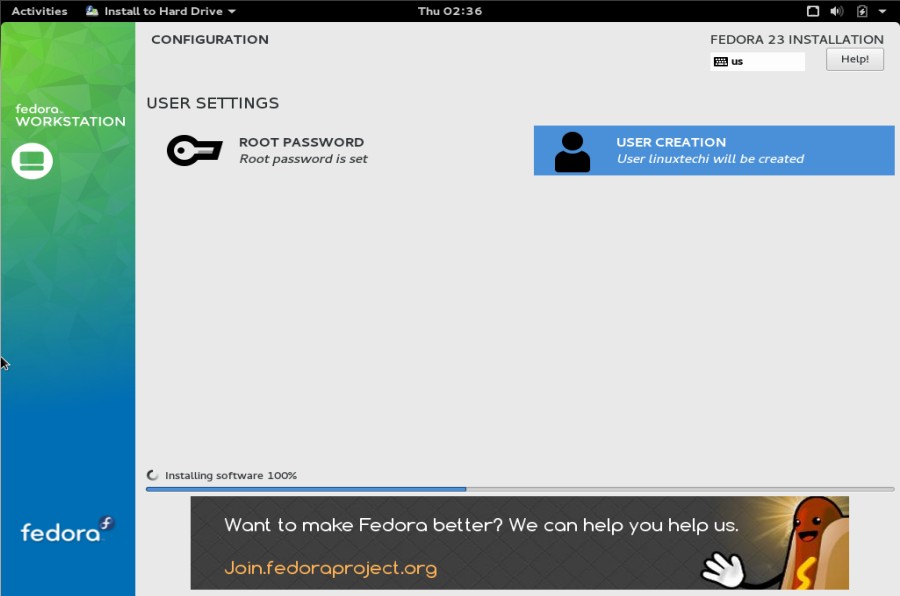
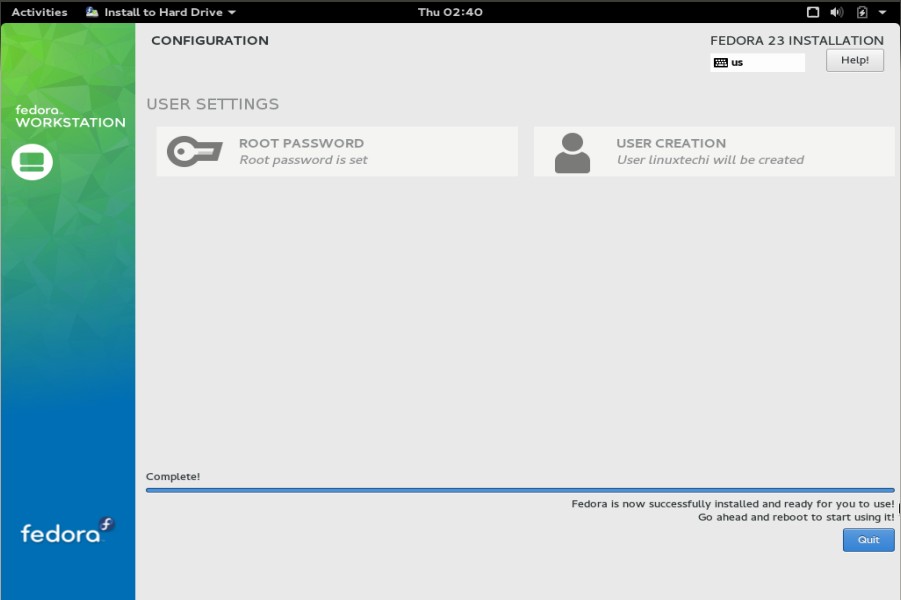
Step:7 Reboot the Machine Once the installation is Completed.
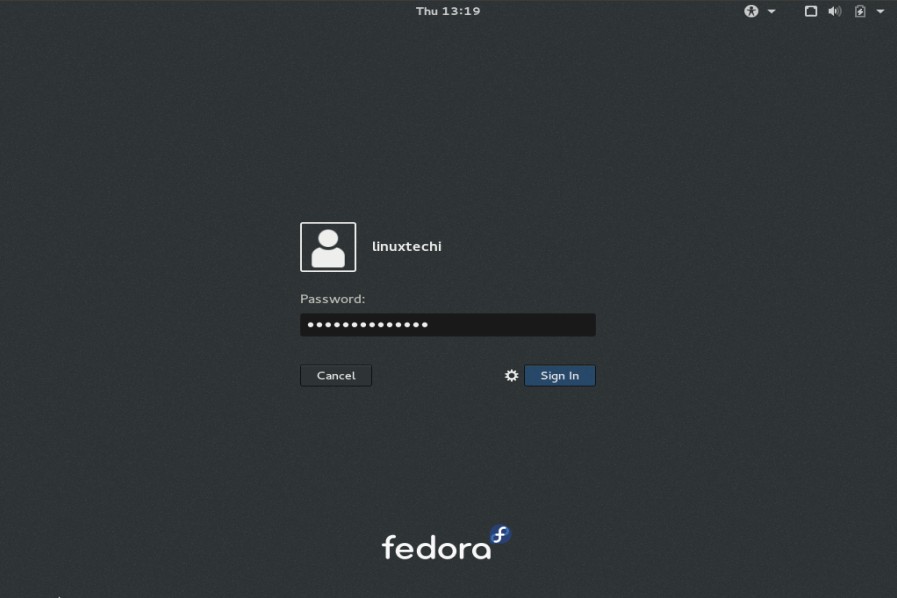
Step:8 Login Screen After Installation
Use the user name (linuxtechi) and its credentials that we have set during the installation.
Step:9 Select the Language for your Desktop ( Gnome)
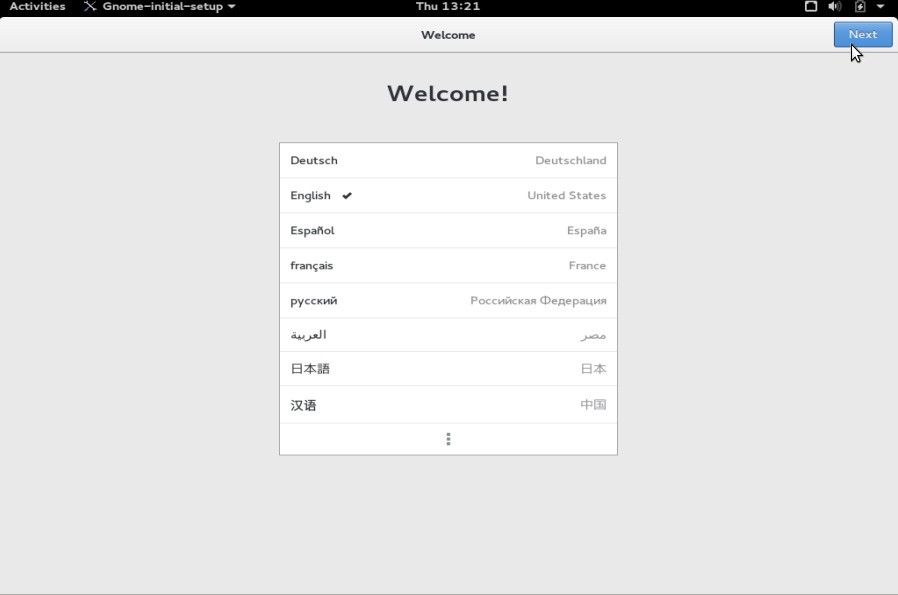
click on Next.
Step:10 Select the Keyboard Layout for your Gnome Desktop
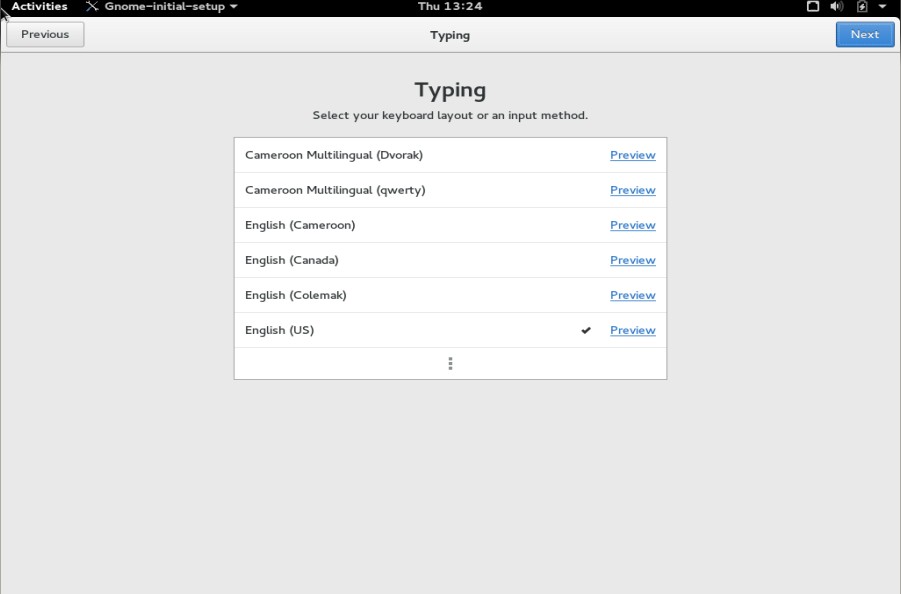
Click on Next
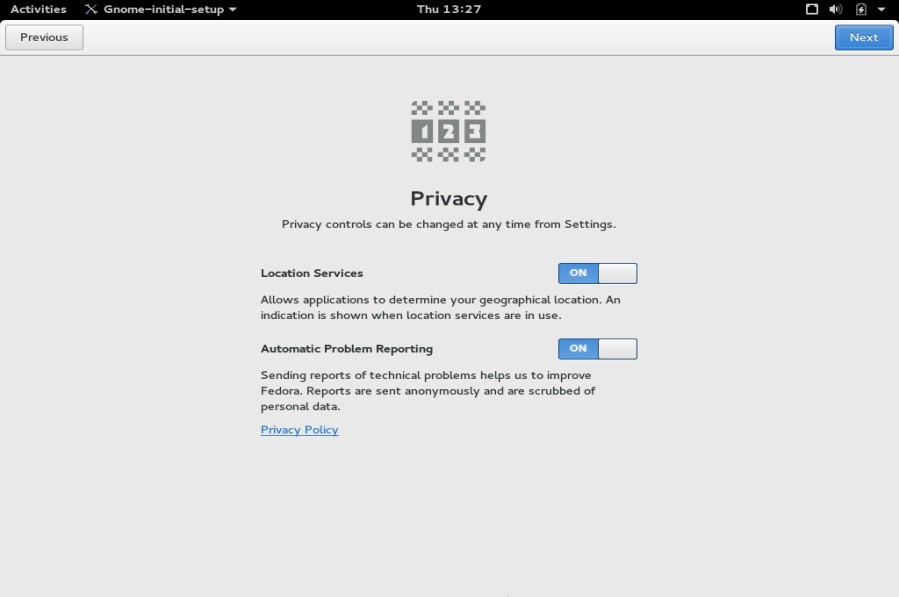
click on Next
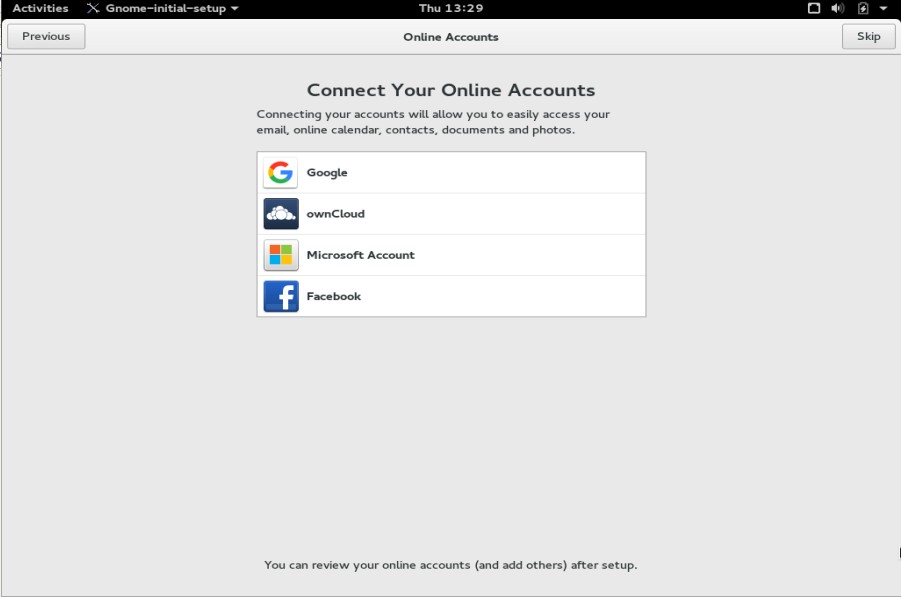
Step: 11 Connect Your Online Accounts or skip this step.
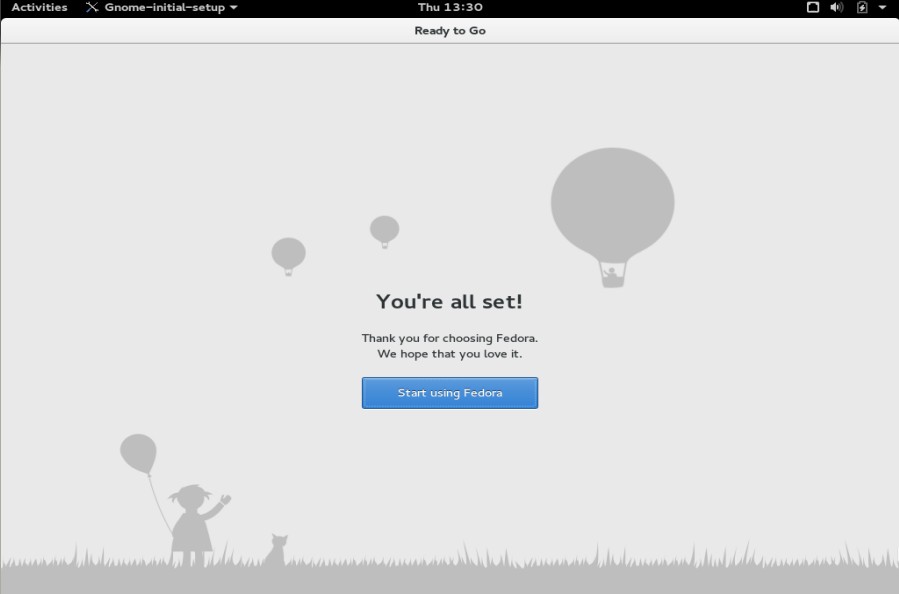
Click on Start Using Fedora
Step:12 Gnome Desktop Screen After login.
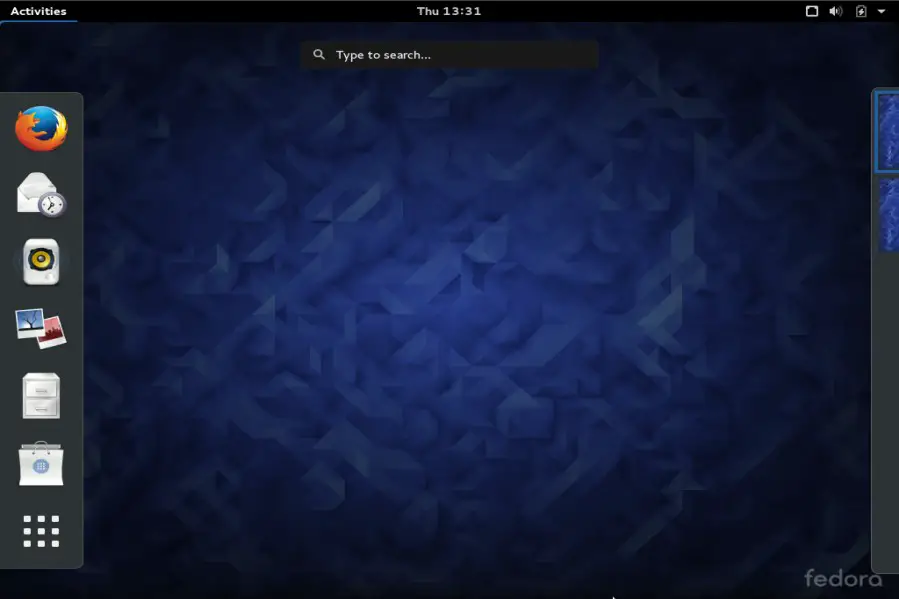
Fedora 23 Workstation installation is completed now.
