VM Snapshot a method to create a copy of Virtual Machine (VM) at specific point of time and in other words in we can say VM snapshot is used to preserve a particular state of a VM.
In this article we discuss how to create and restore VM snapshot in VirtualBox on Ubuntu Linux, I am assuming VirtualBox is already installed on Ubuntu Linux and couple of VM s are running on it.
Create VirtualBox VM Snapshot
Step:1 Start the VirtualBox
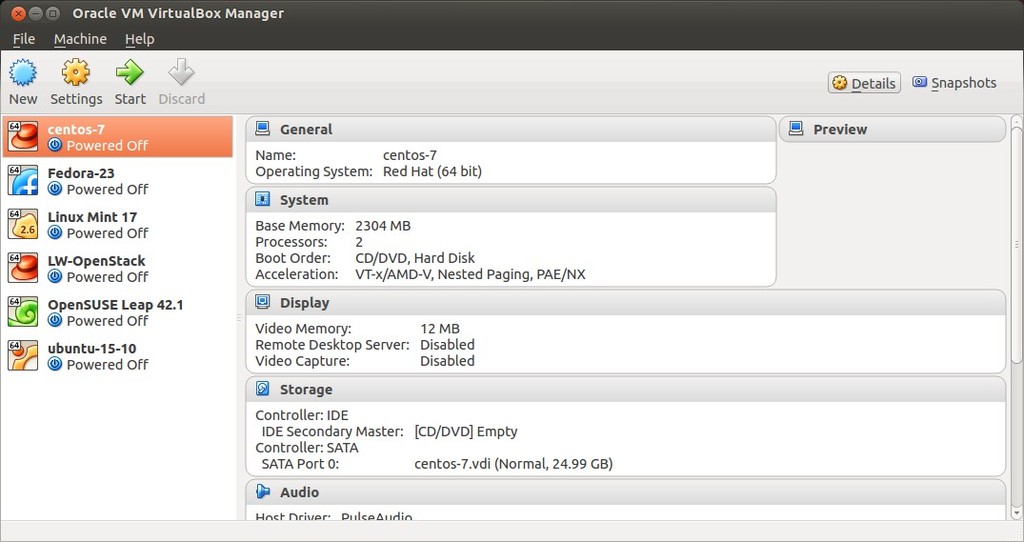
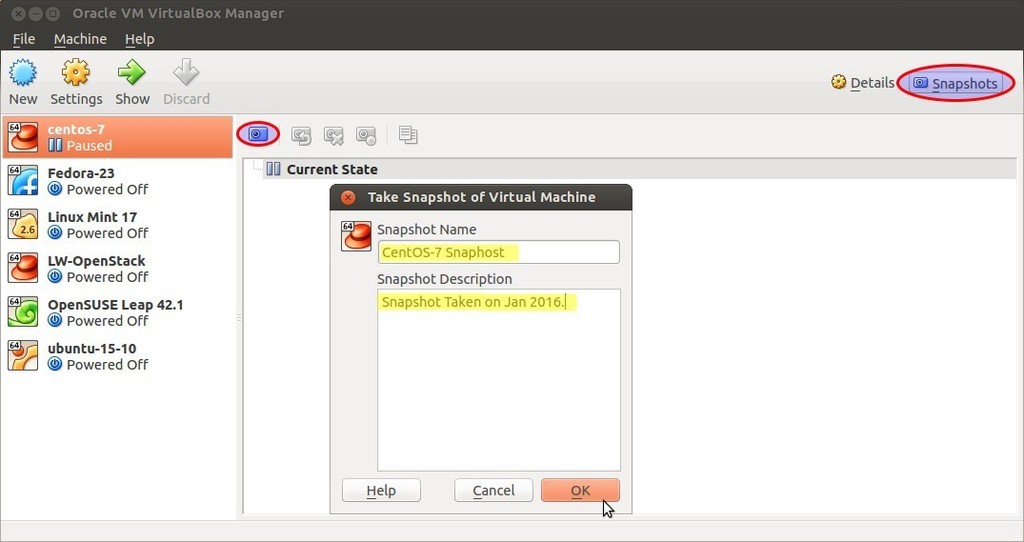
Step:2 Select the virtual machine for snapshot and then click on ‘Snapshots‘ option, in my case i am going to create a snapshot of CentOS 7 VM.
Specify the Snapshot Name and Description and then Click on ‘OK‘
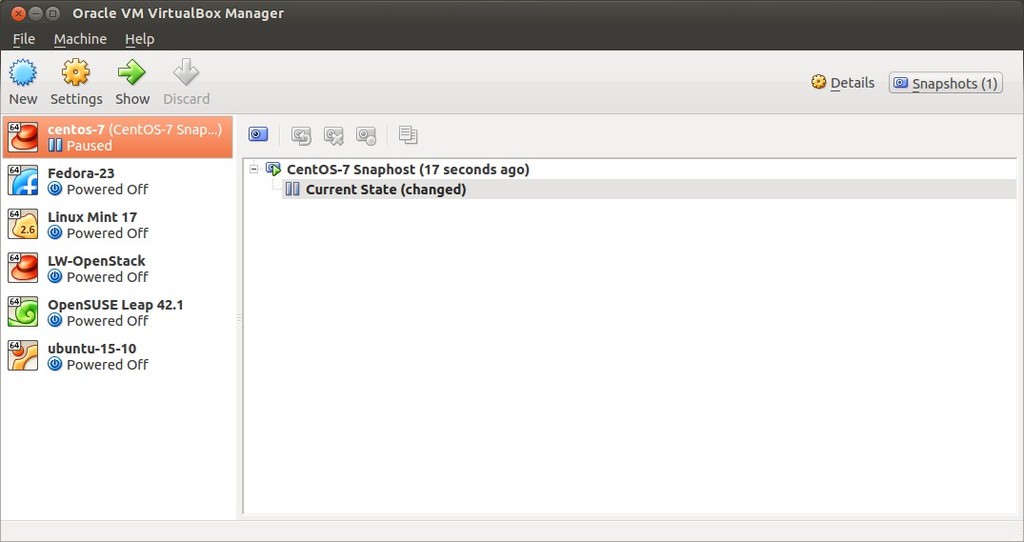
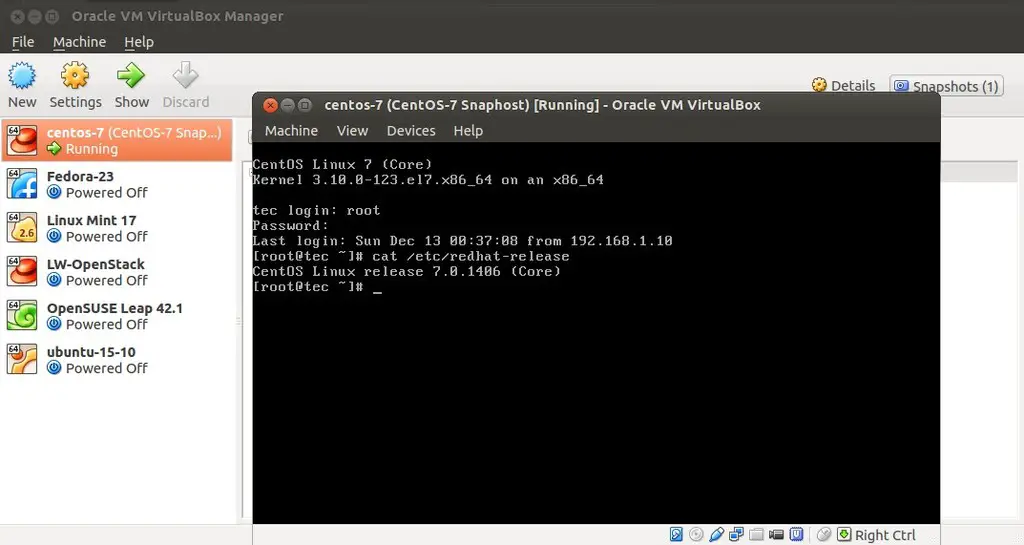
Note : When we try to take snapshot of running VM then Virtualbox manager will put that VM in Paused state , so once the snapshot task is completed then we can move the VM’s state from Paused to Running.
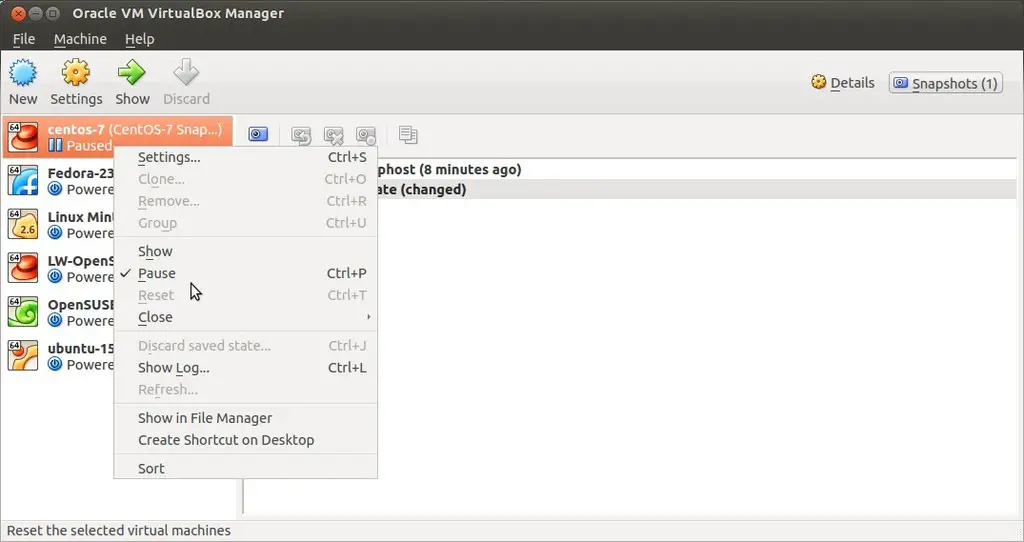
Restore VirtualBox VM from Snapshot
Step:1 Power off the Virtual Machine.
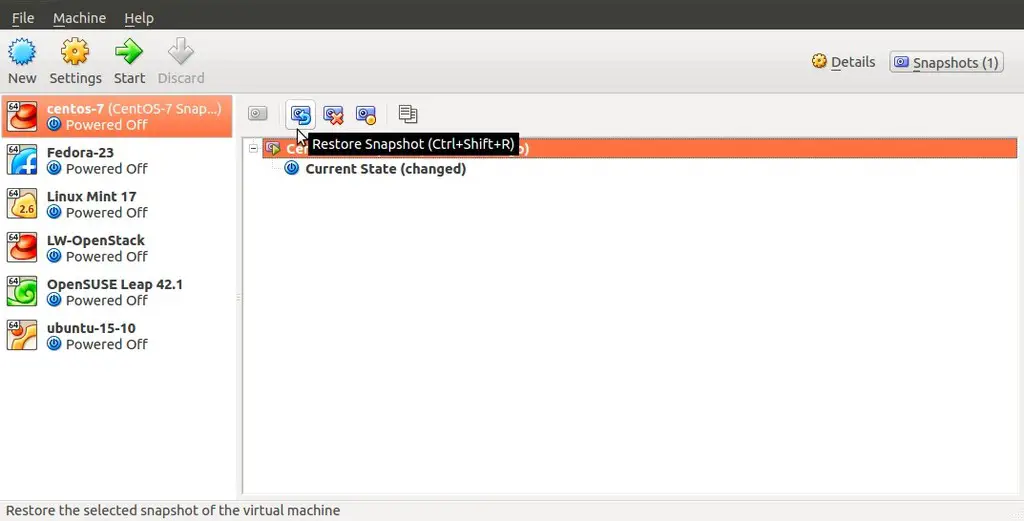
Step:2 Select the VM and Go to ‘Snapshots‘ option and then click on “Restore Snapshot option”
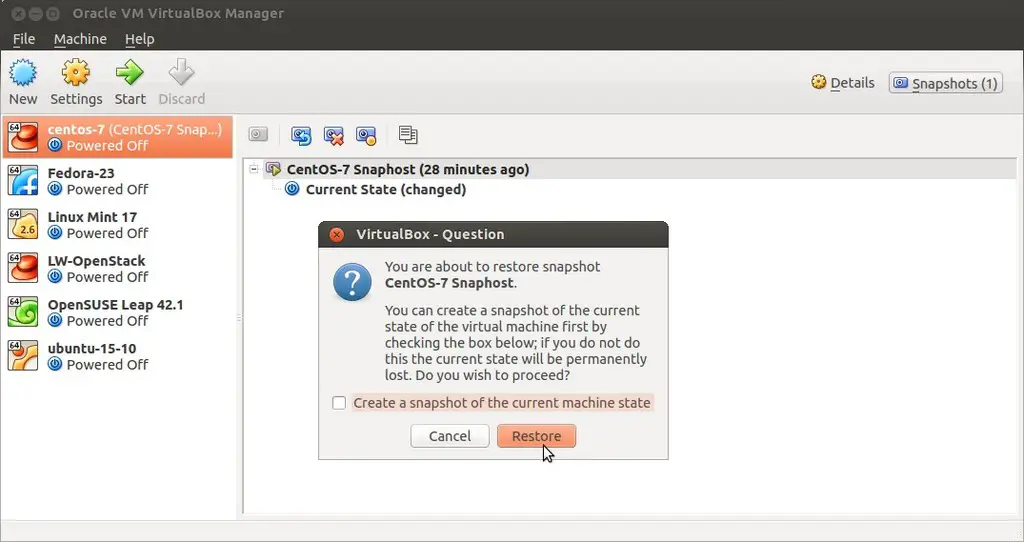
When we click on “Restore Snapshot” option , it will give us an option to create snapshot of current sate of the VM and if you don’t want the current state snapshot then untick the option ( Current state will be deleted permanently ).
Click on “Restore” option to Restore the snapshot.
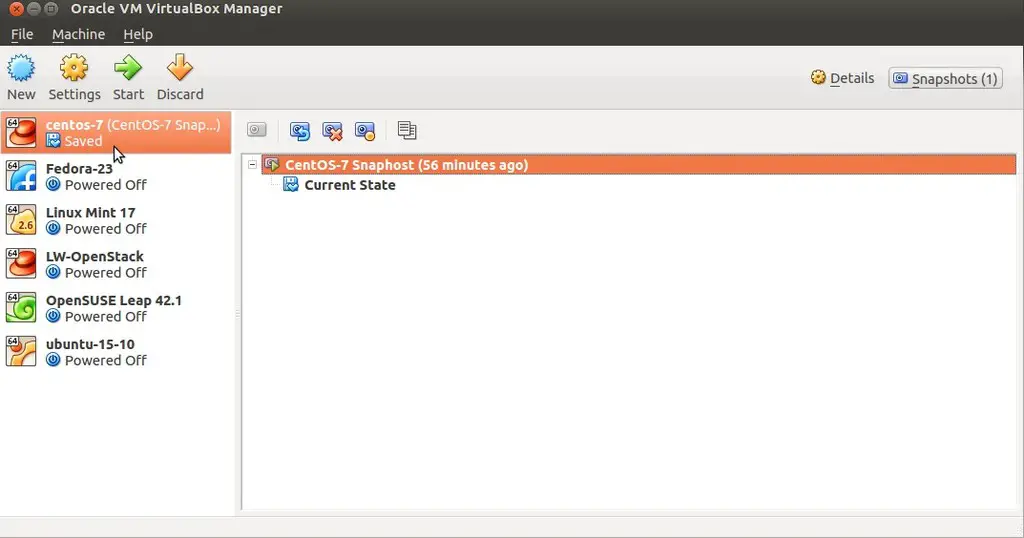
Now Click on Start option to start the VM
