In this post, we will explain how to add new Kubernetes worker node step-by-step. We are assuming on-prem Kubernetes cluster is up and running on Ubuntu 24.04.
Scaling your Kubernetes cluster is essential as your applications grow. Adding new worker nodes to your existing on-prem Kubernetes cluster allows you to distribute workloads more efficiently, ensuring better performance and reliability.
Prerequisites
- An existing Kubernetes cluster running on Ubuntu 24.04
- A new Ubuntu 24.04 instance with at least 2 CPUs, 2 GB RAM, and 20 GB of disk space.
- Access to the control plane node with sudo privileges.
- Networking configured between the new node and the existing cluster.
Preparing and adding New Worker Node will include the following steps:
1) Add Hostname and update hosts file
Login to your new worker node and set the hostname using hostnamectl command,
$ sudo hostnamectl set-hostname "k8s-worker03-noble"
$ exec bash
Add the following lines in /etc/hosts file
Note: First three lines are of existing control and worker nodes.
192.168.1.120  k8s-master-noble
192.168.1.121  k8s-worker01-noble
192.168.1.122  k8s-worker02-noble
192.168.1.123  k8s-worker03-noble
2) Disable Swap Memory
Kubernetes requires that swap memory is disabled on the worker node. Disable swap by running:
$ sudo swapoff -a
For permanent disabling swap, edit the file /etc/fstab and comment out the swap entry.
3) Load Kernel Parameters
Load the following modules using beneath modprobe command:
$ sudo modprobe overlay
$ sudo modprobe br_netfilter
These modules will not be loaded automatically after reboot, so create a file with following content
$ sudo tee /etc/modules-load.d/k8s.conf <<EOF
overlay
br_netfilter
EOF
Next, we add the following kernel parameters using sysctl. Create a file and add the following kernel parameters,
$ sudo tee /etc/sysctl.d/kubernetes.conf <<EOT
net.bridge.bridge-nf-call-ip6tables = 1
net.bridge.bridge-nf-call-iptables = 1
net.ipv4.ip_forward = 1
EOT
To active these parameters, run systctl command as shown below:
$ sudo sysctl --system
4) Install Containerd (Container Runtime)
Kubernetes need a container run time environment, in this demo, we are installing containerd.
Run the following commands one after the another.
$ sudo apt install -y curl gnupg2 software-properties-common apt-transport-https ca-certificates
$ sudo curl -fsSL https://download.docker.com/linux/ubuntu/gpg | sudo gpg --dearmour -o /etc/apt/trusted.gpg.d/containerd.gpg
$ sudo add-apt-repository "deb [arch=amd64] https://download.docker.com/linux/ubuntu $(lsb_release -cs) stable"
$ sudo apt update && sudo apt install containerd.io -y
Next, configure the containerd in such a way that it start using SystemdCgroup, run the beneath commands.
$ containerd config default | sudo tee /etc/containerd/config.toml >/dev/null 2>&1
$ sudo sed -i 's/SystemdCgroup \= false/SystemdCgroup \= true/g' /etc/containerd/config.toml
To make above changes into the affect, restart containerd service.
$ sudo systemctl restart containerd
5) Add Kubernetes APT Repository
Add the Kubernetes APT repository that matches the version of your Kubernetes cluster. In this example, I am using Kubernetes 1.30, so I will add the repository corresponding to that version.
$ curl -fsSL https://pkgs.k8s.io/core:/stable:/v1.30/deb/Release.key | sudo gpg --dearmor -o /etc/apt/keyrings/kubernetes.gpg
$ echo 'deb [signed-by=/etc/apt/keyrings/kubernetes.gpg] https://pkgs.k8s.io/core:/stable:/v1.30/deb/ /' | sudo tee /etc/apt/sources.list.d/k8s.list
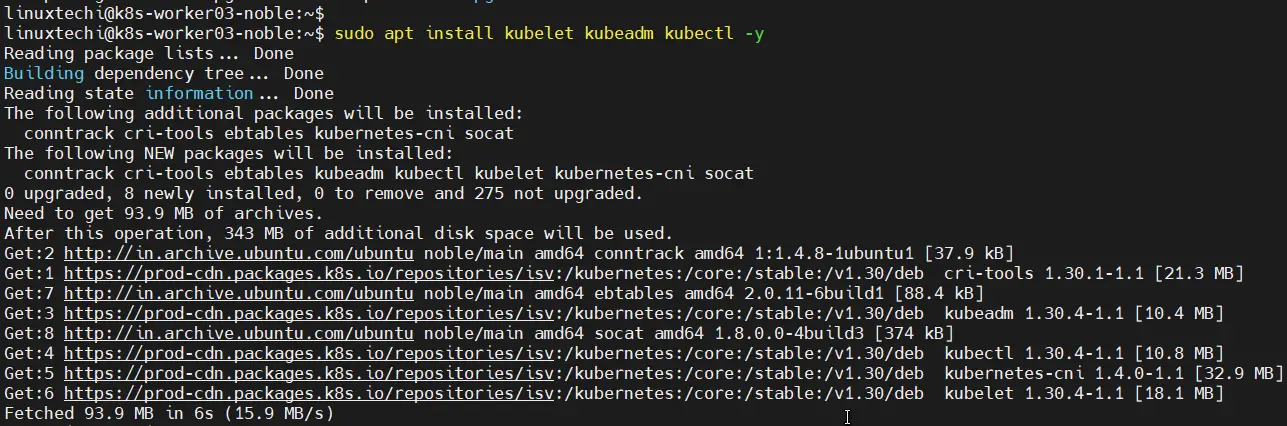
6) Install Kubeadm, kubelet & kubectl
Install Kubernetes components like kubeadm, kubelet, and kubectl on the new node. Execute the beneath apt command.
$ sudo apt update
$ sudo apt install kubelet kubeadm kubectl -y
7) Retrieve the Join Command from the Control Plane
On the control plane node, generate the kubeadm join command, which will include the necessary token and discovery token CA cert hash:
$ sudo kubeadm token create --print-join-command

Copy the command from the output and run the same command on new worker node.
8) Add New Kubernetes Worker Node
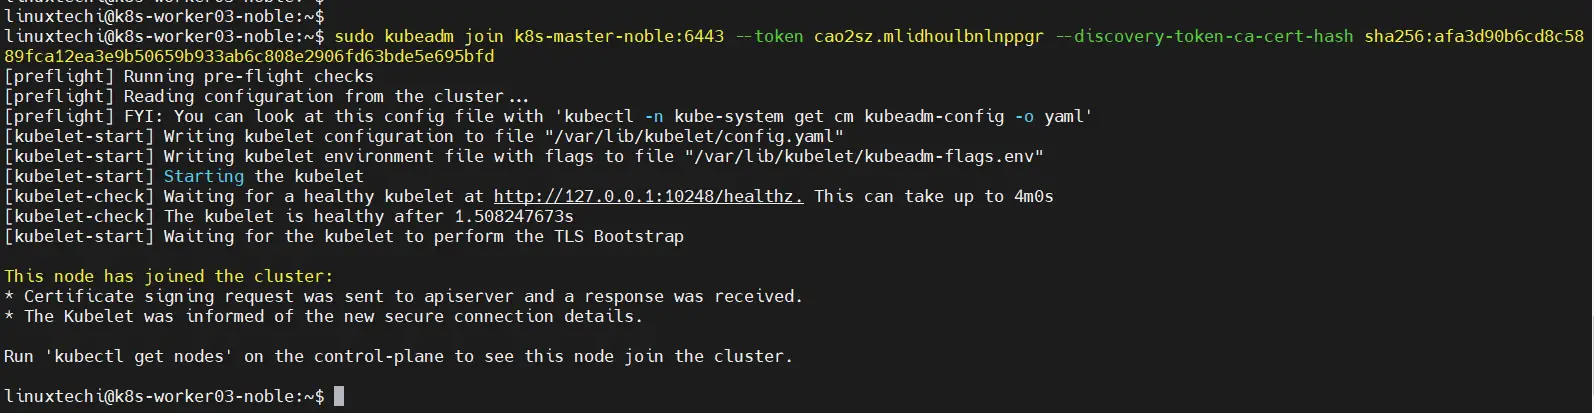
Run the kubeadm join command on the new worker node to add it to the Kubernetes cluster:
$ sudo kubeadm join k8s-master-noble:6443 --token cao2sz.mlidhoulbnlnppgr --discovery-token-ca-cert-hash sha256:afa3d90b6cd8c5889fca12ea3e9b50659b933ab6c808e2906fd63bde5e695bfd
9) Verify the New Node Addition from control plane
After the join process is complete, verify that the new worker node has successfully joined the cluster by running the following command on the control plane node:
$ kubectl get nodes
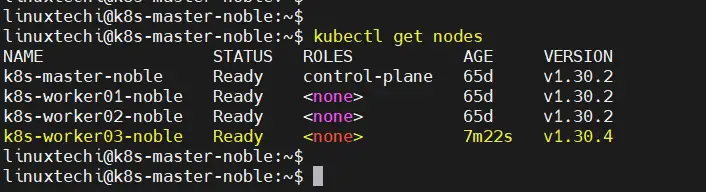
Great, output above confirms that new worker node has been added successfully to existing Kubernetes cluster.
That’s all from this post, we hope you have found these instructions useful and informative. Feel free to post your queries and feedback in below comments section.
Also Read: How to Install Kubernetes Dashboard (Simple Guide)