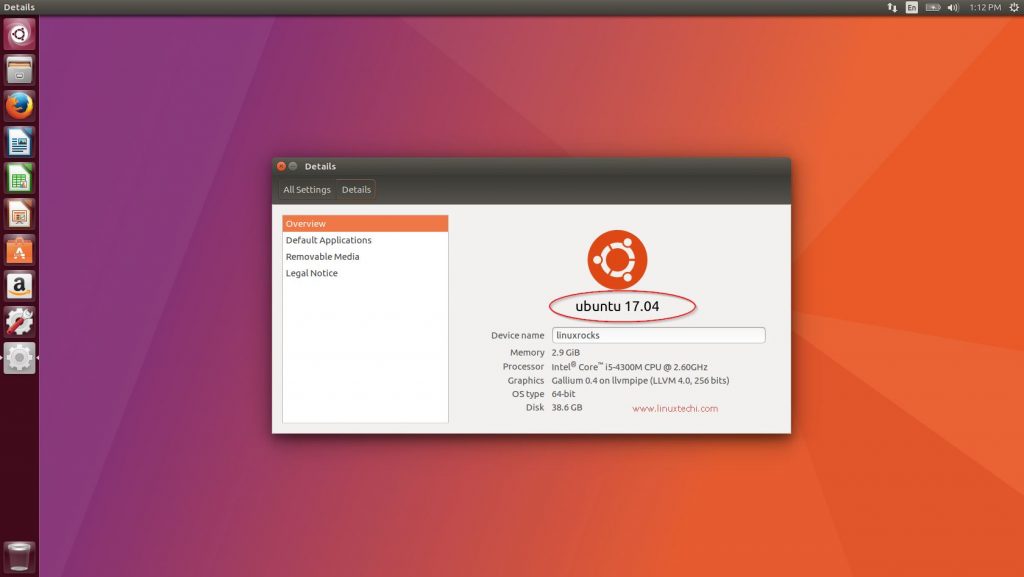
Good News for Linux Desktop Lovers that Ubuntu 17.04 has been released officially. Code name for Ubuntu 17.04 is Zesty Zapus, as it is not a LTS version so its support will be available for next 9 months only (Jan 2018). Some of the Changes that have been noticed in Ubuntu 17.04 are listed below:
- You can’t install Ubuntu 17.04 on 32-bit System because 32-bit system support has been dropped.
- DNS resolver is handled by systemd-resolved.
- Swap file will used instead of swap partition in fresh installation of Ubuntu 17.04
- New Kernel Version 4.10 has been included
- New version of Libre Office 5.3
- Unity 8 is available as DE(Desktop Environment)
Minimum requirements for Ubuntu 17.04
Dual core processor (2 GHz) or better
- 2 GB RAM
- 25 GB Hard Disk Space
- DVD drive or a USB port for the installation media
- Internet if possible
In this article we will walk through the installation steps of Ubuntu 17.04 with screenshots. Let’s first download the ISO file from its Official Site:
Once the ISO file is downloaded then burn it to USB drive or DVD and make it bootable. In this article I am assuming you are going to install Ubuntu 17.04 on a fresh system(64-bit)
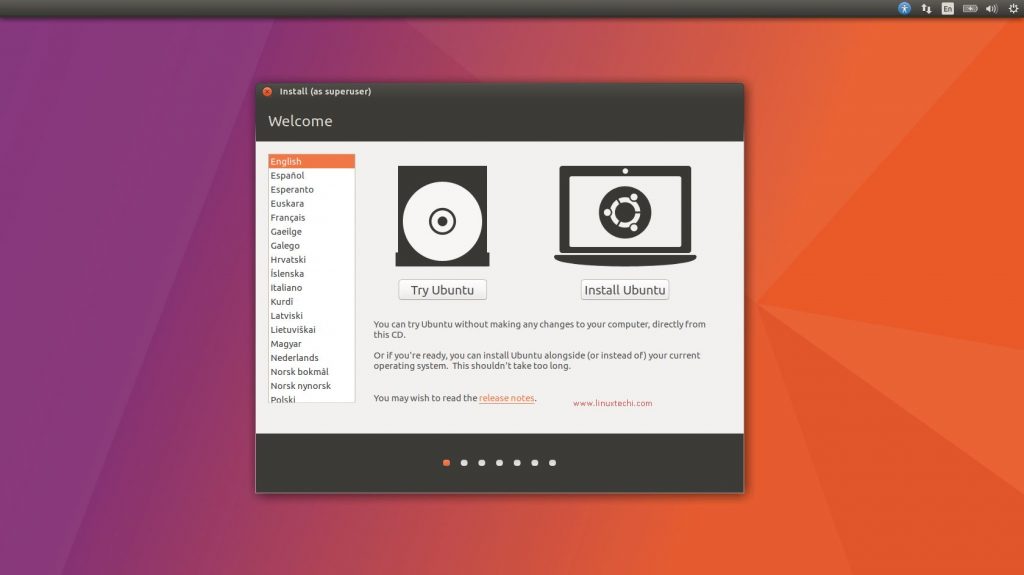
Step:1 Boot Your System with above created bootable USB or DVD
Select “Install Ubuntu”
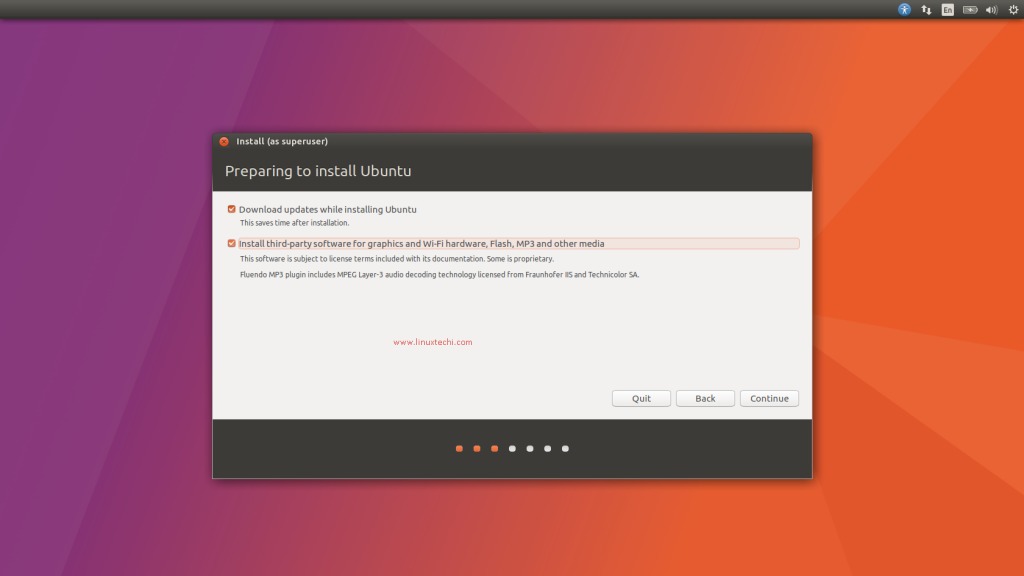
Step:2 Install third party software during Ubuntu 17.04
In case your system is connected to the internet then you can select both options else leave the options untick.
Click on continue
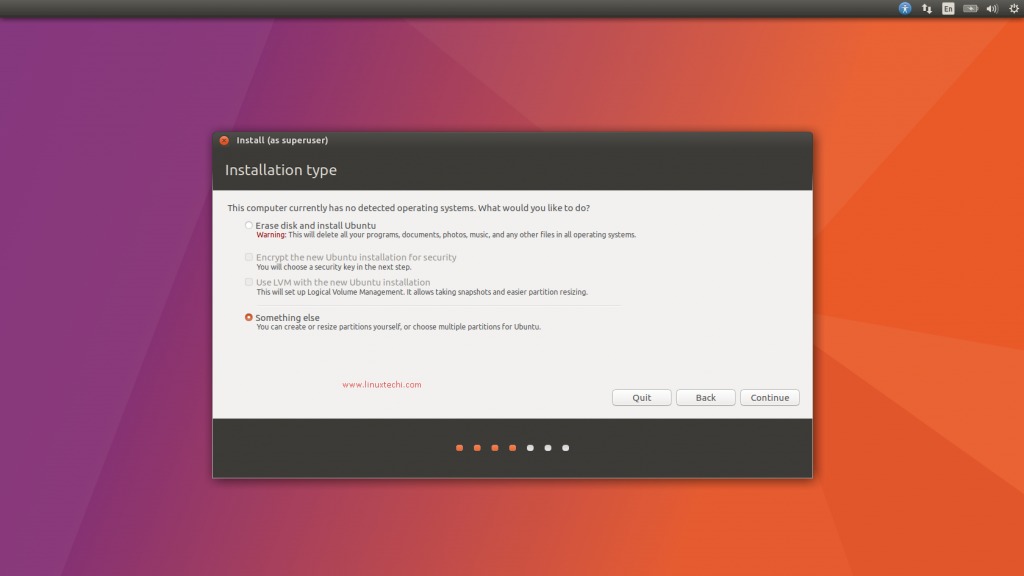
Step:3 Select the Installation type
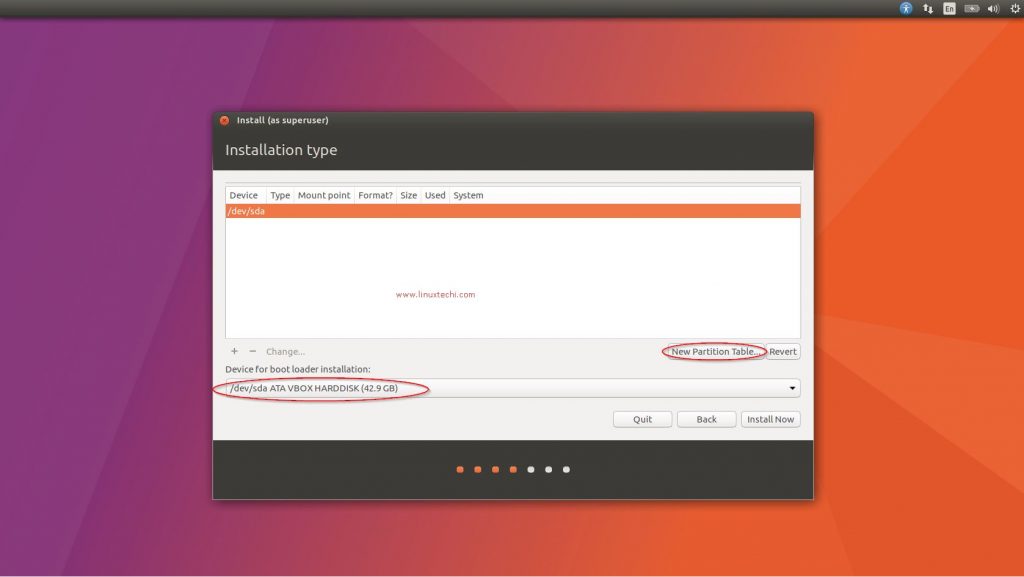
In this step we will decide whether we will create our own partition table or will allow the installer to create partitions itself. But in my case I will create my own partition, so to do this select “something else” option and then click on Continue
In the next window we will see which disk is available and its disk space.
As we we can see I have around 42 GB disk space on the /dev/sda. I will create following partitions on this disk
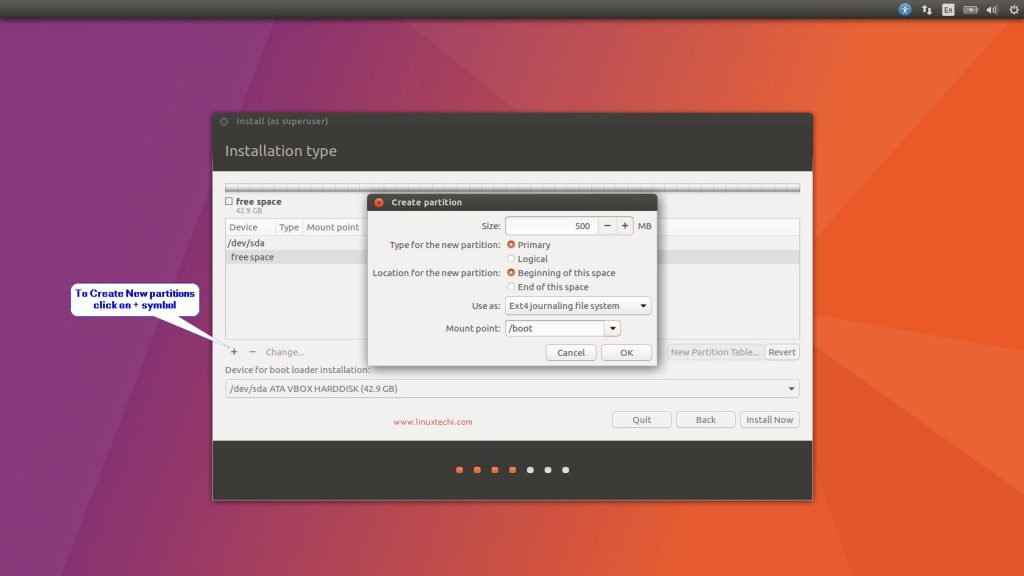
- / boot = 500 MB (ext4 file system)
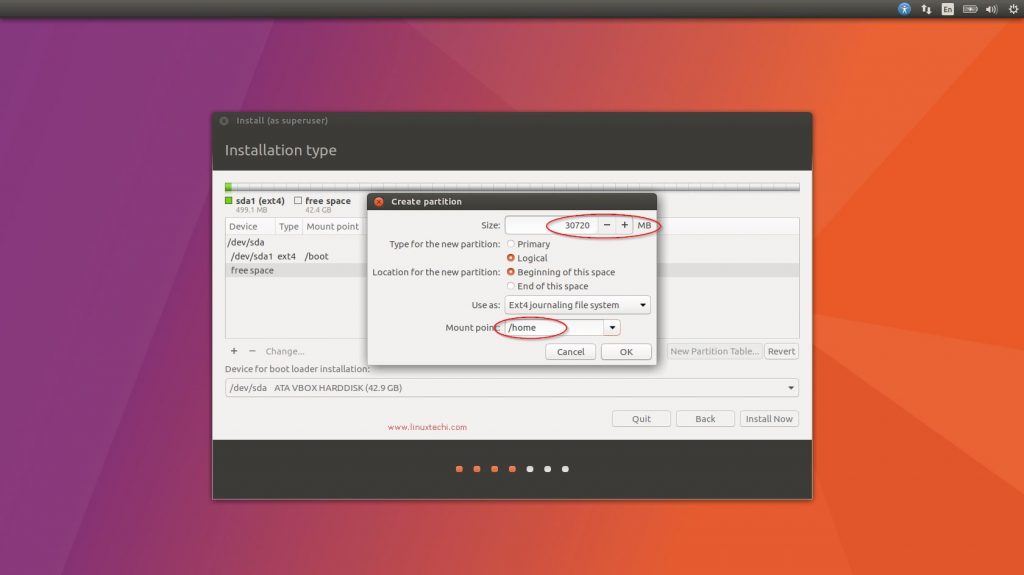
- /home = 30 GB (ext4 file system)
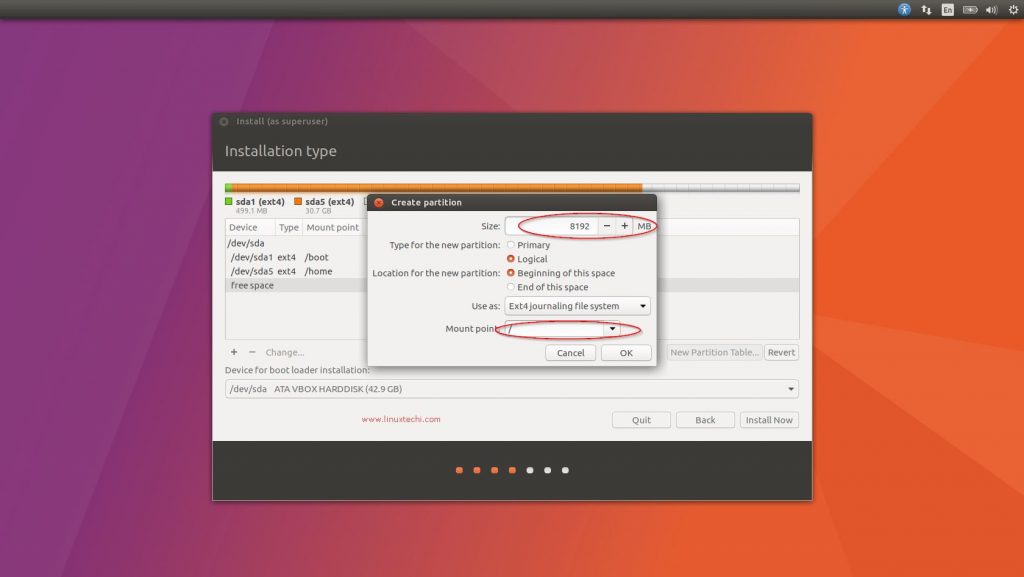
- / = 8 GB (ext4 file system)
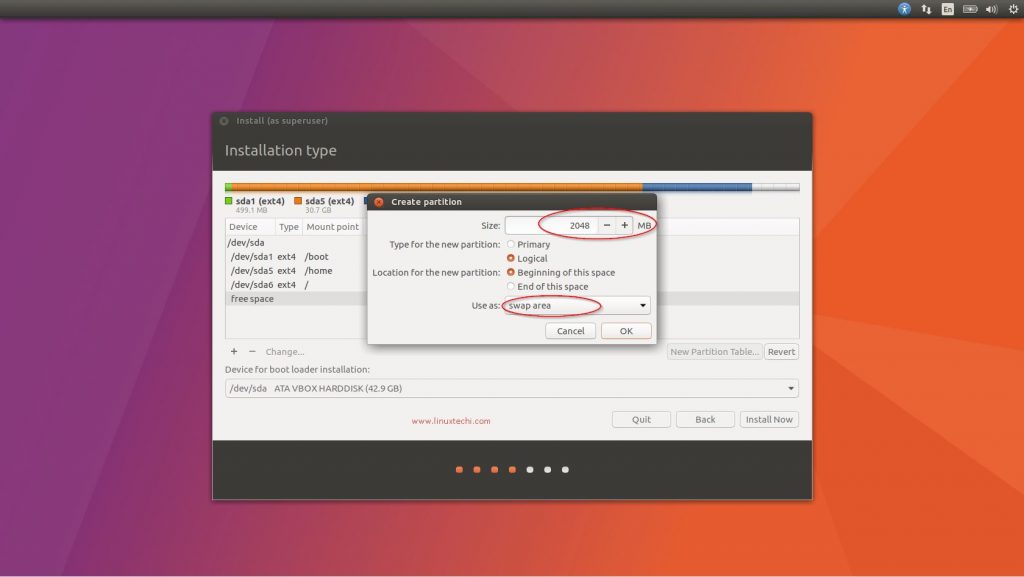
- Swap Partition = 2 GB
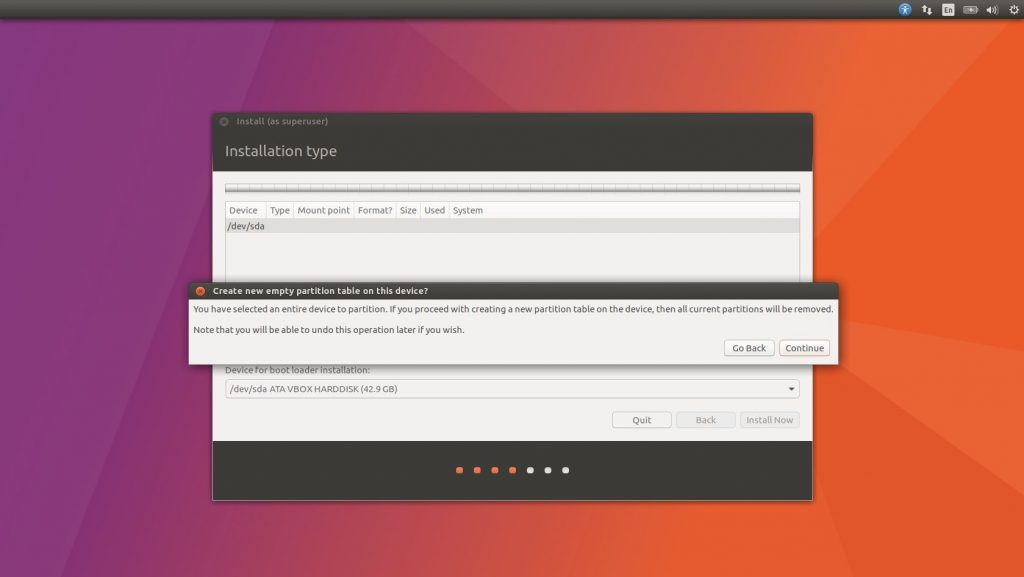
To start creating partitions, click on “New Partition Table” option as shown in the above window.
Click on Continue
Create /boot partition of size 500 MB
Create /home partition of 30 GB. Example is shown below
Create / partition of 8 GB.
Create Swap partition of 2 GB
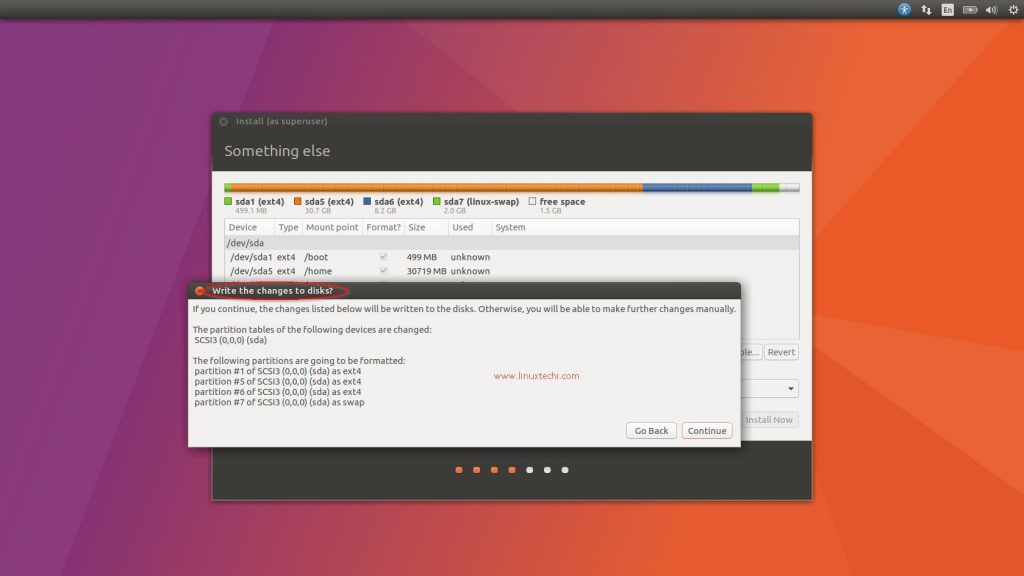
Once you are done with partitions, click on “Install Now” option.Then in the next window select continue to write changes to the disk.
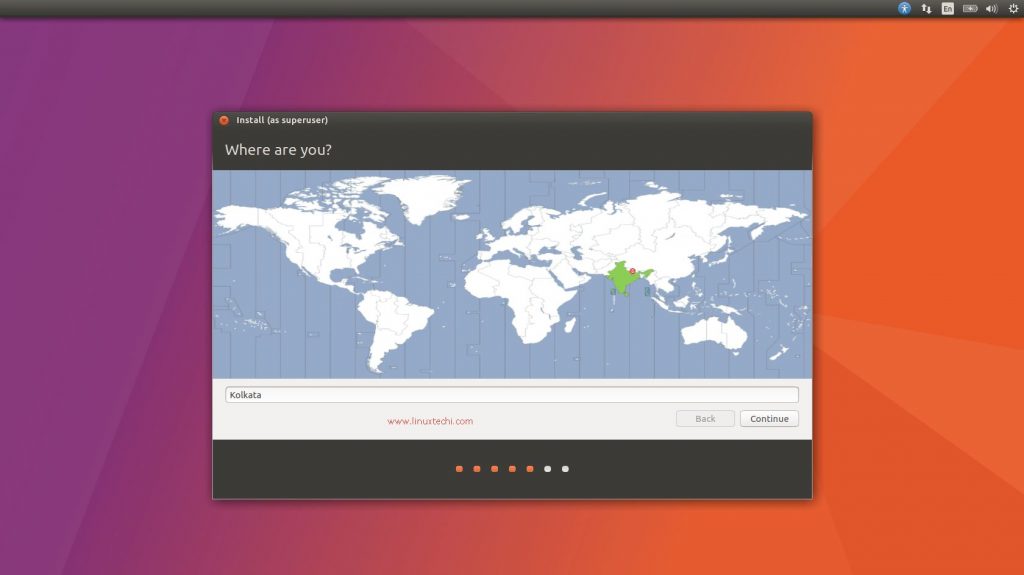
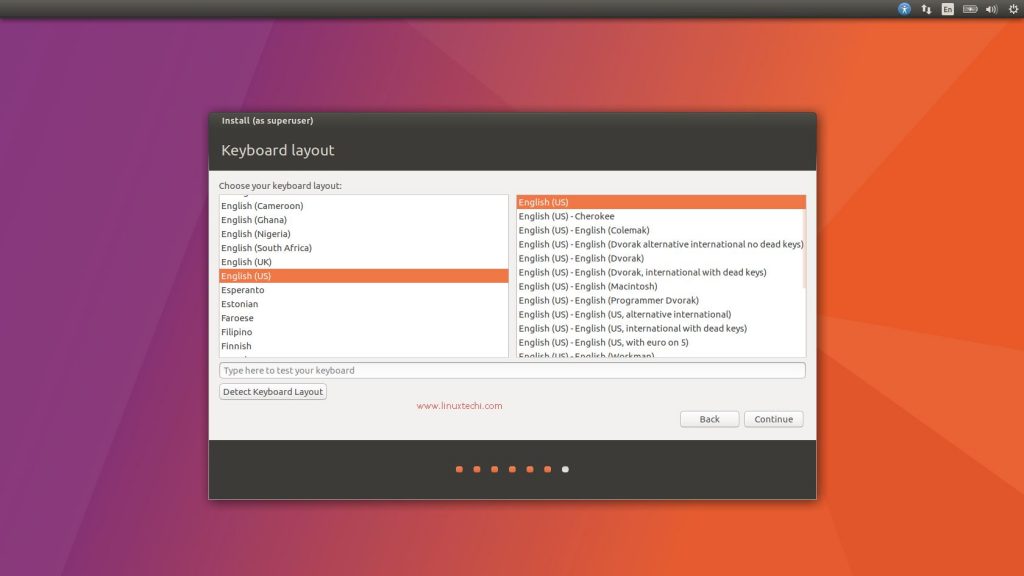
Step:4 Select your respective location and keyboard layout as per your setup
Click on Continue
Click on Continue to Proceed Further.
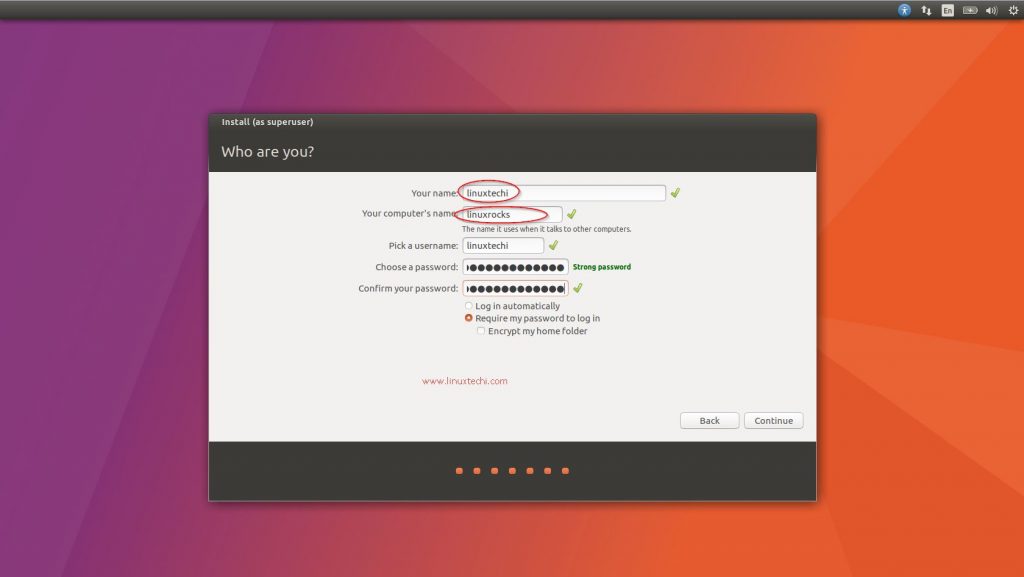
Step:5 Specify Your Username and system’s host name
In this step specify the user name that will be created during the installation and sudo rights will allocated to this user. Apart from this specify the hostname that you want set for your system. In my case I am using the followings
Click on Continue…
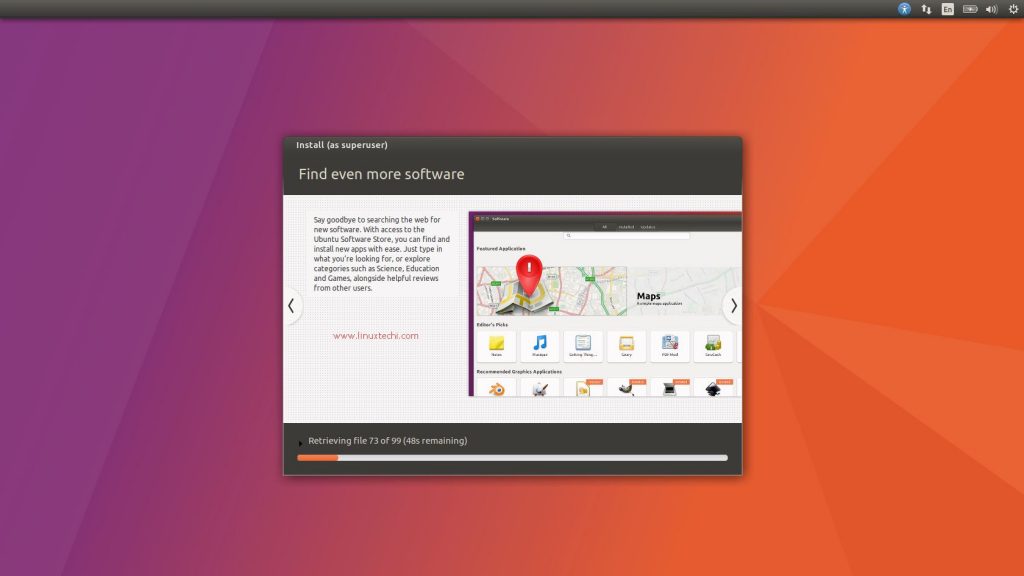
Step:6 Installation started and is in progress
At this step installation will start as shown.
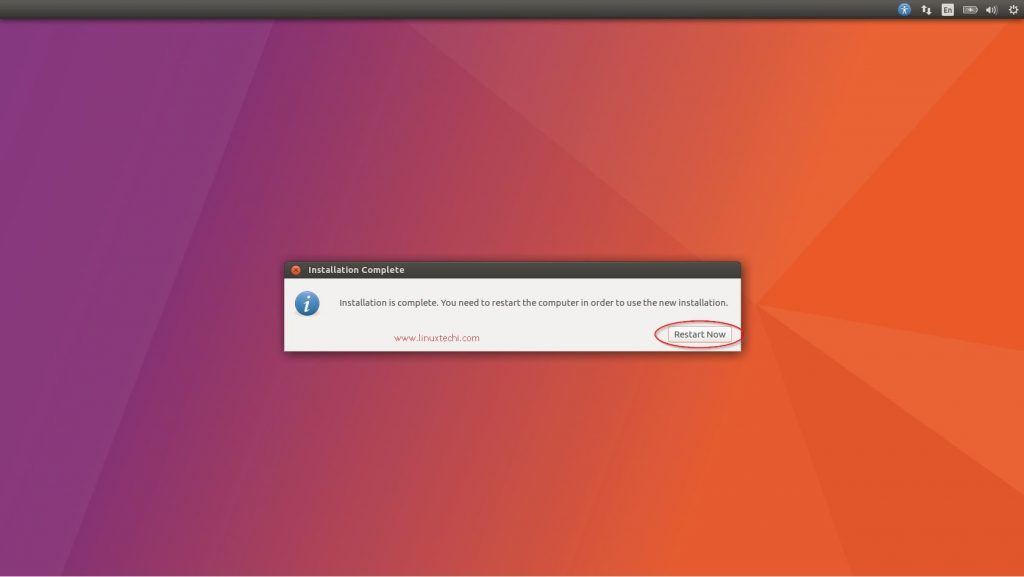
Once the installation is completed, we will be prompted to restart the system
Click on “Restart Now”
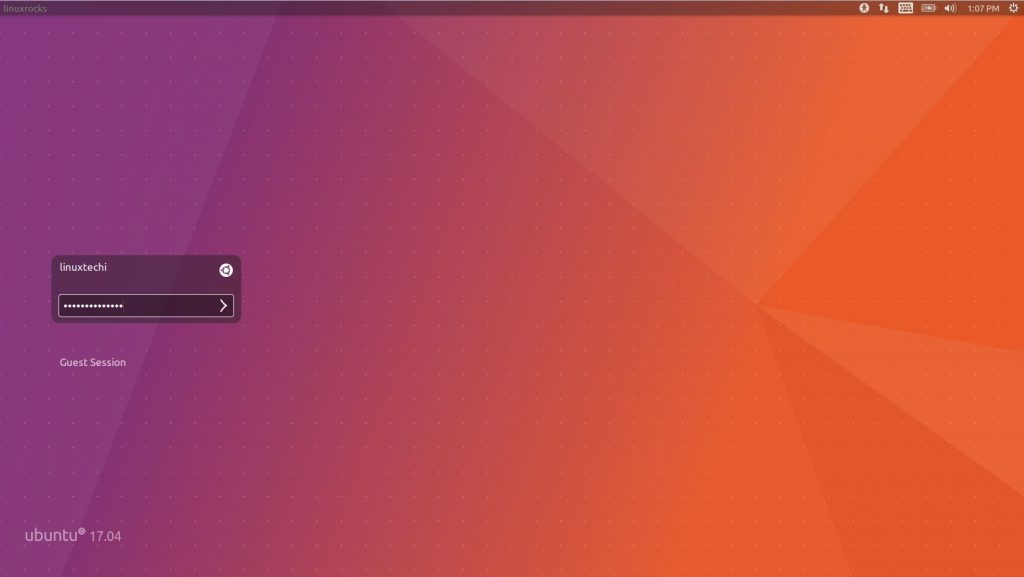
Step:7 Login Screen after reboot
Use the same user name and its credentials that you have created during the installation. In my case user name is ‘linuxtechi’
That’s all from article. Hope you guys got an idea how to install Ubuntu 17.04 with customize partition table. Explore Ubuntu 17.04 and have fun 🙂
Hello,
Ubuntu 17.04 32-bit runs from 3 LiveUSBs I have, with 4Gb Persistence, + Canonical lists a 32-bit Ubuntu 17.04 image I’ve used:
32-bit PC (i386) desktop image
For almost all PCs. This includes most machines with Intel/AMD/etc type processors and almost all computers that run Microsoft Windows, as well as newer Apple Macintosh systems based on Intel processors.
‘http://releases.ubuntu.com/17.04/ubuntu-17.04-desktop-i386.iso’
Every other guide says the /boot partition should be fat32, esp not EXT4